
Those that know me well, know that my life just couldn’t continue without green chiles. I grew up in New Mexico with a fully stocked freezer of green chile year-round and being asked “red or green?” at almost every meal. I’ve called Texas home for over 8 years now and will for the rest of my life, but one thing that will always remain is my wholehearted love for green chile. My favorite way to eat them is to put a few on a plate, lay them out, sprinkle some salt and a tiny bit of Monterrey jack cheese on them, pop it in the microwave for about 20 seconds, then devour it! Yum!! My mouth is watering just thinking about it.
I come by my green chile love honestly. My mom is just as much of a green chile lover and I’m proud to say that I’ve converted my North Carolina raised husband. He grew up thinking Taco Bell was Mexican food and over the past 8 years, I’ve gotten him to love them too. Definitely not to the extent of my mom and I, but he frequently makes the remark, “you should put green chile in that”. Oh man, I’ve never been so proud!
If you’ve never had green chiles, I encourage you to try them. Even if you need to buy the canned style, they really do add a different kind of flavor. One that you can’t find in any other pepper. They bring out such a great flavor in so many dishes.
As a quick lesson. There are different types of green chile. For those that see “Hatch Green Chile” for sale at their local grocery store, know that those chiles most likely didn’t come from Hatch, NM. They are a BREED of green chile from Hatch. Most likely grown somewhere other than Hatch, NM. A good way to tell is to find out if they’ve even been harvested in Hatch by the time they are selling in your local store. I know the ones sold in my local HEB are always being sold before harvest in Hatch. Now, let me say this. I love green chile. All green chile. But, with that said, the green chiles directly from Hatch are delicious. The weather, ground, and all of the elements that go into growing them there make for some of the best!
The next thing, it is spelled CHIL-E, not CHIL-I. Chili is a dish you make and serve for football season including ground beef, beans, tomato sauce, etc. Chile is the pepper.
Now on to the roasting instructions. Be prepared for the most delicious smell ever!
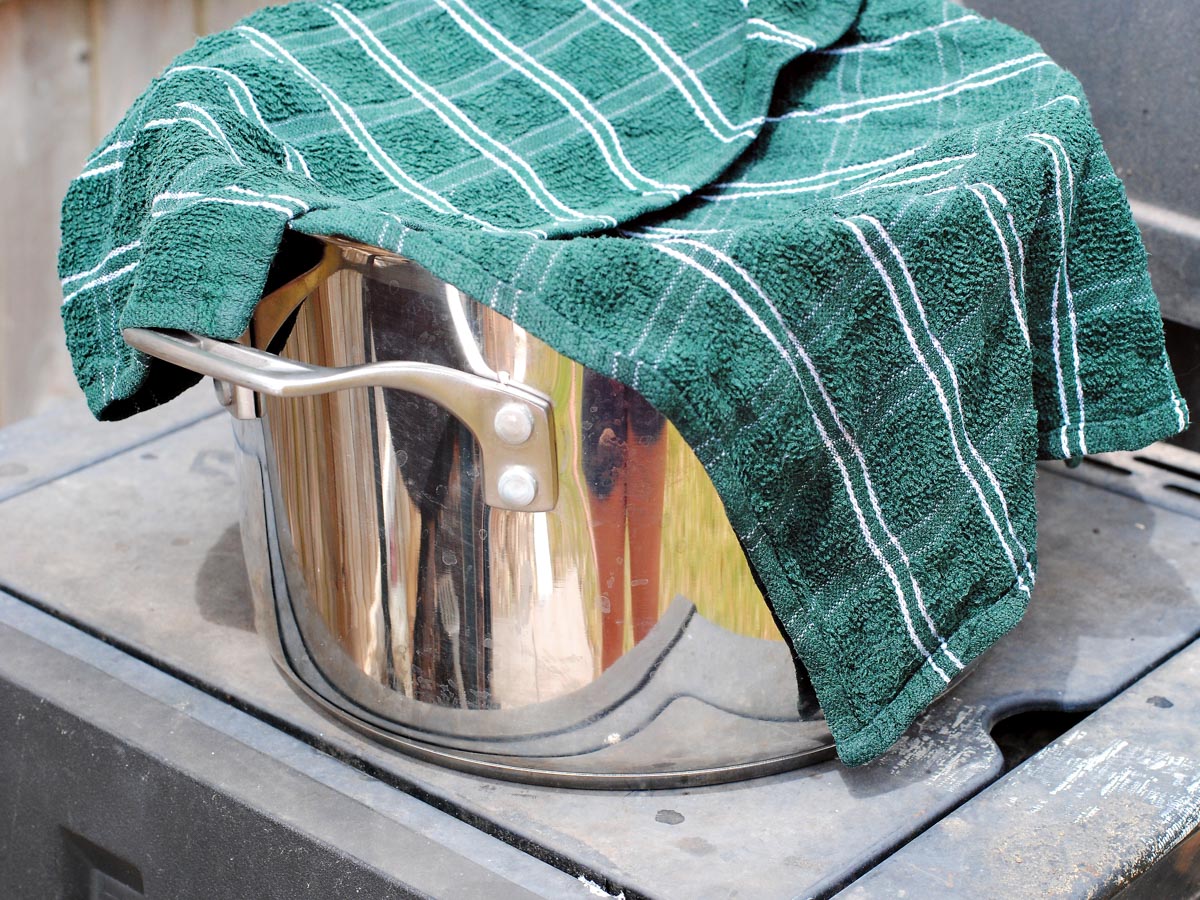
First, you’ll want to preheat your grill to the highest possible heat. We remove the heat guards from ours so that there is direct flame, but you want it at least up to 500 degrees before starting. While that is getting preheated, you will want to get a large pot (depending on how many chiles you’re roasting) and two dish towels. Soak both dish towels in water and ring them out. Take one, fold it, and put it in the bottom of your pot. Take the other and drape it over the top. You’ll want to keep this next to the grill.
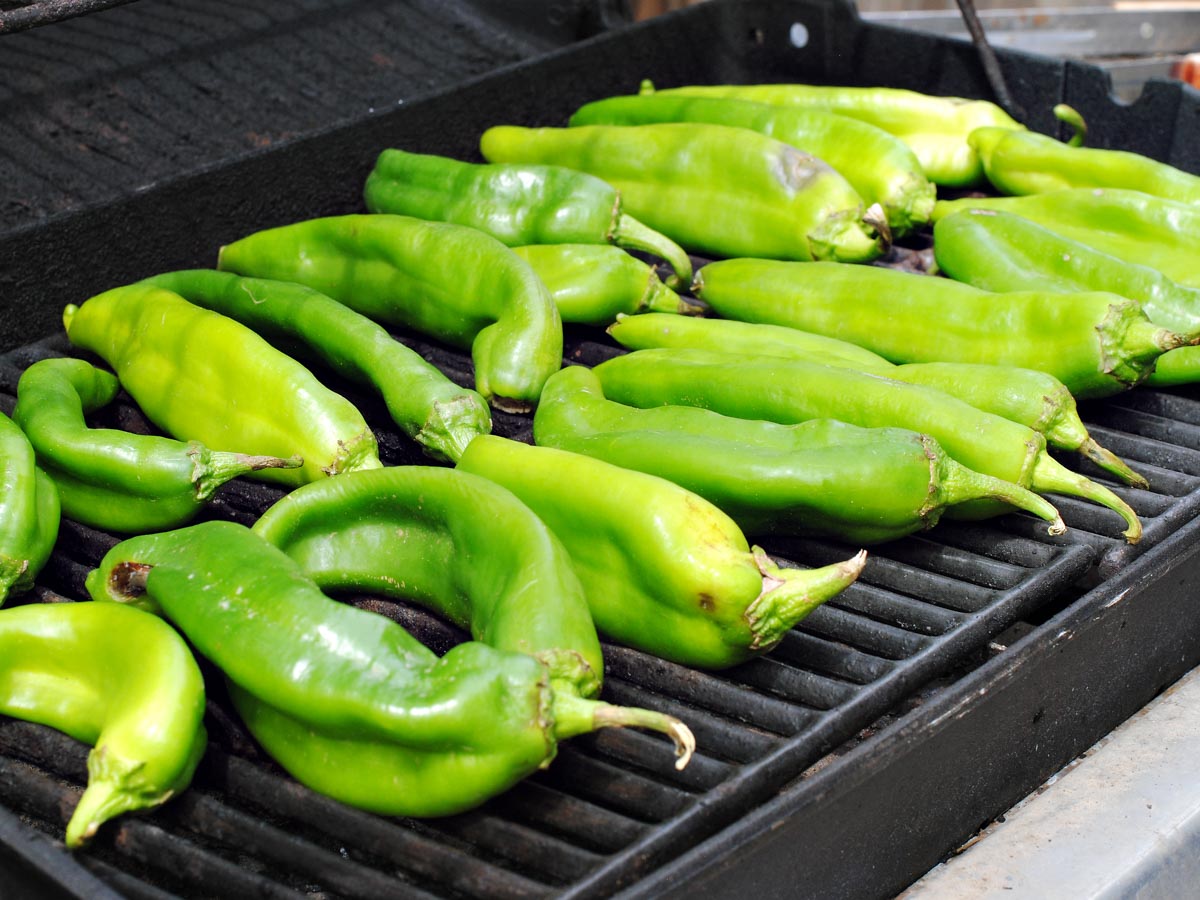
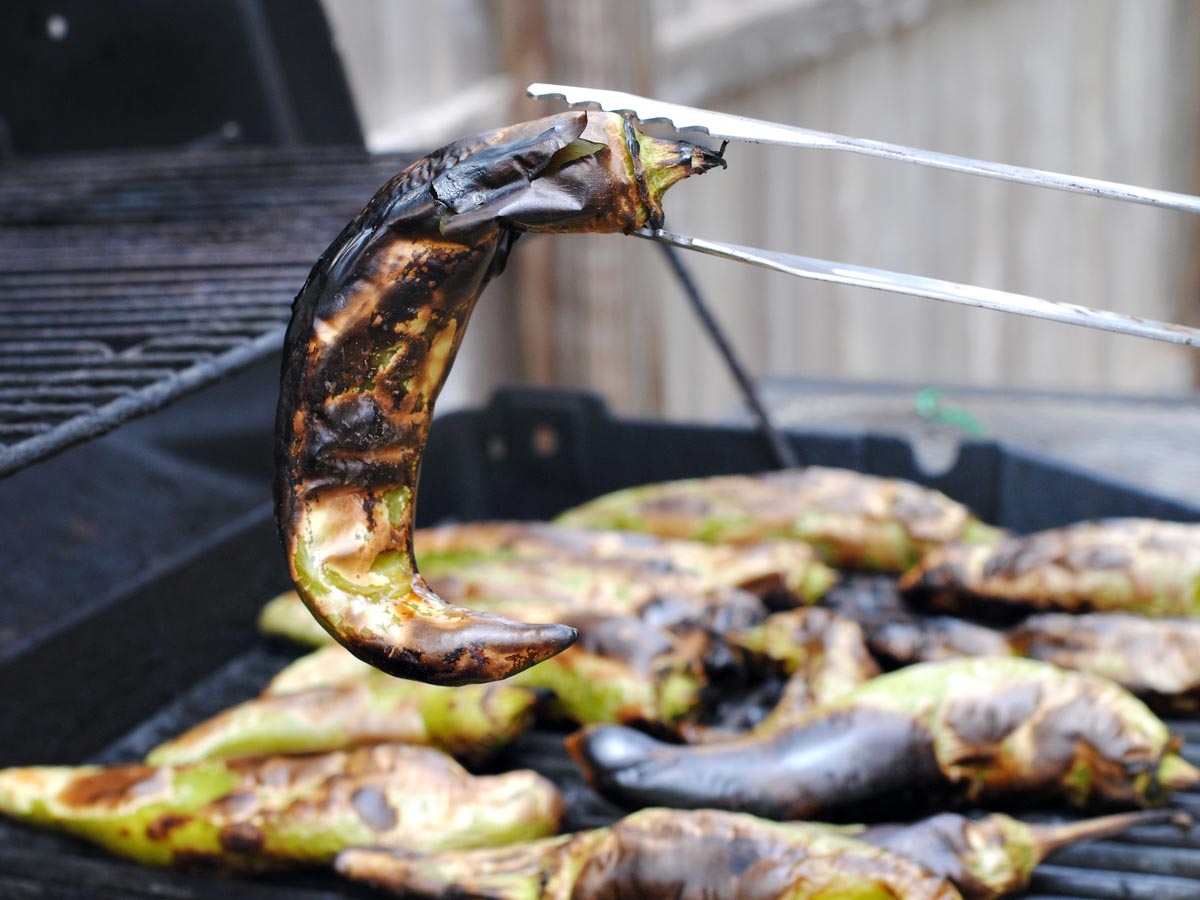
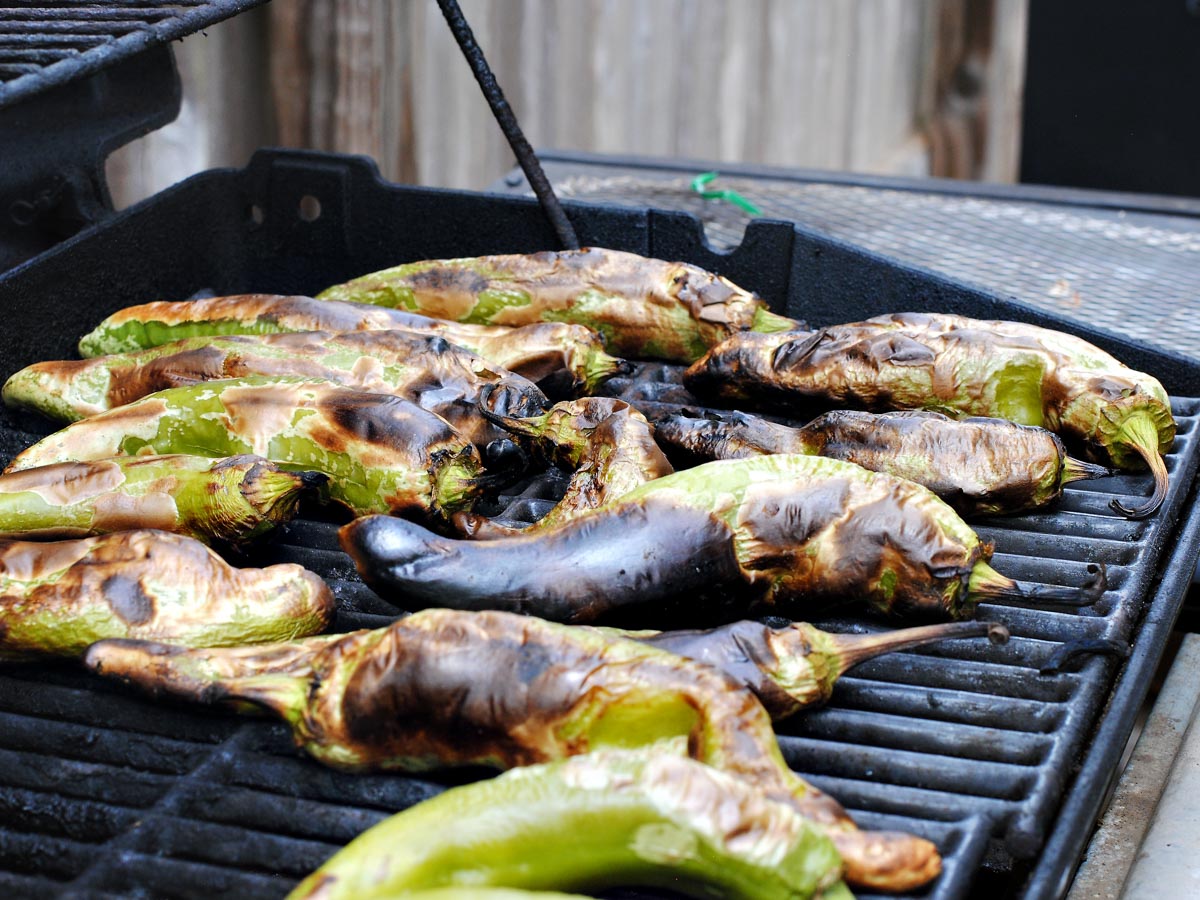
Once your grill is preheated, you can begin placing the green chiles across the grill. You don’t want to stack any of them. You will want it all in one even layer leaving enough room to fit your tongs in to flip them.
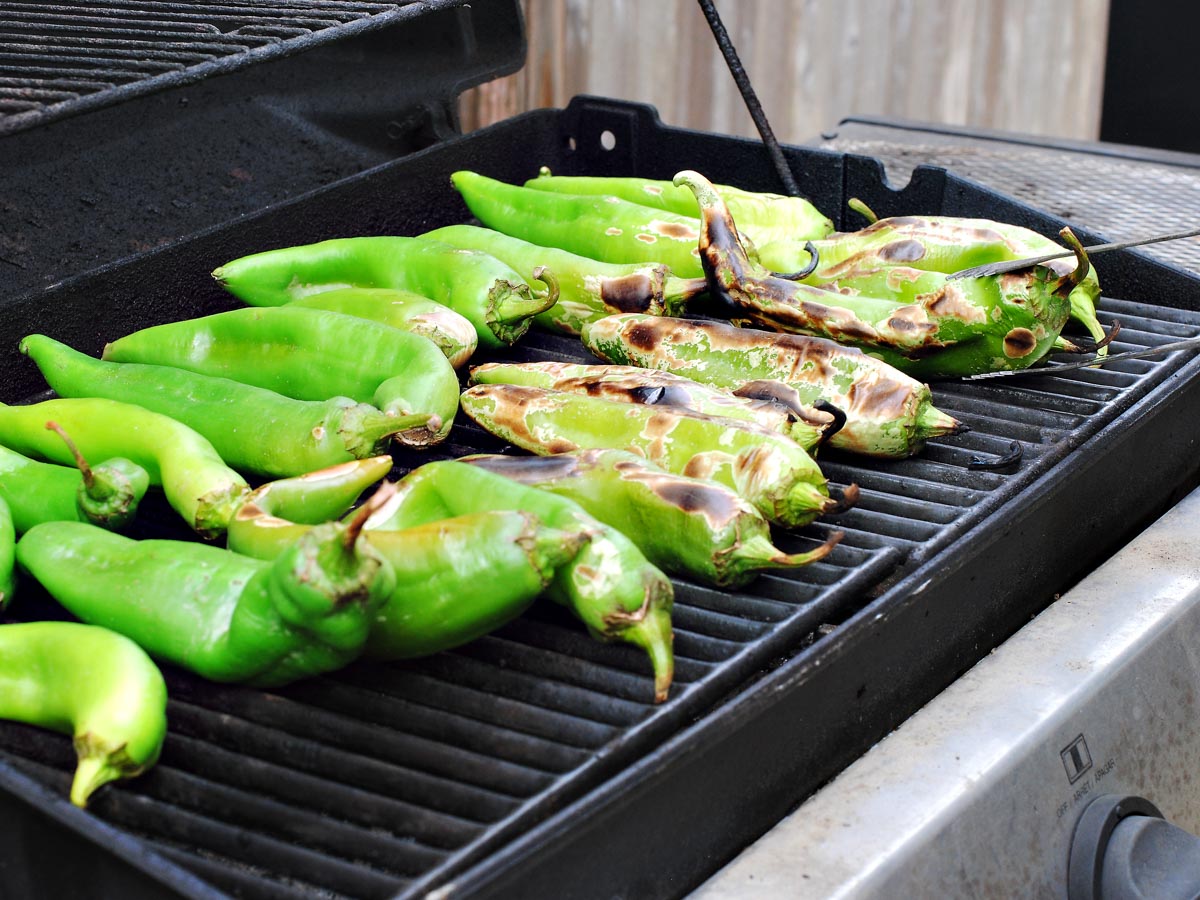
Allow them to sit until they blister. If you’ve allowed your grill to get hot enough, this should take only a few minutes per side. WARNING: THEY WILL POP!
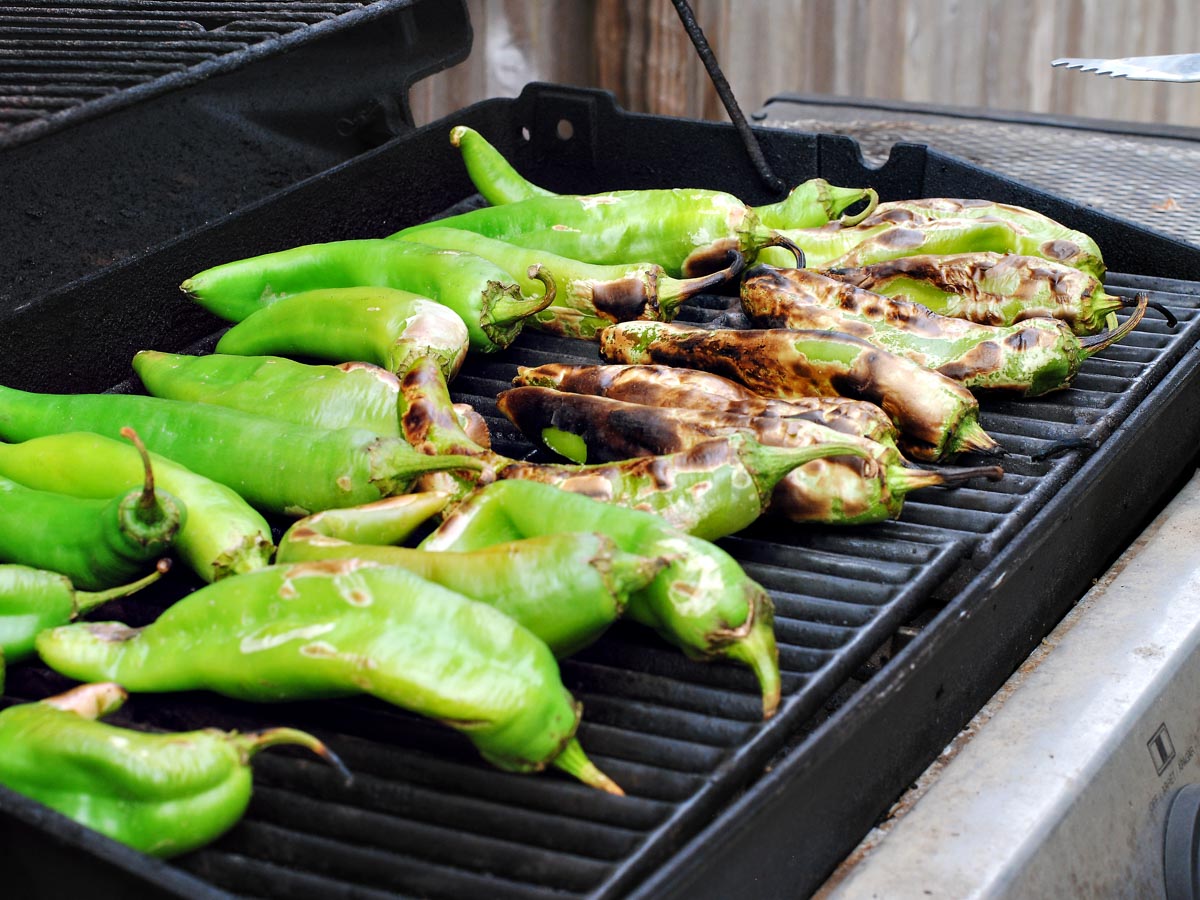
You want them to blister almost like a roasted, burned marshmallow. You want them completely blistered, but without burning the actual meat of the chile. You will continue to rotate them as they roast until all sides are completely blistered.
Once they are completely roasted on all sides, take them off the grill and put them in the pot and cover them with the second wet dish towel. Continue to roast each of them until all are complete, adding them to the covered pot.
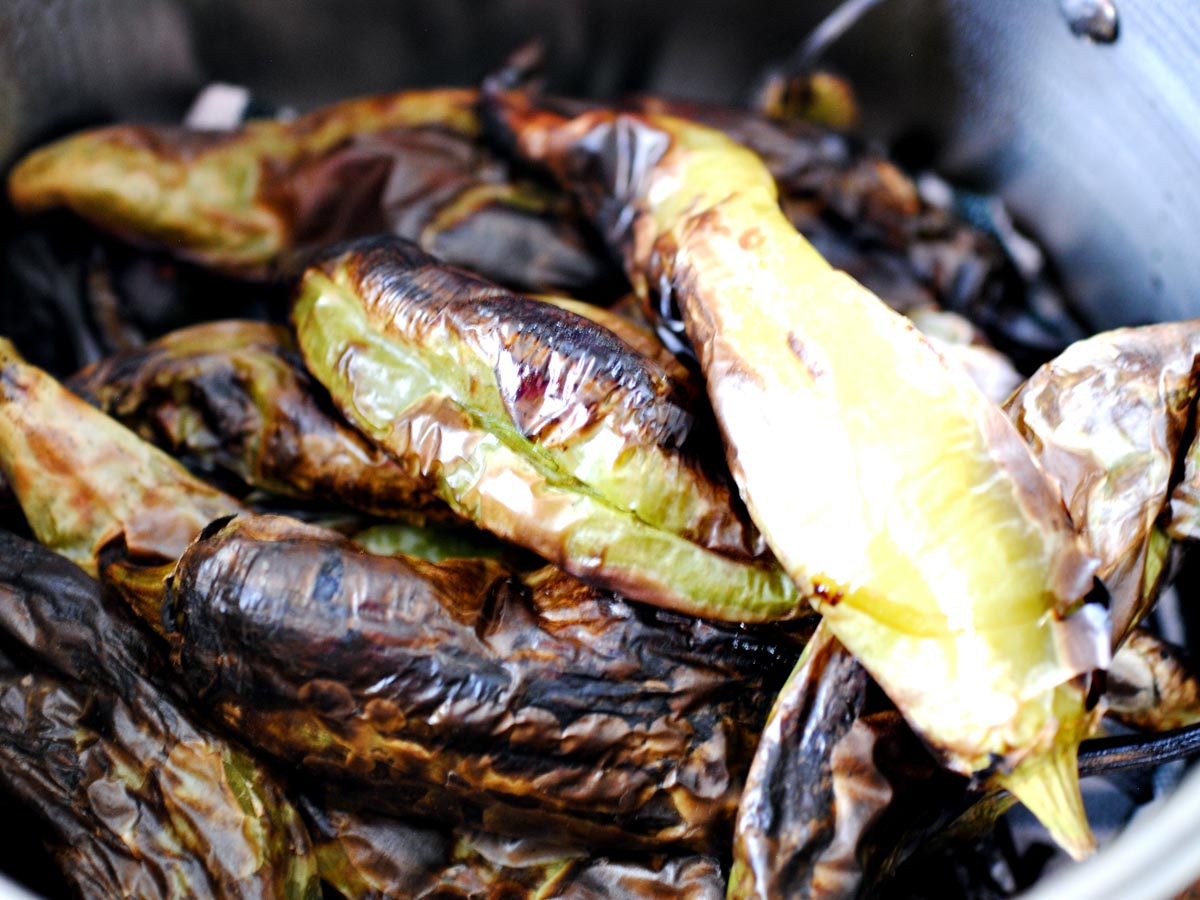
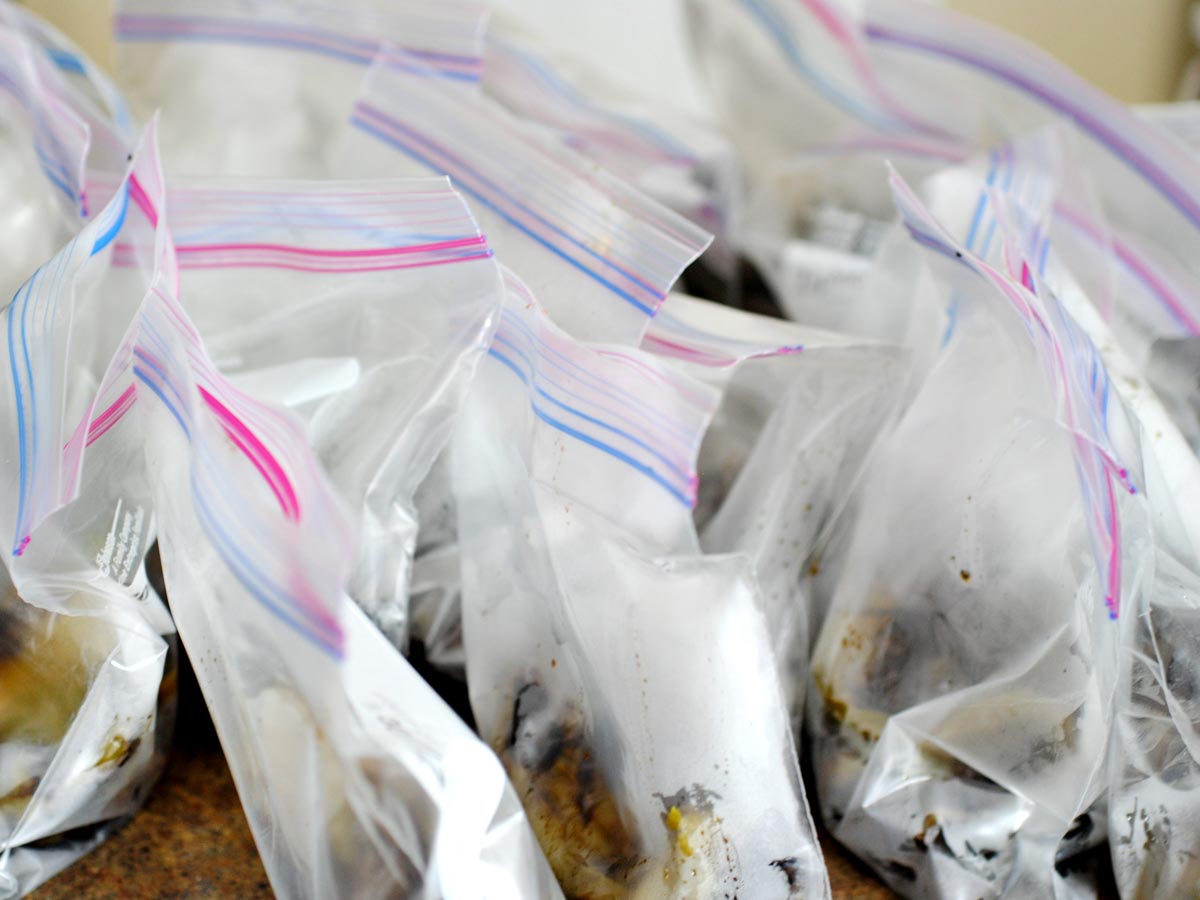
After you finish roasting, let the chiles sit in the pot and continue to steam for at least 15 minutes. I like to store mine in the freezer with about 4-5 chiles per zippie. After allowing them to steam for 15 minutes, I remove them from the pot, place them in zippies and let them steam a little longer. Allow them to cool before placing in the freezer.
Enjoy!!


Commenting from a fellow New Mexican now living in Texas. But I do live close to NM and get Chile from Hatch in August. We had youth camp in Cloud Croft and having green chile every day was awesome. One leader said this is awesome!
I love that, Nicki! There’s nothing like green chile season and Cloudcroft is such a beautiful spot. I bet that camp food hit a whole new level if there was green chile involved.