
Cherry crisp with fresh cherries should have a thick, jammy filling and a buttery oat topping, not a puddle of cherry juice hiding underneath. I cook the cherries down first so you can see exactly where the filling stands and adjust the sweetness before it ever goes into the oven. Add a scoop of vanilla ice cream while it’s still warm, and this is exactly what fresh cherry season should taste like.
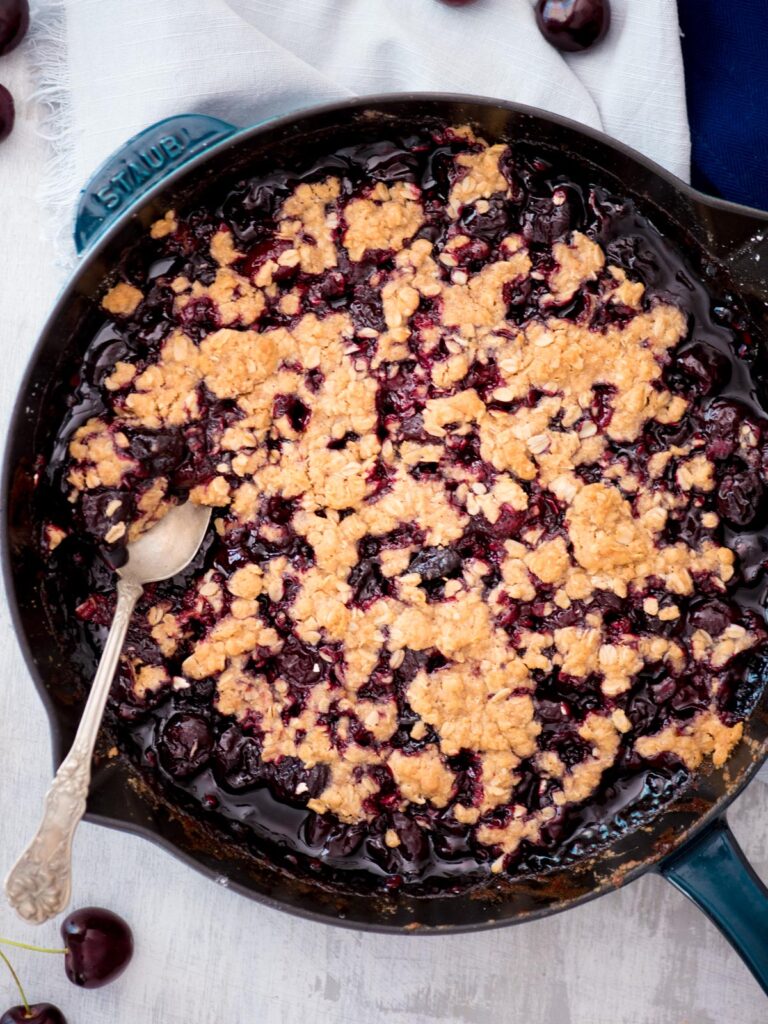
Fresh cherries can be a little unpredictable when it comes to sweetness, which is part of why I handle the filling differently. Some batches are incredibly sweet and barely need anything added to them. Others are much more tart. That’s why I give the sugar as a range instead of pretending every six cups of cherries need the exact same amount.
I also cook the filling on the stovetop before the topping goes on. I started doing it this way because I didn’t want to gamble on how much juice the cherries would release in the oven and end up with a watery crisp. Cooking them first lets you get the filling thick and jammy, taste it, and add more sugar if it needs it before the whole thing goes into the oven.
Once the cherries are where they should be, the oven only needs to brown the brown sugar oat topping. You end up with soft, saucy cherries underneath and a crisp topping on top. Ultimately, you have a lot more control over the finished dessert.
Why You’ll Love This Fresh Cherry Crisp
- The filling is thick before it goes into the oven. You’re not crossing your fingers and hoping the cherries cook down enough before the top is browned.
- You can adjust the sweetness to your cherries. Sweet summer cherries may only need 1/4 cup sugar, while a more tart batch may need a full 1/2 cup.
- The topping has a crispy texture. Old-fashioned oats, brown sugar, flour, and butter bake into a crisp topping that doesn’t sink down into the cherries.
- It still tastes like fresh cherries, not cherry pie filling. The filling is sweet enough for dessert without covering up what made the cherries worth buying in the first place.
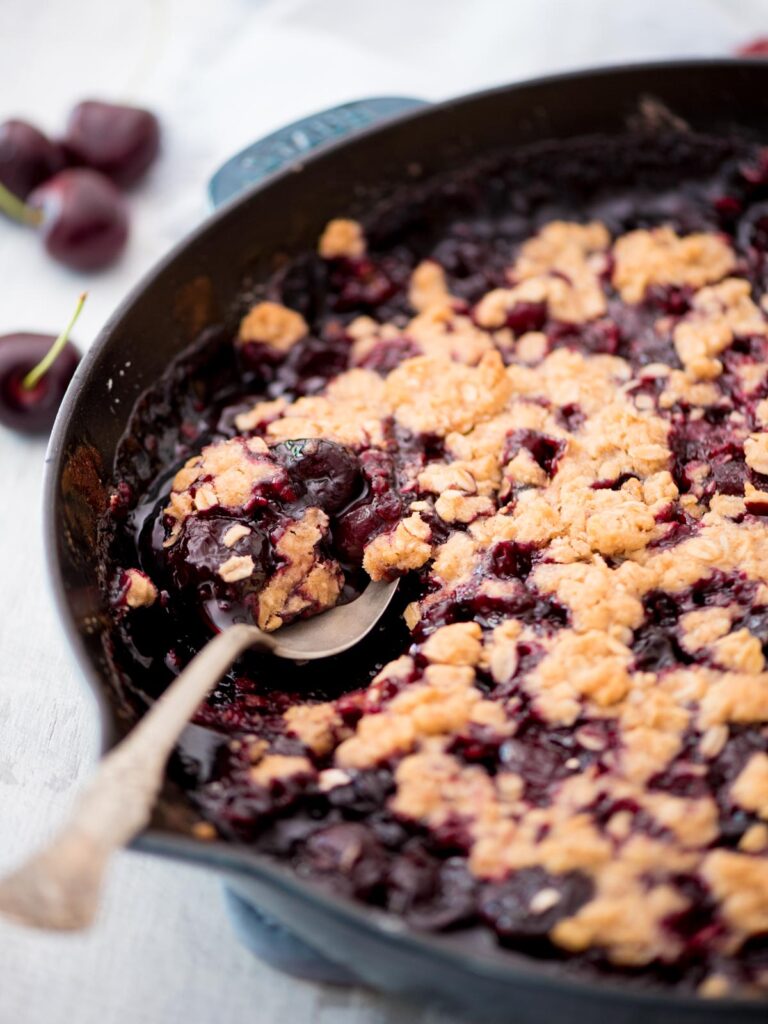
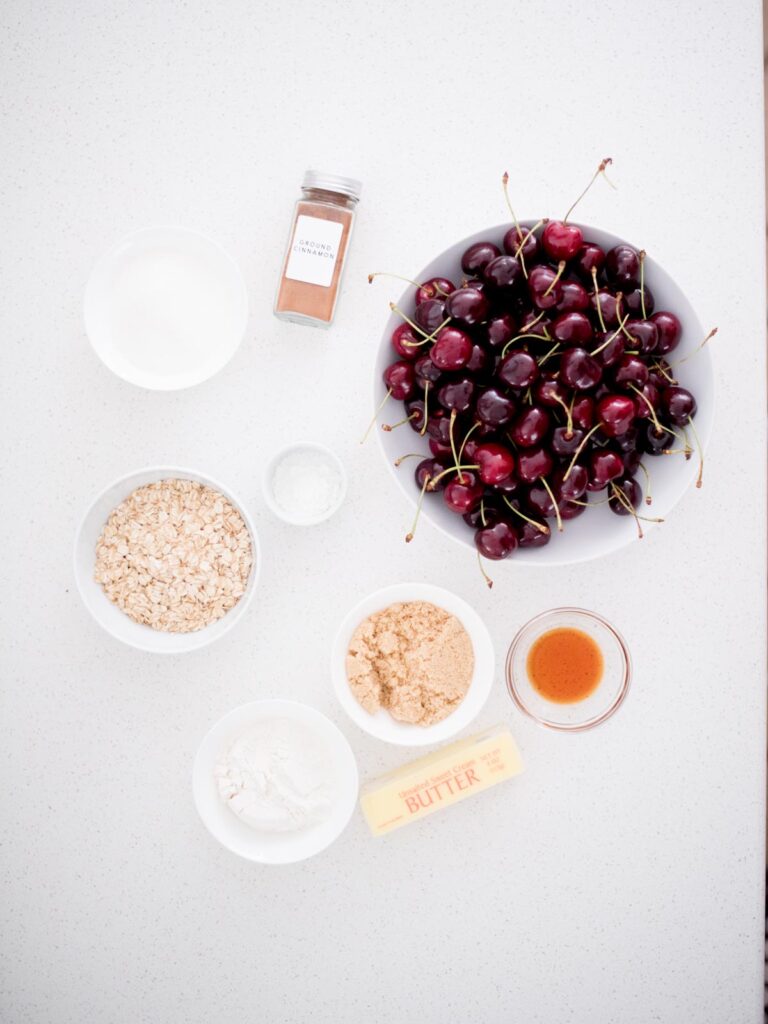
Ingredients for Cherry Crisp with Fresh Cherries
Fresh cherries: This recipe is really for the good fresh cherries you find during cherry season. Their sweetness can vary quite a bit, which is why the sugar isn’t one fixed amount.
Sugar: Use this to sweeten the cherry filling based on the cherries you have. Very sweet cherries won’t need nearly as much as a tart batch.
Cornstarch: Helps the juice from the cherries turn into a thick sauce instead of staying watery.
Old-fashioned oats: These give the topping its crisp, crumbly texture. I would stick with old-fashioned oats here rather than quick oats.
All-purpose flour: Gives the topping enough structure to form crumbles instead of melting completely into the cherries.
Ground cinnamon: Just enough to warm up the brown sugar oat topping without making the whole dessert taste like cinnamon.
Brown sugar: Gives the topping that deeper caramel-like flavor.
Butter: Melted butter coats the entire oat mixture and helps it bake into golden crumbles.
Vanilla extract: Goes into the topping and gives the brown sugar and butter a little more of that classic crisp flavor.
How to Make Cherry Crisp with Fresh Cherries
- Preheat the oven to 350°F.
- Prep the cherries by removing the stems and pits.
- Add the cherries, sugar, and cornstarch to a cast iron skillet. Cook over medium-high heat for about 15 minutes, stirring consistently.
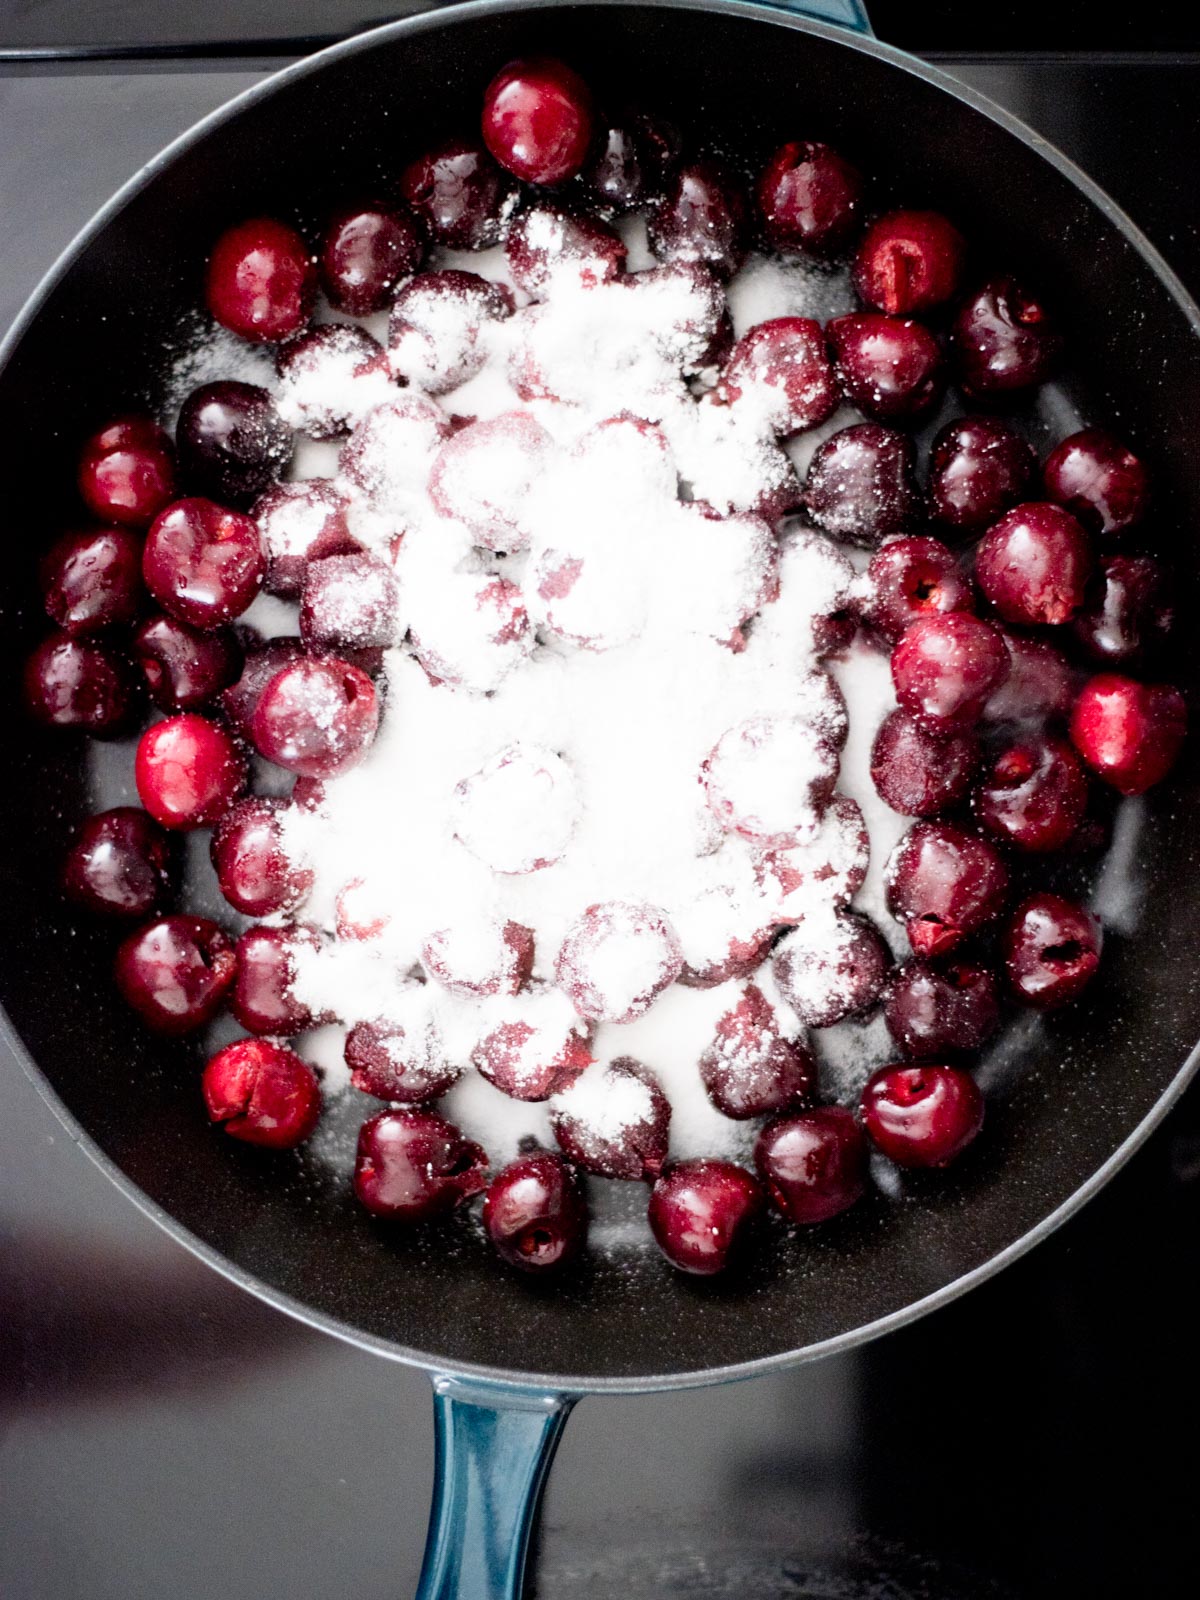
- Watch the texture. The cherries will begin to soften and release their juice, then that juice will start to thicken around them. You’re looking for a saucy, jammy filling rather than cherries sitting in thin liquid.
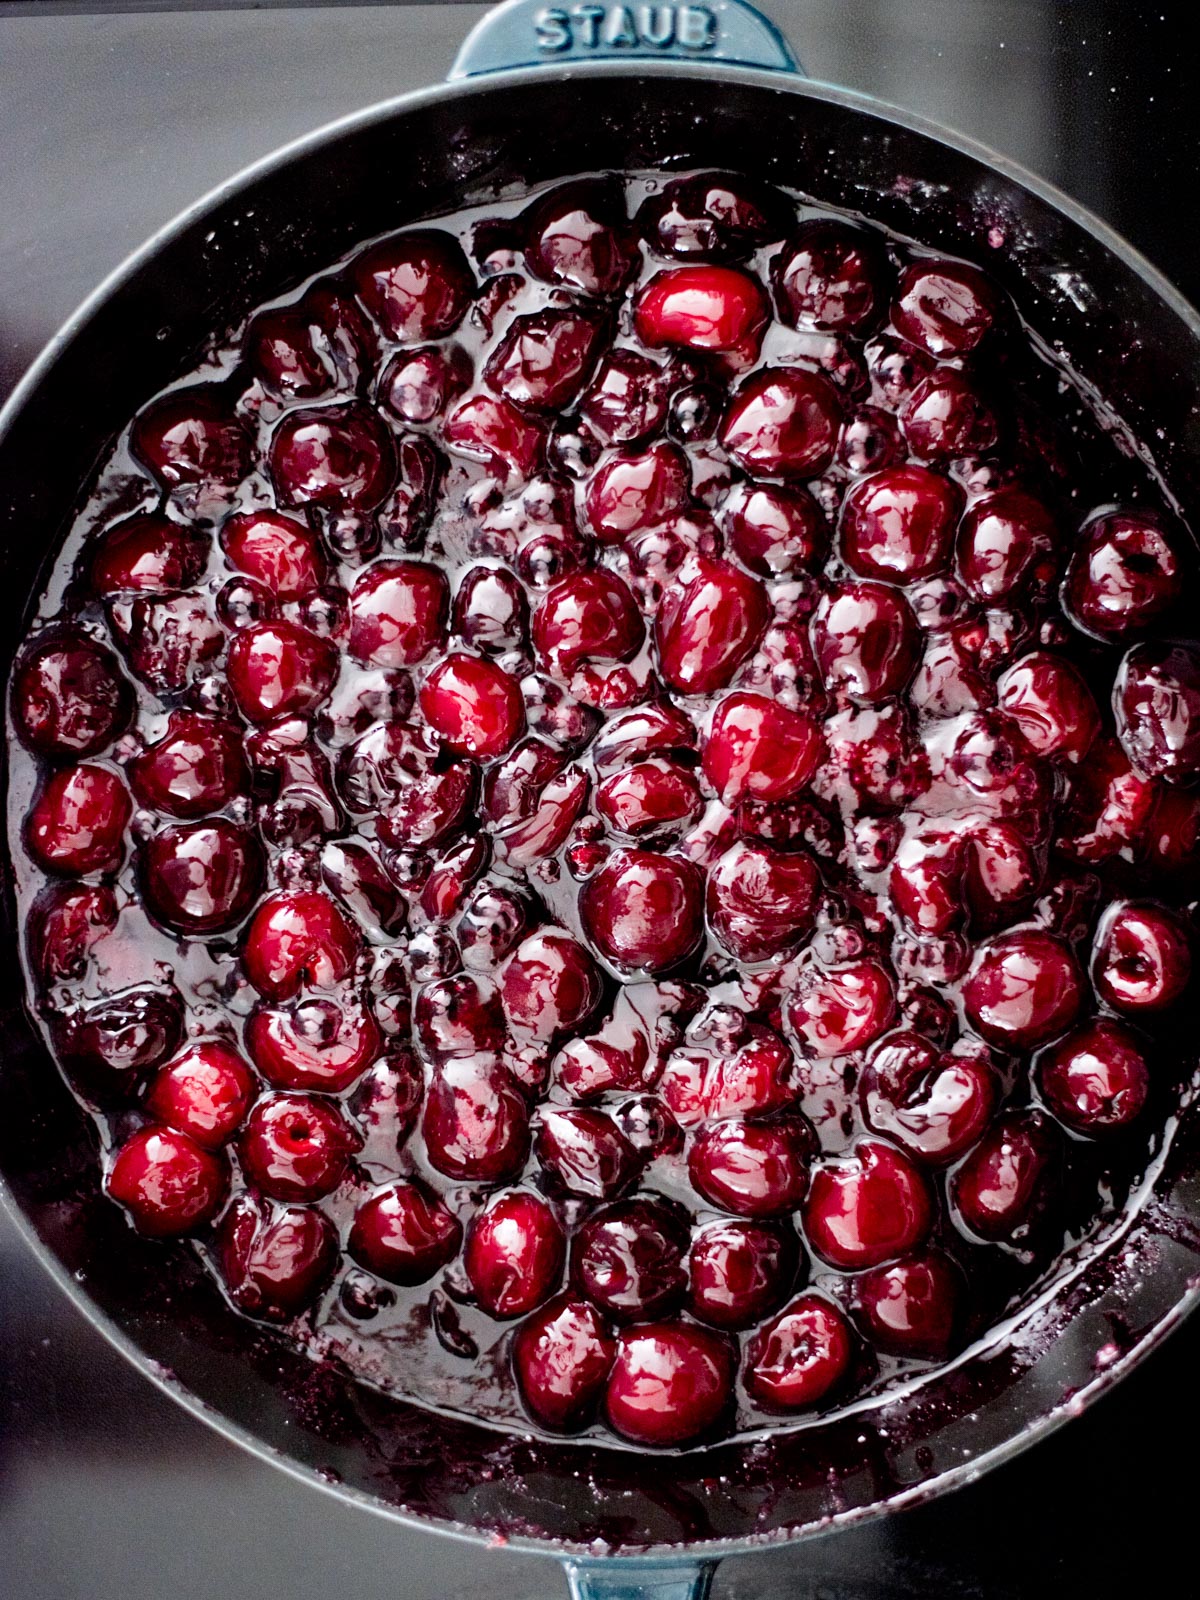
- This is the time to taste the filling. If your cherries are already very sweet, ¼ cup sugar may be plenty. If they’re more tart, use up to the full ½ cup.
- In a separate bowl, combine the old-fashioned oats, flour, cinnamon, brown sugar, melted and cooled butter, and vanilla. Mixing it with your fingers works well because you can make sure all of the dry ingredients are evenly coated with butter.
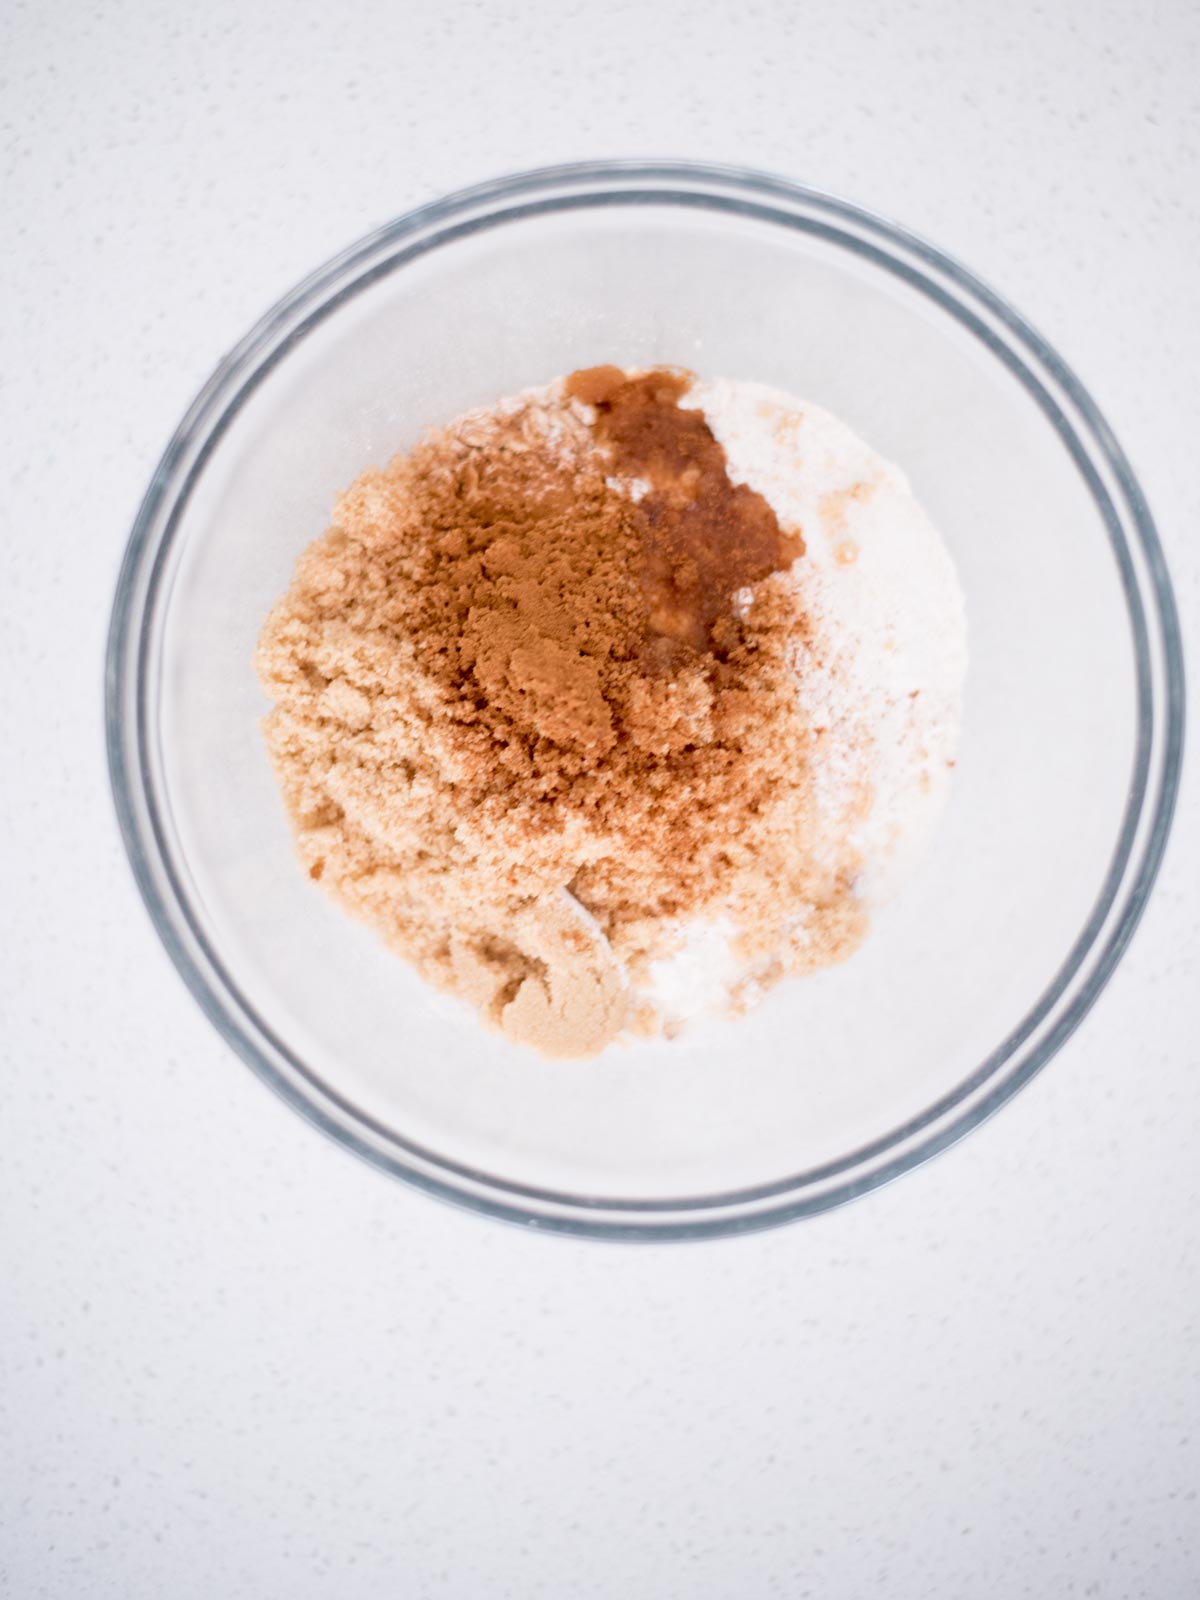
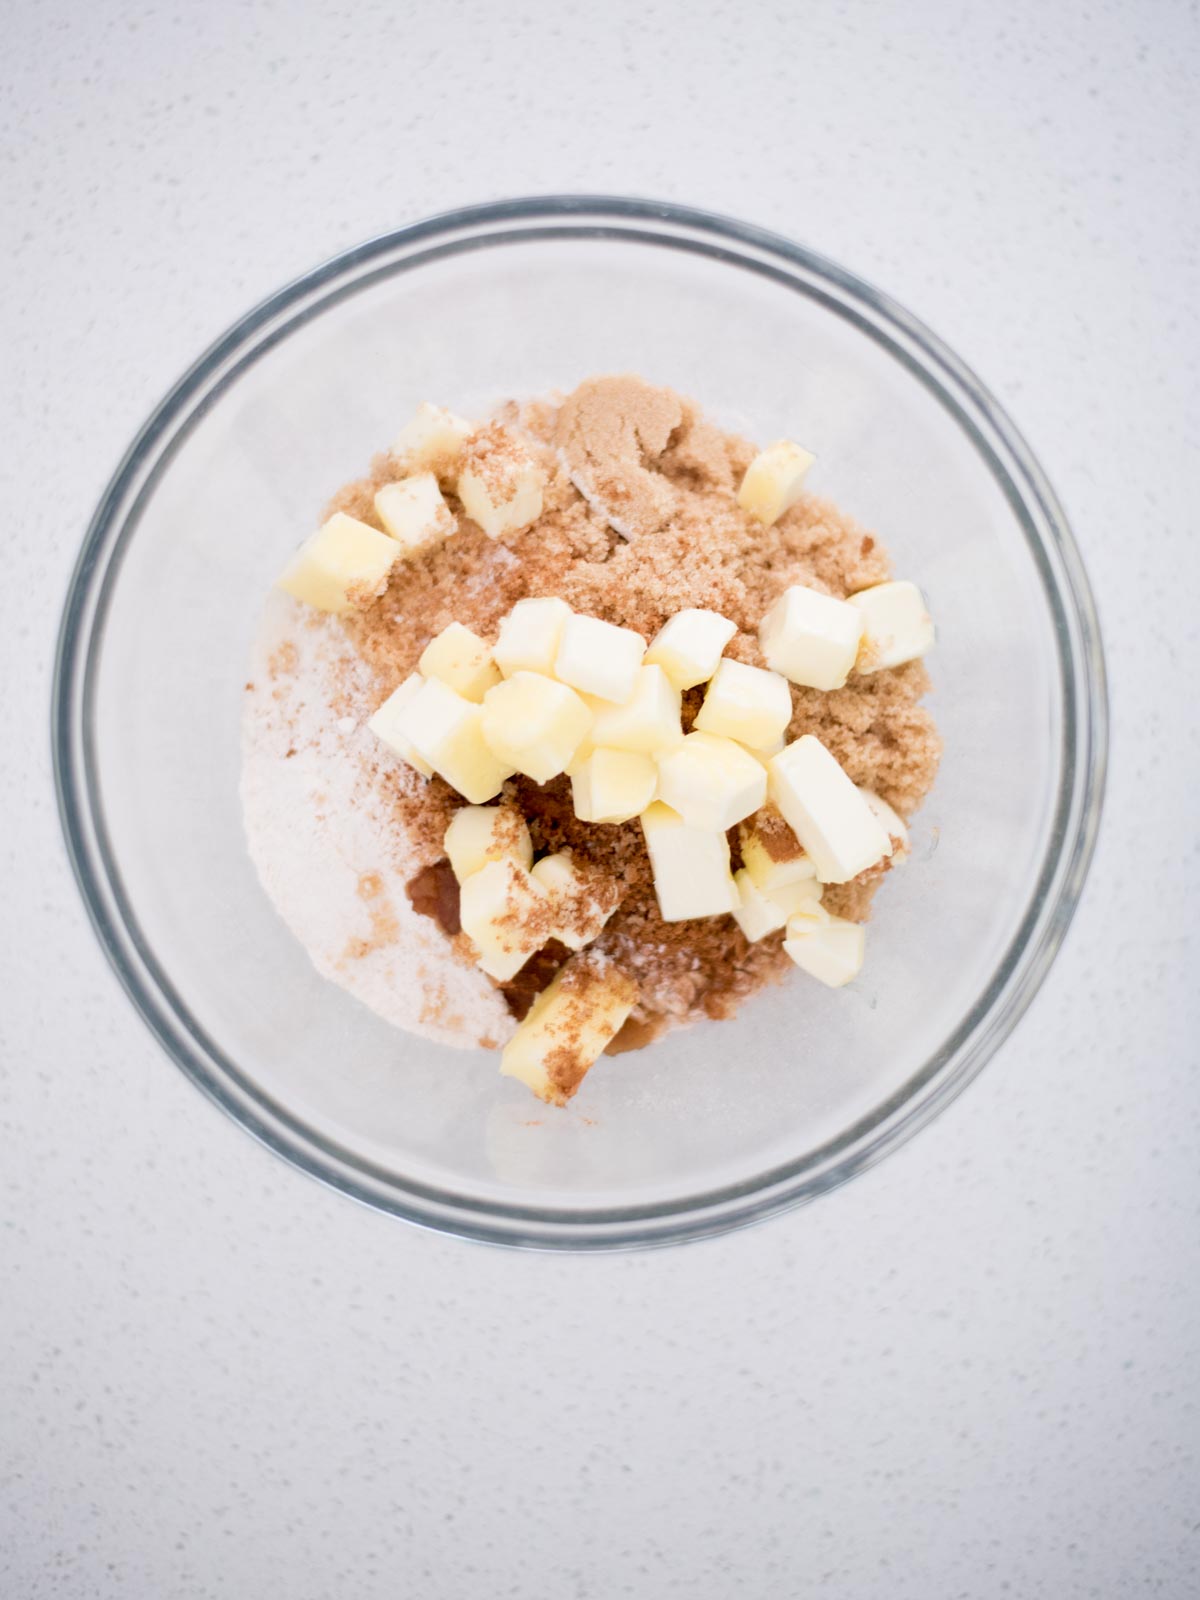
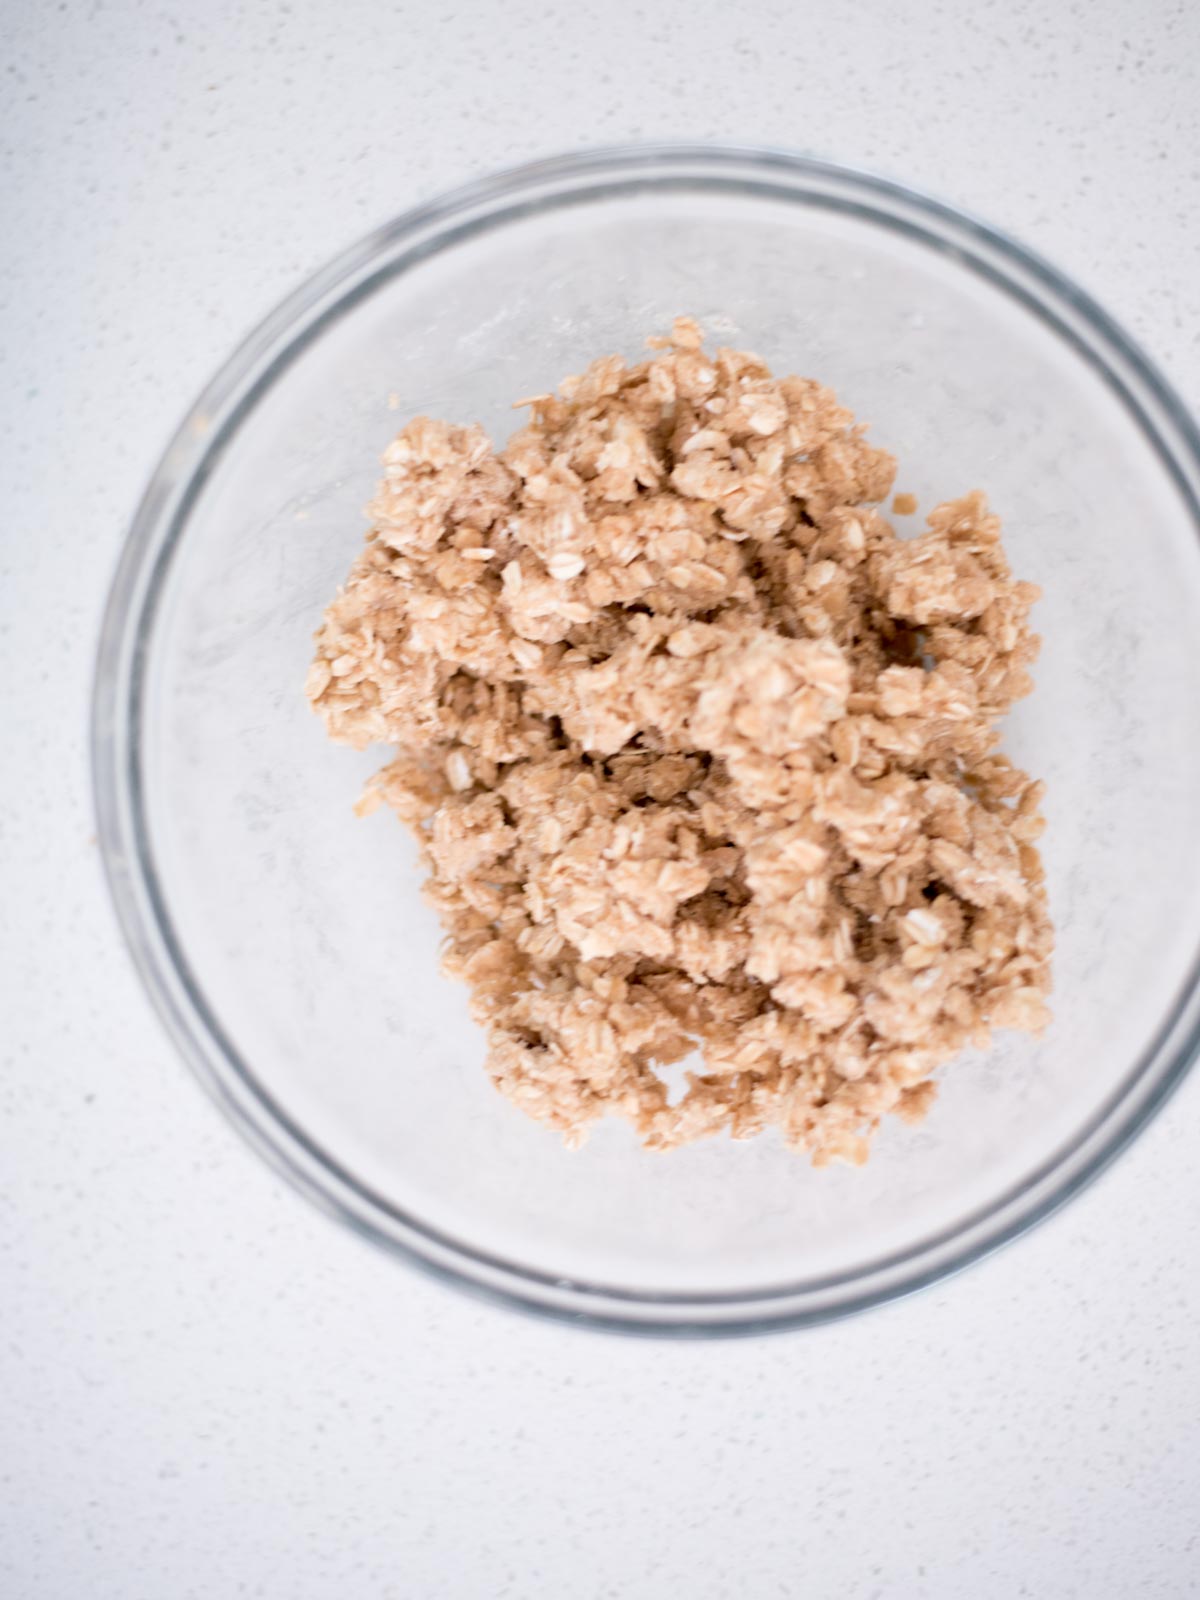
- Remove the cherry filling from the heat and sprinkle the oat mixture evenly over the top.
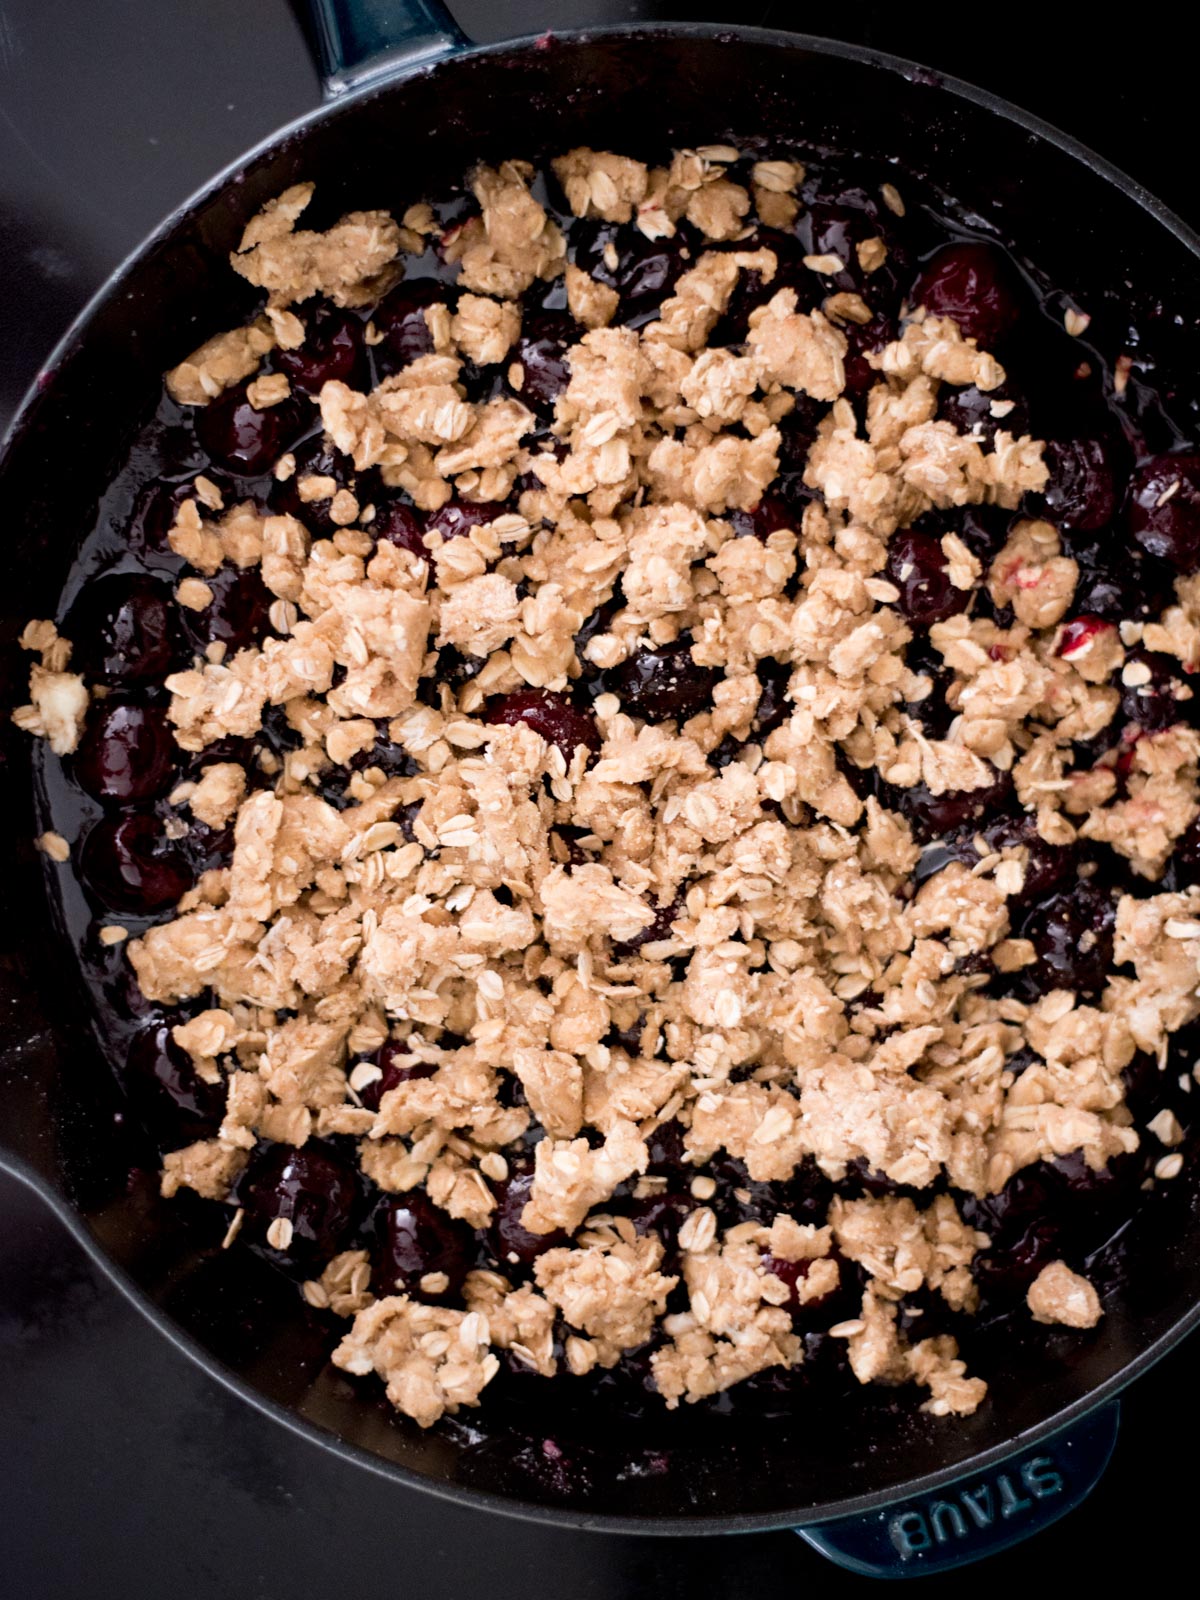
- Bake for 25 to 30 minutes, just until the topping is golden brown.
- Spoon it into bowls while it’s still warm and add vanilla ice cream.
How to Pit Cherries
A cherry pitter is the quickest and cleanest option if you have one, especially when you’re working through 6 cups of cherries.
If you don’t have a cherry pitter and need a pitting cherries hack, you can remove the pits with a sturdy straw, chopstick, or the narrow end of a piping tip by pushing it through the center of the cherry.
Pit the cherries over a cutting board or bowl you don’t mind staining. Fresh cherry juice gets everywhere fast.
Kara’s Tips for Old Fashioned Cherry Crisp Recipe
Use the cherries to decide how much sugar you need. Don’t automatically dump in the full ½ cup. Taste a cherry first. If they’re the sweet, juicy kind you keep grabbing from the bowl, start with less. You can always add more while the filling is cooking.
Don’t rush the stovetop filling. The whole reason for cooking it first is to know where you’re going to end up. If there’s still a lot of thin juice around the cherries, give it time to thicken before adding the topping.
Keep stirring while the cherries cook. Once the cornstarch begins thickening the juices, you don’t want the bottom of the skillet sitting untouched over medium-high heat.
Look at the topping more than the clock. The bake time is 25 to 30 minutes, but the cue that matters is a golden brown crisp topping.

What Kind of Cherries Are Best for Cherry Crisp?
Sweet fresh cherries work especially well here because the recipe lets you adjust the added sugar to match them.
The most important thing isn’t chasing one exact variety. It’s starting with cherries that taste good on their own. If your batch is especially sweet, you’ll stay closer to ¼ cup sugar. If they have more tartness, you’ll likely want more.
That’s also why I prefer tasting the cooked filling instead of trying to decide the exact sugar amount before the cherries ever hit the pan.
Do I Have to Cook the Cherries Before Baking?
For this recipe, yes, and I wouldn’t skip it.
Fresh cherries don’t release exactly the same amount of juice every time. Precooking the cherries means you can see whether the filling is actually thick enough before you cover it with the crisp topping.
It also gives you a chance to taste the cherries after they’ve cooked down and adjust the sugar if necessary. Once the topping is on and the whole thing is baking, you’ve lost that opportunity.
Serving Ideas
Fresh cherry crisp doesn’t need much. I like it best warm with vanilla ice cream, where the ice cream starts melting down into the cherry filling.
You could also serve it:
- With lightly sweetened whipped cream
- Warm on its own if the cherries are especially good
- After a summer cookout or backyard dinner
- As one of those desserts you set right in the middle of the table and let everyone scoop for themselves
How to Store Cherry Crisp
Refrigerator
Once the crisp has cooled, cover it or transfer the leftovers to an airtight container and refrigerate for up to 3 days.
The oat topping will soften somewhat once it sits over the cherry filling, so this one has its best texture the day it’s baked.
How to Reheat Cherry Crisp
Oven
For the best texture, warm the crisp in a 350°F oven until heated through. The oven does a better job of bringing some crispness back to the oat topping.
Microwave
For a single serving, the microwave is fine. Heat it just until warm. The topping won’t be as crisp, but if there’s vanilla ice cream involved, I don’t think anybody is going to complain.
Frequently Asked Questions
A crisp traditionally includes oats in the topping, while a crumble usually uses more of a flour, sugar, and butter mixture without oats. This cherry crisp uses old-fashioned oats along with flour, brown sugar, and butter for that classic crisp topping.
Fresh cherries release quite a bit of juice as they cook. In this recipe, the cherry filling is cooked on the stovetop with cornstarch before the topping is added so you can make sure that juice has thickened before the crisp goes into the oven.
This recipe was developed with fresh cherries, and frozen cherries will release considerably more water as they thaw and cook. I wouldn’t swap them in without adjusting the method because it could change both the amount of liquid in the filling and how long it needs to thicken.
I prefer this one warm, especially with vanilla ice cream. You can eat leftovers cold from the refrigerator, but warming them brings the cherries back to that soft, saucy texture and makes it feel much more like the dessert you pulled out of the oven.
More Fruit Desserts
Pin this now to find it later
Pin ItIf you make this recipe and love it, we would love a 5 ⭐️⭐️⭐️⭐️⭐️ rating! It helps us continue to provide free recipes.
Cherry Crisp with Fresh Cherries
Ingredients
- 6 cups fresh cherries
- ¼-½ cup sugar
- 1 tablespoon corn starch
- ¾ cup old fashioned oats
- ½ cup all purpose flour
- ¼ teaspoon ground cinnamon
- ½ cup brown sugar
- ½ cup butter (melted and cooled)
- ½ teaspoon vanilla extract
Instructions
- Preheat the oven to 350°F.
- Remove the stems and pit the cherries.
- Add the cherries, sugar, and corn starch to a cast iron skillet.
- Heat over medium high heat for approximately 15 minutes, stirring consistently.
- Allow the cherries to break down and the sauce to thicken. You'll want to use less sugar if your cherries are very sweet, but use the full ½ cup if your cherries are tart.
- Once the cherry mixture is complete, remove it from the heat and set it aside.
- In a separate mixing bowl, mix together the oats, flour, cinnamon, brown sugar, butter, and vanilla extract. It usually works best to mix together with your fingers. Make sure it is completely combined.
- Sprinkle the topping mix over the cherry mixture.
- Bake for 25-30 minutes, just until the topping is golden brown.
- Serve it with vanilla ice cream and enjoy!
Video
Notes
- Sugar: Start with ¼ cup if your cherries are very sweet. Use up to ½ cup if they’re more tart. Taste the filling while it cooks and adjust before adding the topping.
- Filling consistency: Cook the cherries until the juices have thickened and the filling looks jammy, not watery, before adding the crisp topping.
- Cherries: This recipe was developed with fresh cherries. Frozen cherries will release more liquid and may need additional cooking time to thicken properly.
- Serving: Best served warm with vanilla ice cream.
- Storage: Store leftovers covered in the refrigerator for up to 3 days. Reheat in a 350°F oven for the best topping texture.
Nutrition
Nutrition information is automatically calculated, so should only be used as an approximation.