



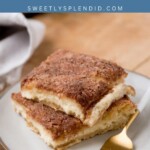


Sopapilla cheesecake should have a buttery cinnamon-sugar crust, flaky crescent roll layers, and a creamy cheesecake filling that actually stays put when you cut into it. This recipe gives you all three, with a filling that sets up smooth instead of squishing out the sides.
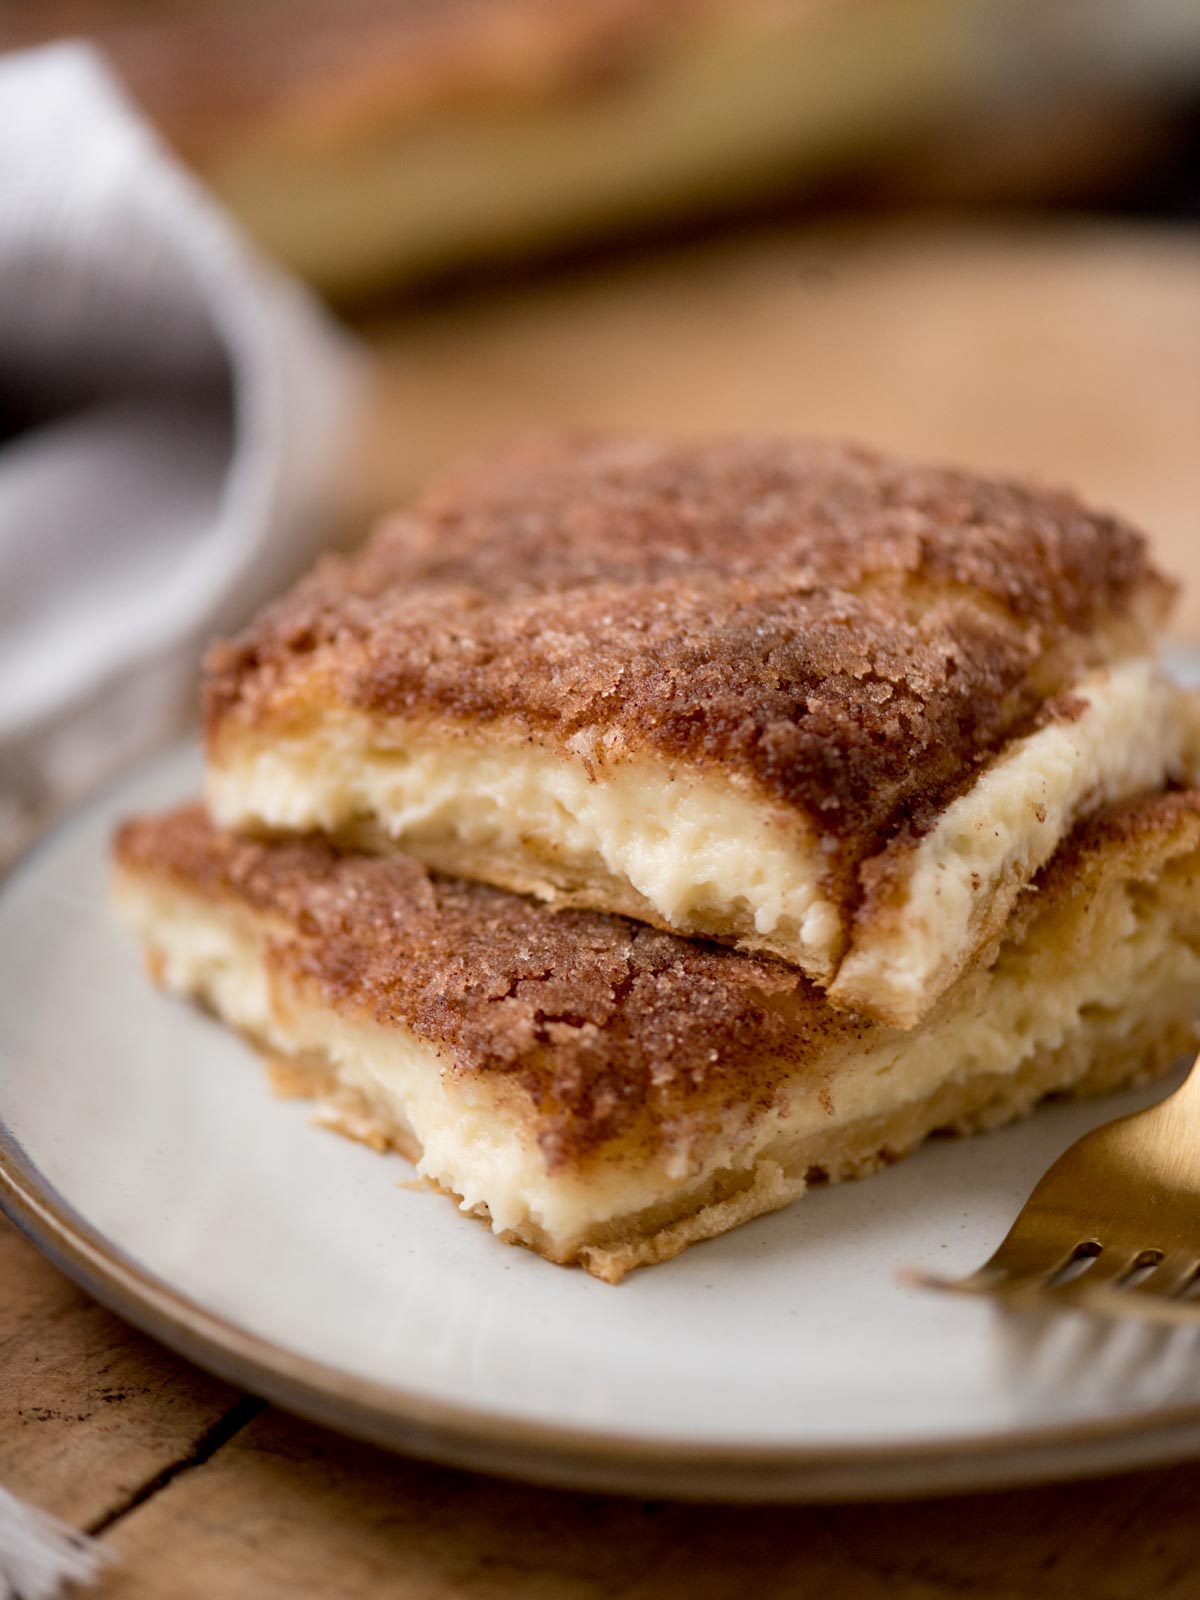
A lot of sopapilla cheesecake recipes are made with just sweetened cream cheese between two layers of crescent dough. The problem is that the filling can stay heavy and soft, even after baking. I wanted mine to have that creamy cheesecake texture without the filling sliding around when you pick up a square. Adding an egg to the cream cheese mix is what makes that difference.
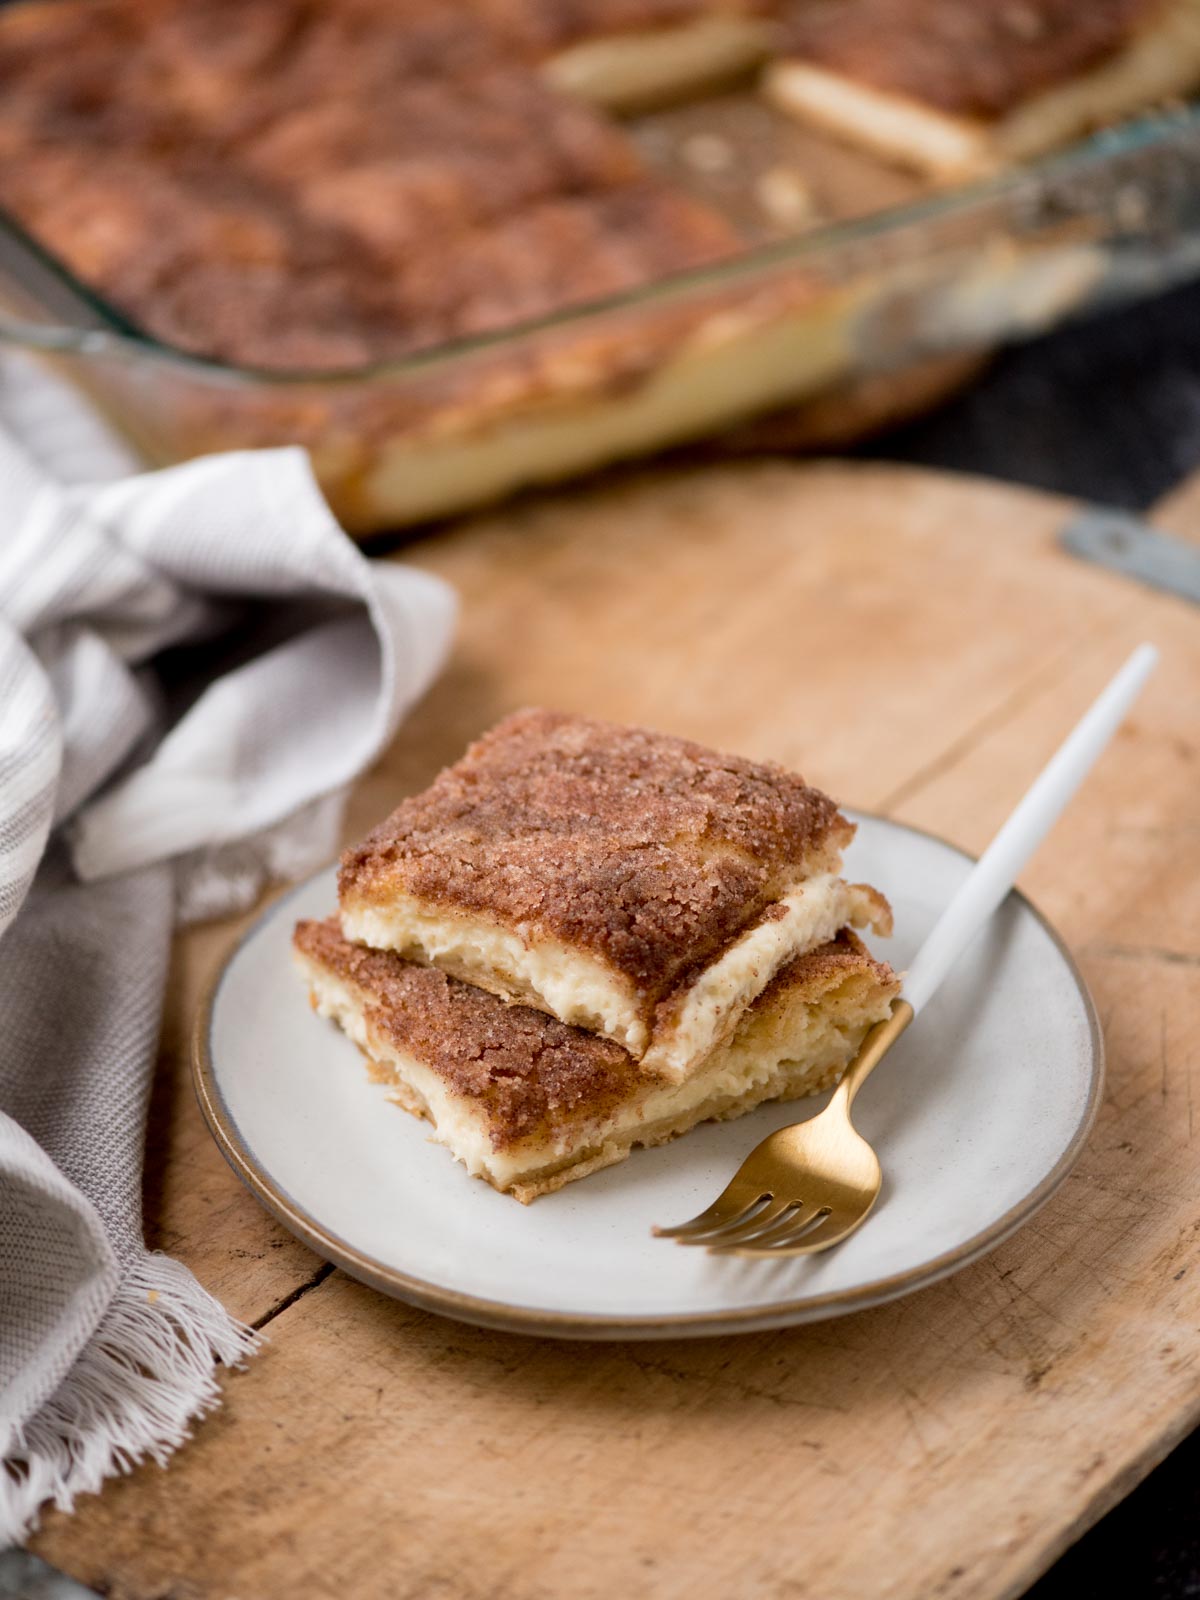
I made this both ways, back-to-back, so I could see the difference clearly. The version without the egg wasn’t necessarily bad, but it wasn’t a dessert bar. It was a crescent roll with cream cheese inside. With the egg, the filling baked up smooth and almost custardy, and the finished cheesecake held together when sliced.
The other thing I found while testing was how much the melted butter impacts the result. It helps the cinnamon sugar stick to the top of the dough and bake into that crisp, almost candied crust. Between that buttery top, the flaky crescent layers, and the creamy filling, you get everything you want out of sopapilla cheesecake.
Why You’ll Love This Sopapilla Cheesecake Recipe
- The filling actually sets. Adding an egg to the cream cheese mixture gives you a smooth, creamy cheesecake layer that holds together when you slice it instead of squishing out the sides.
- That cinnamon sugar topping is so good. The melted butter helps the top bake up golden and crisp, with plenty of cinnamon sugar in every bite.
- You get flaky pastry and creamy cheesecake in every square. The crescent dough gives you buttery layers on the top and bottom without having to make pastry from scratch.
- It’s easy to make ahead. You can bake it before your gathering, let it cool, and have dessert ready to slice when you need it.
Sopapilla Cheesecake Ingredients
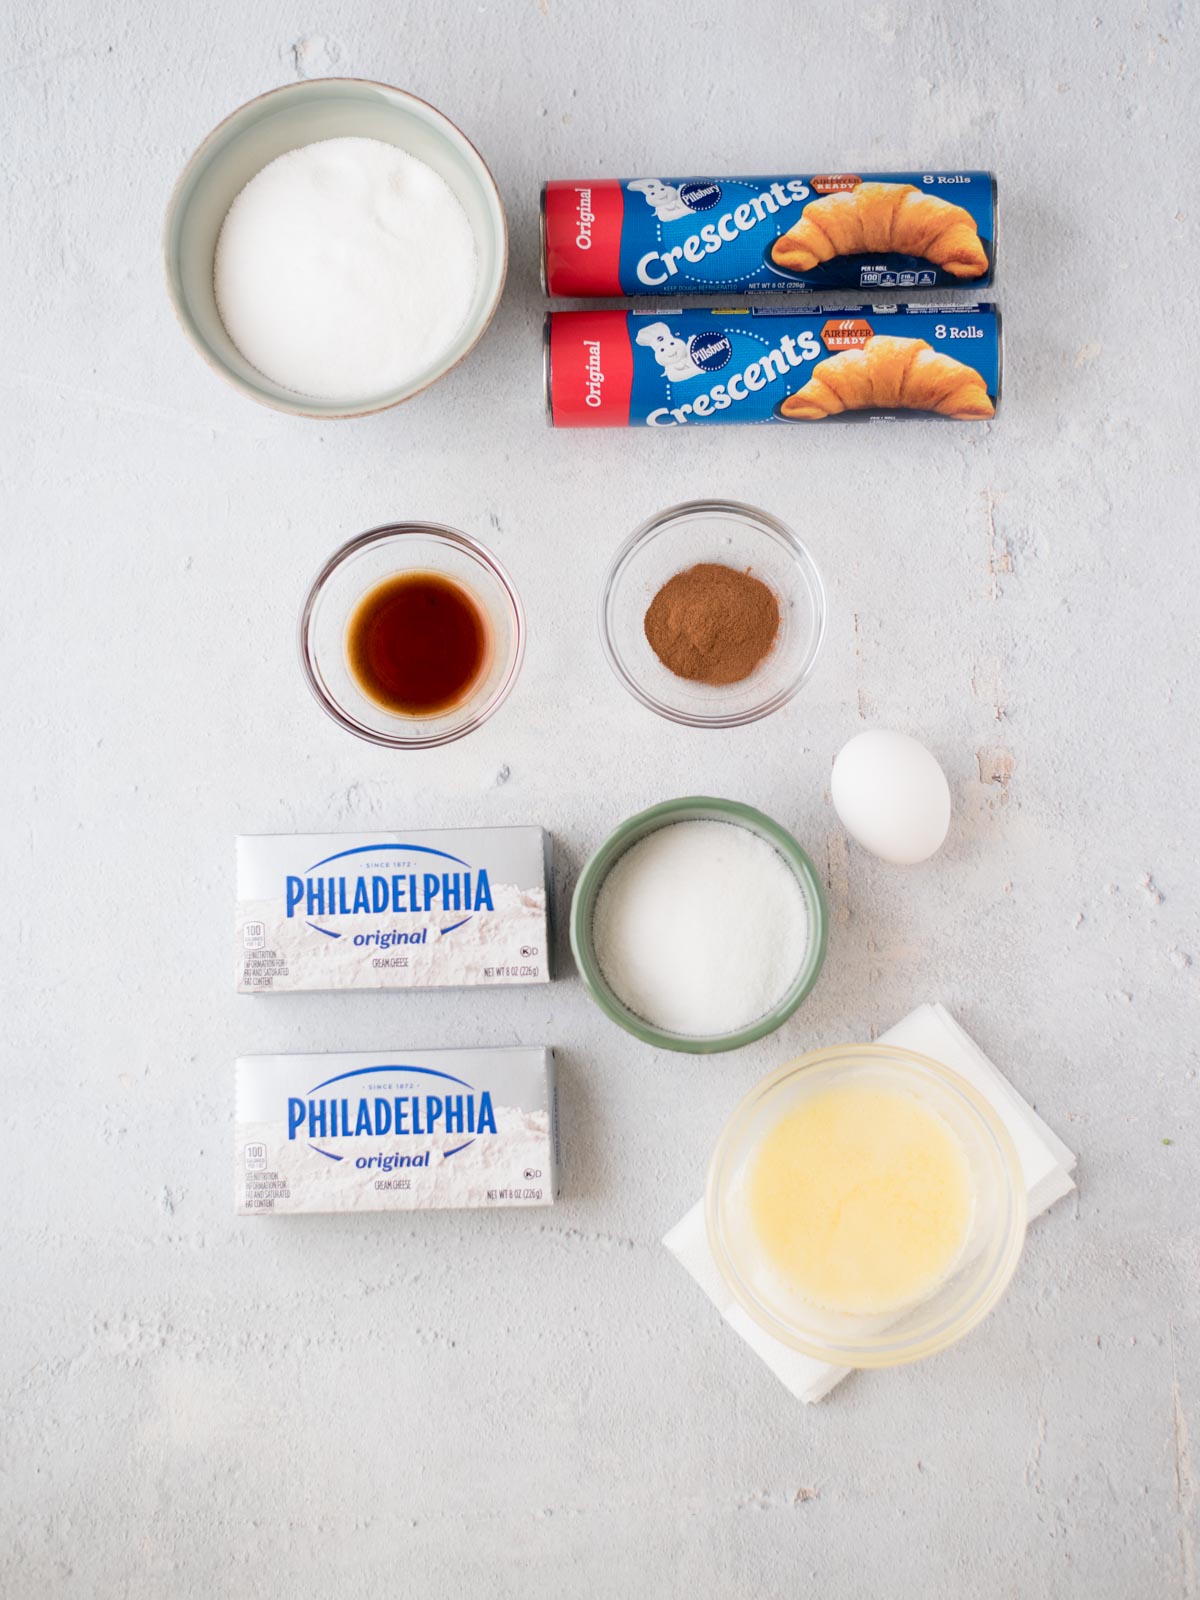
- Crescent roll dough: You’ll need two cans of refrigerated crescent dough. I recommend the seamless dough sheets if you can find them since you won’t have to worry about the perforations. Regular crescent rolls work just fine, too.
- Cream cheese: Stick with full-fat, block-style cream cheese for the best texture. Whipped or spreadable cream cheese won’t give you quite the same consistency.
- Egg: This is what helps the cheesecake filling set as it bakes, so you get creamy slices that hold their shape instead of cream cheese spilling out between the layers.
- Granulated sugar: Used in both the cheesecake filling and the cinnamon-sugar topping.
- Vanilla extract: I love using Mexican vanilla in this recipe, but regular pure vanilla extract works great, too.
- Unsalted butter: The melted butter helps create that golden, slightly crisp topping. I recommend unsalted since the crescent dough already contains salt.
- Ground cinnamon: Gives the buttery sugar topping its classic cinnamon-sugar flavor.
How to Make Sopapilla Cheesecake
- Preheat your oven to 350ºF and lightly grease a 9×13-inch baking dish with cooking spray.
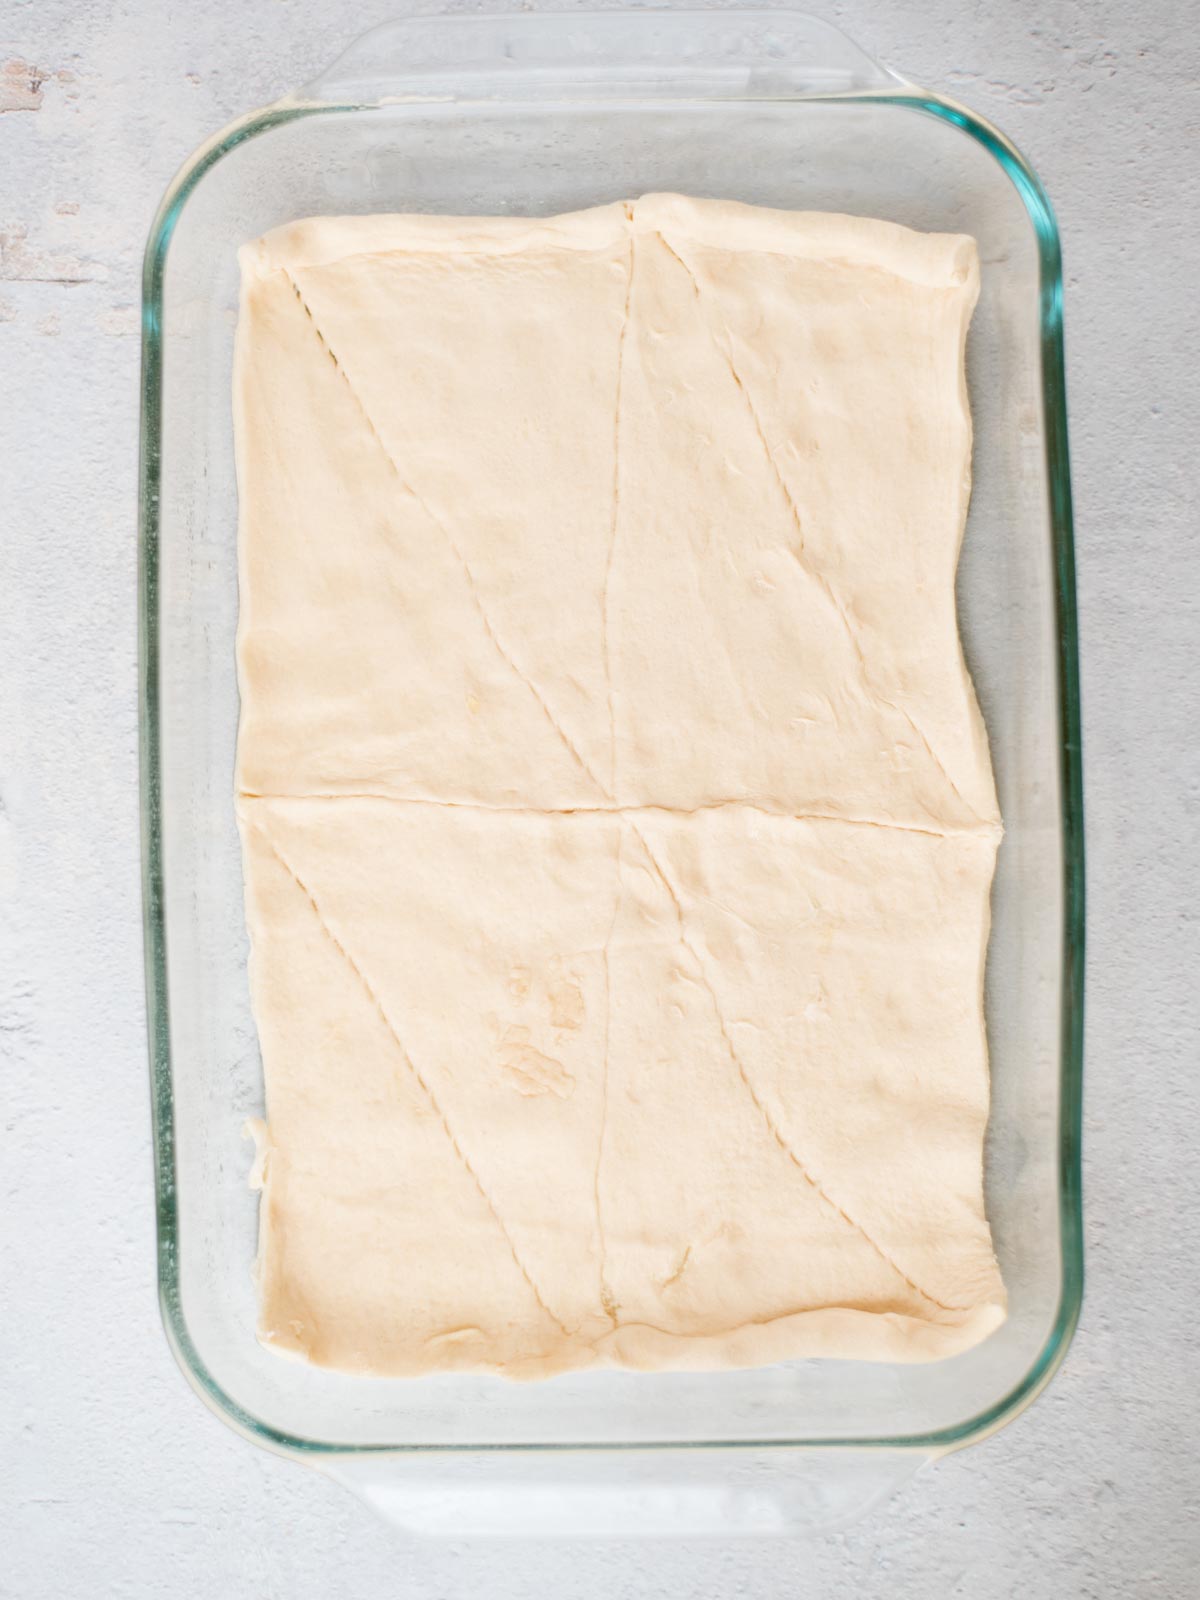
- Unroll one package of crescent dough and press it into the bottom of the prepared dish. If you’re using regular crescent rolls, pinch the seams together to make one even layer.
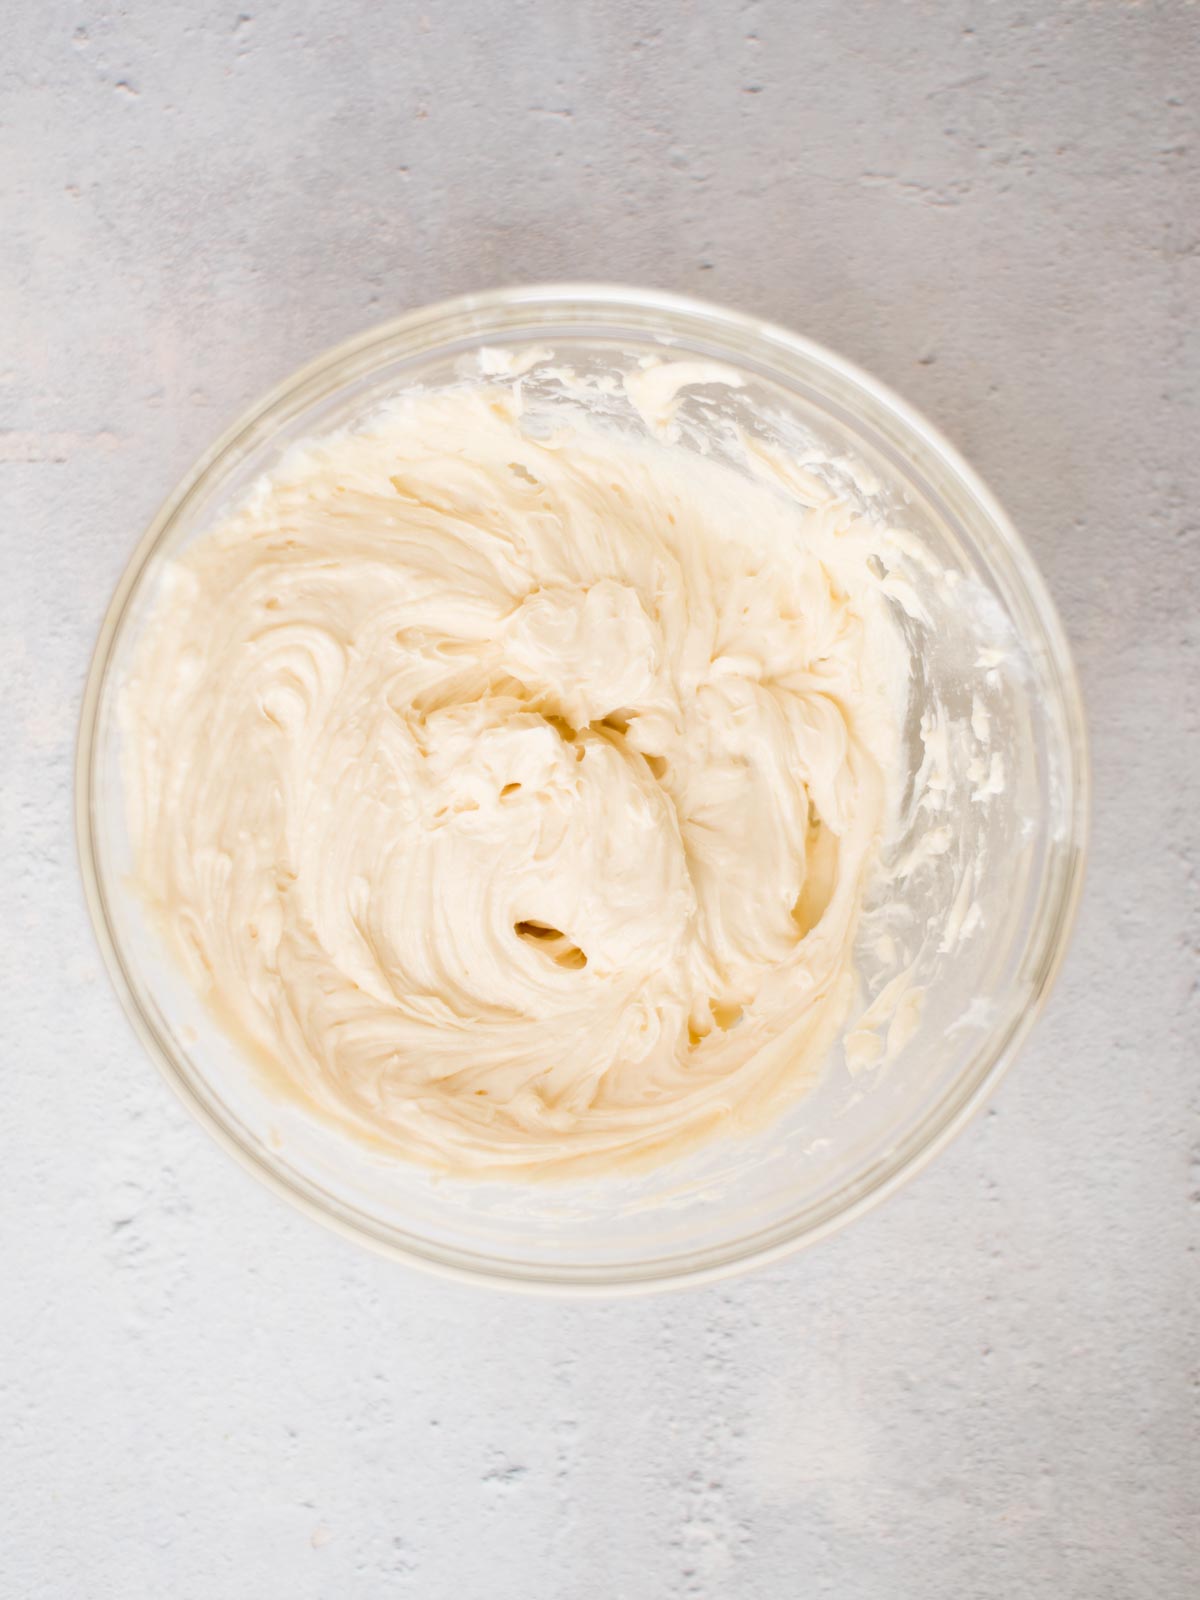
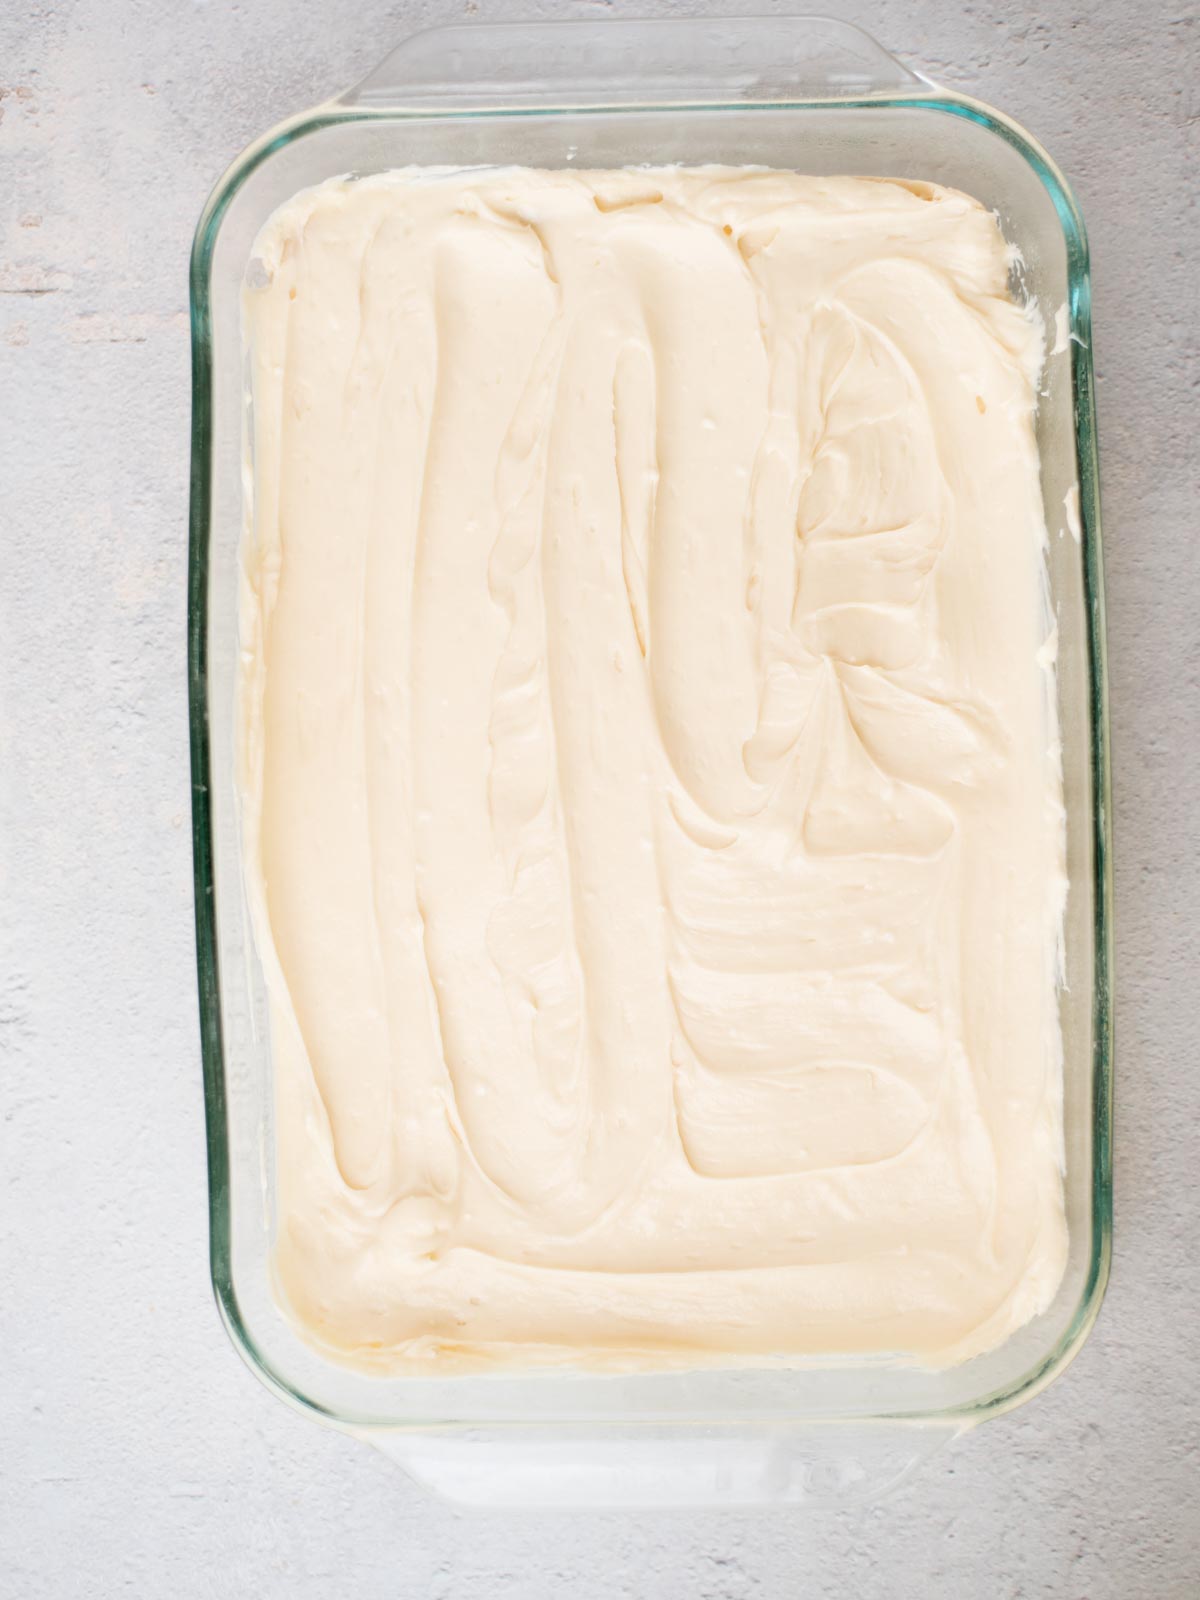
- In a large mixing bowl, beat together the cream cheese, sugar, egg, and vanilla extract until smooth and creamy. Spread the filling evenly over the bottom layer of crescent dough.
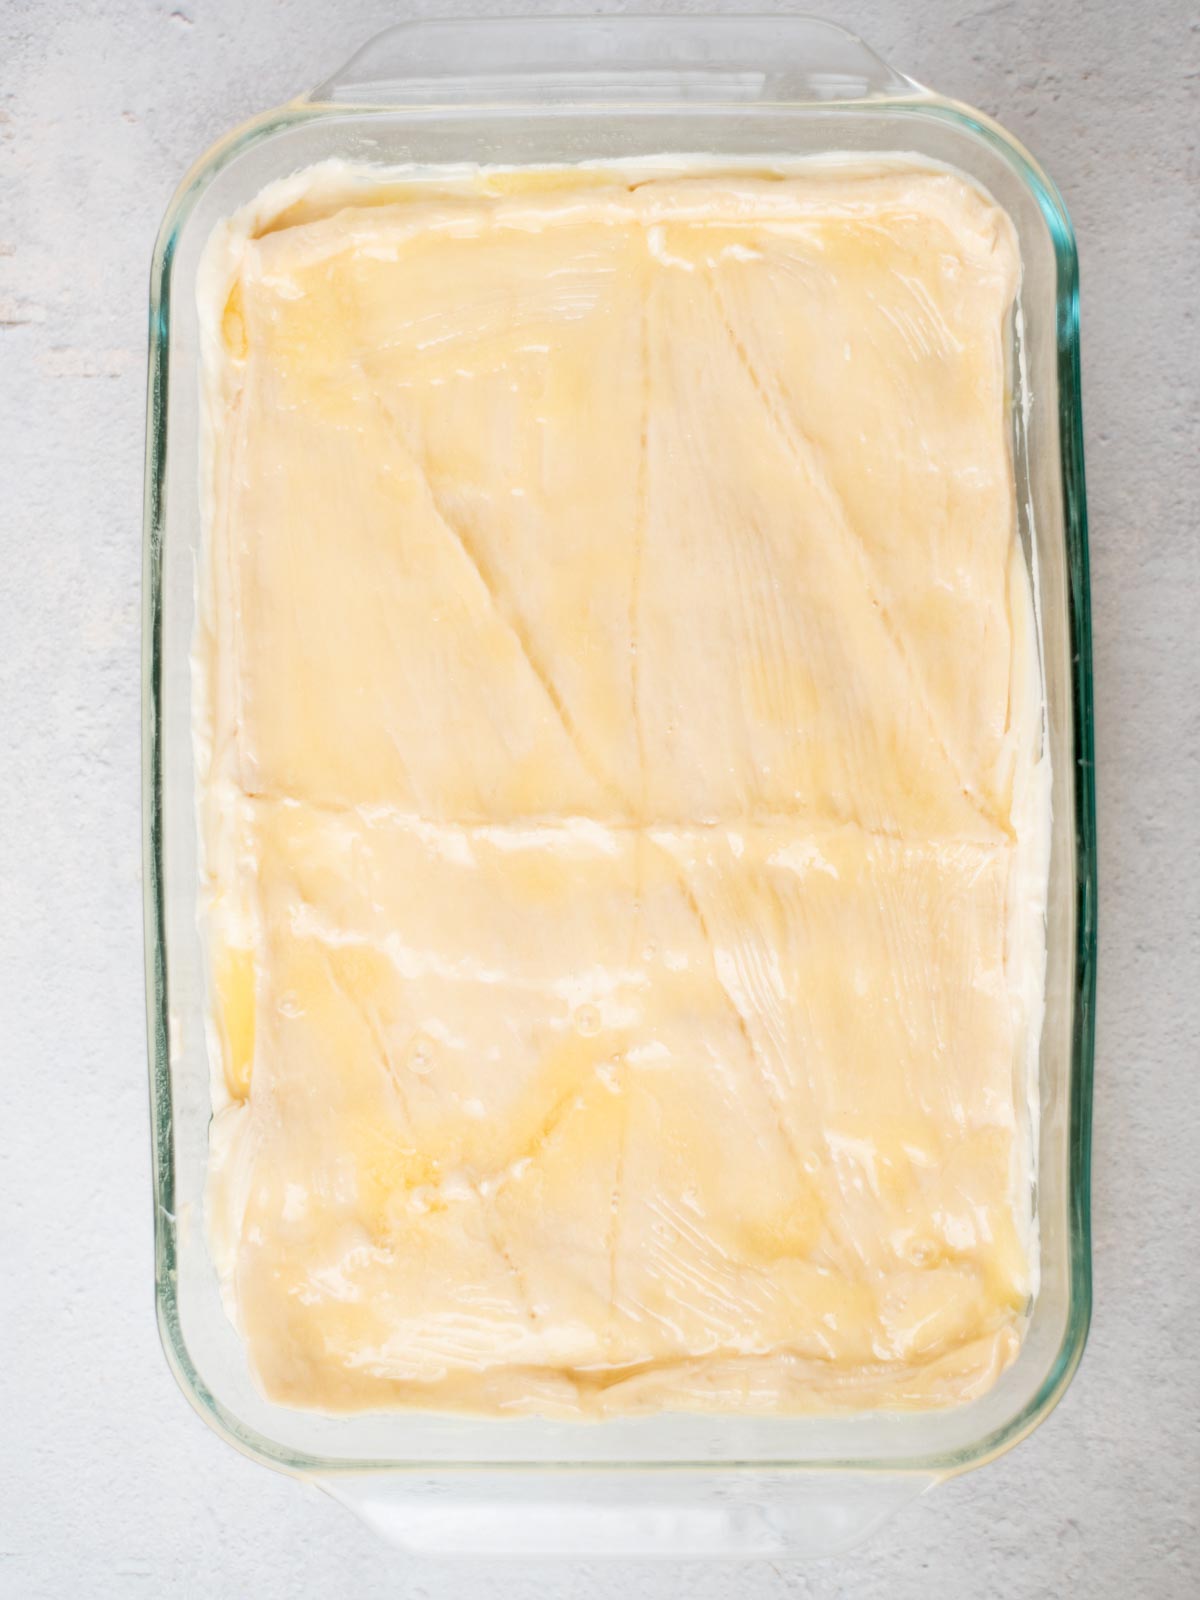
- Carefully lay the second package of crescent dough over the cheesecake filling. Gently pinch any seams together so the filling is covered.
- Pour the melted butter evenly over the top layer of dough.
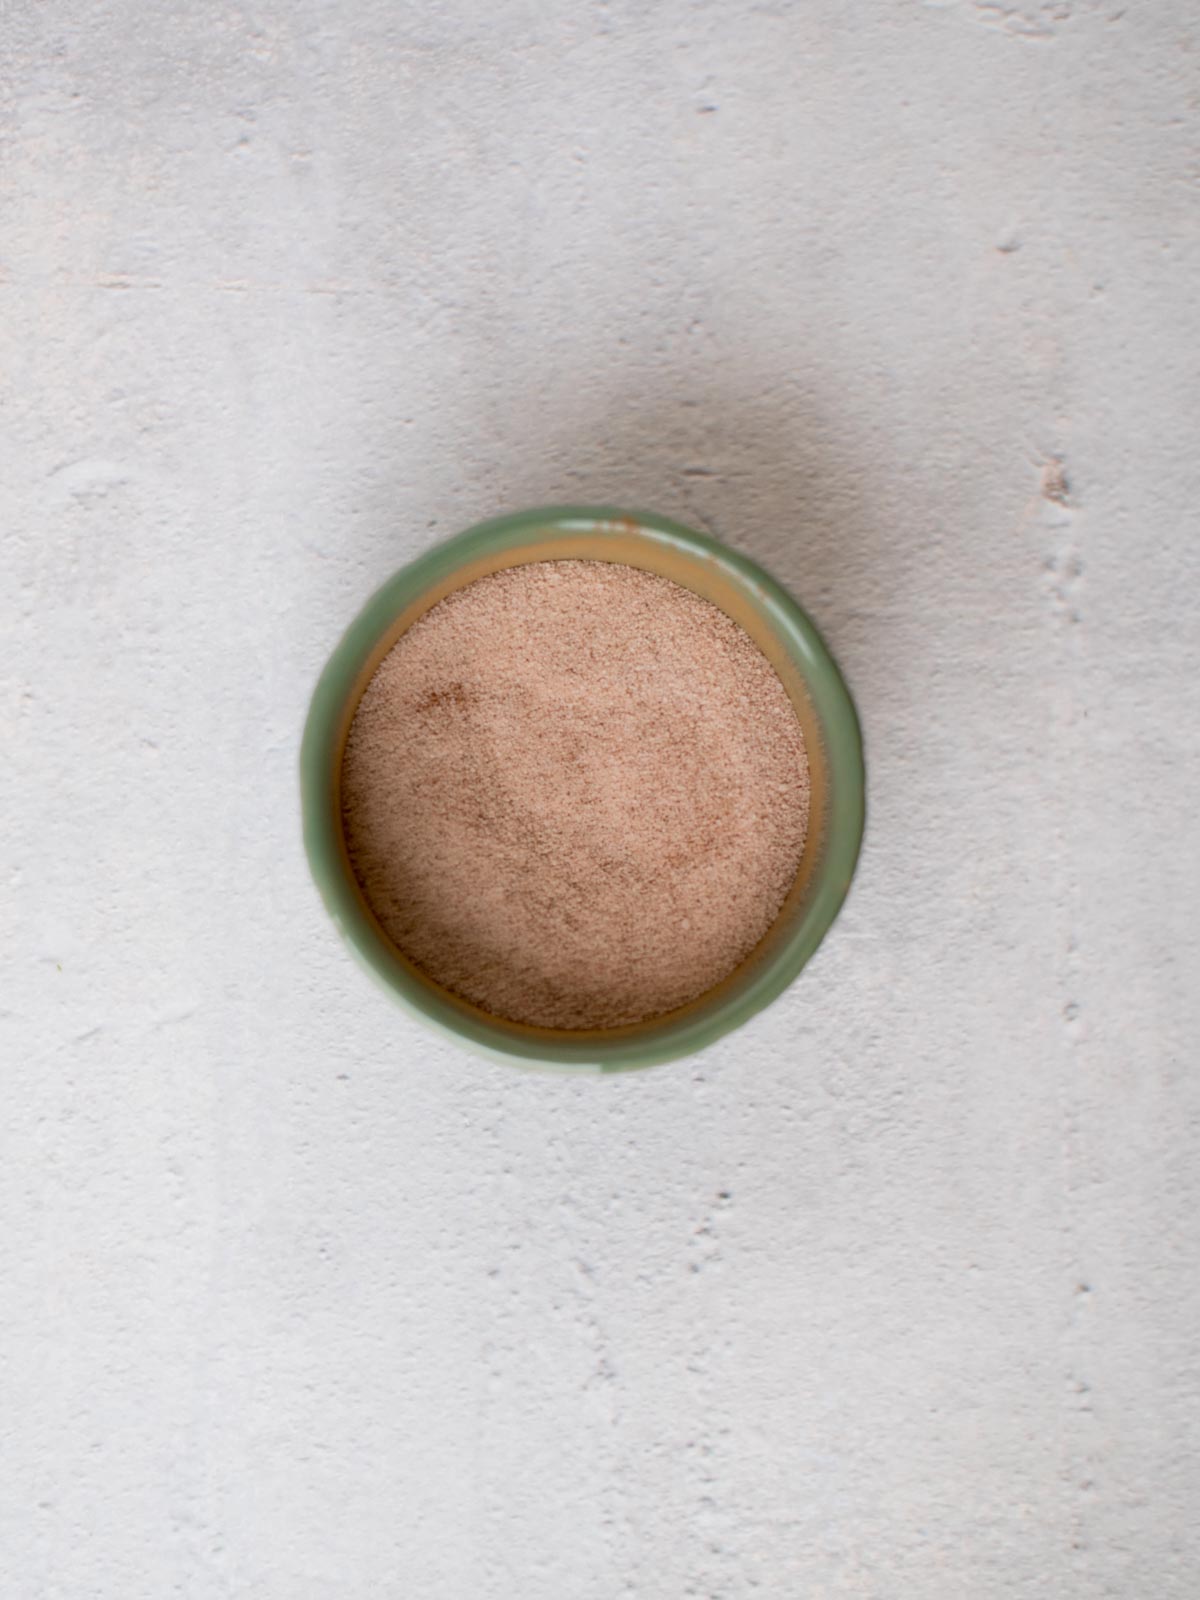
- In a small bowl, mix the cinnamon and sugar, then sprinkle it evenly over the butter.
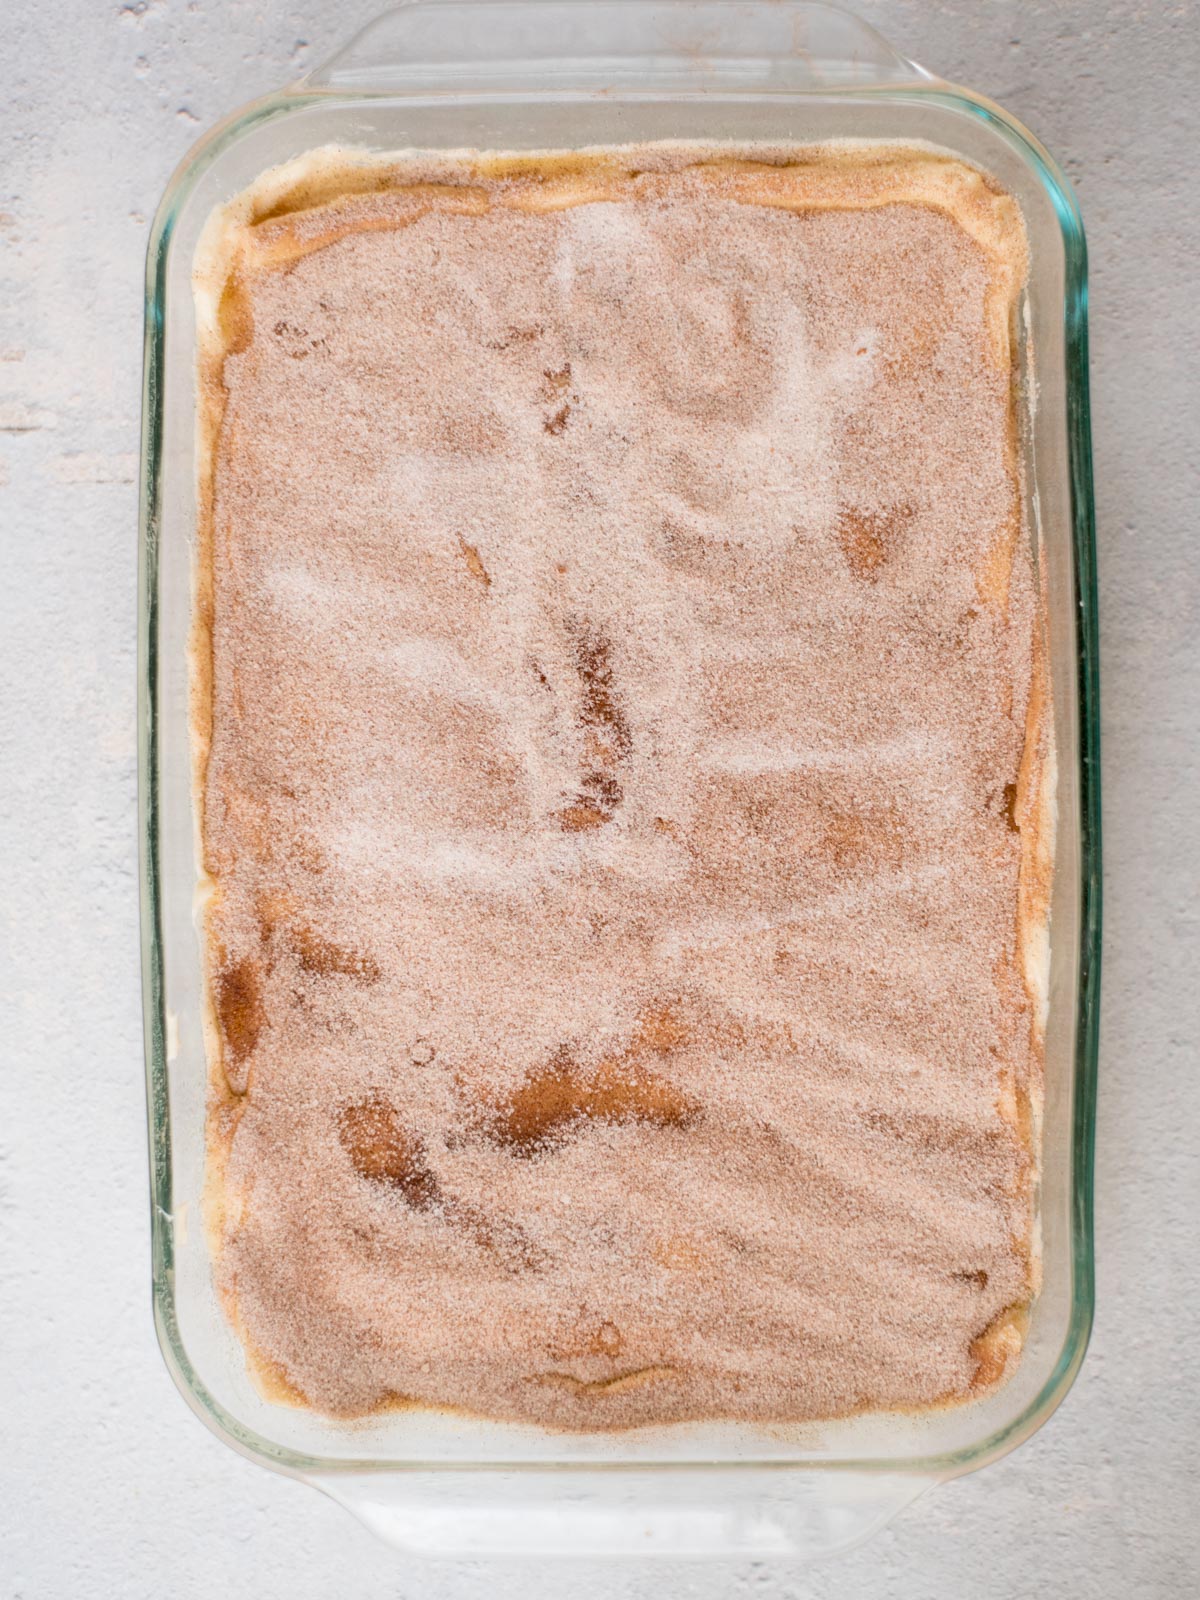
- Bake for approximately 30 minutes, until the top is golden brown and the cinnamon-sugar topping has formed a light crust. The center should look set rather than wet or liquid, although a slight jiggle is fine.
- Let the cheesecake cool for 20-25 minutes before cutting into squares. This gives the filling time to firm up so the layers hold together better when sliced.
Kara’s Tips
- Let the cream cheese come to room temperature. Cold cream cheese is difficult to beat smooth and can leave little lumps in the filling. If you can press a finger into it easily, it’s soft enough to work with.
- Handle the top layer of dough carefully. Trying to stretch crescent dough over the cheesecake filling can pull the filling along with it. I find it easier to unroll the dough on a piece of parchment paper first, then carefully transfer it over the cheesecake layer.
- Don’t worry if the butter looks like too much. It may pool a little on top of the dough before baking, and that’s okay. It helps the cinnamon sugar form that buttery, slightly crisp crust as it bakes.
- For cleaner slices, refrigerate before cutting. The recipe only needs to cool for 20–25 minutes, but if you’re making it for a gathering and want really neat squares, chilling it first will help the cheesecake filling firm up even more.
How to Serve Sopapilla Cheesecake
Sopapilla cheesecake is good served slightly warm or chilled straight from the refrigerator. The cinnamon-sugar topping is at its best when it’s freshly baked, while chilling gives the cheesecake filling a firmer texture.
- With honey: Drizzle a little honey over each square just before serving for that classic sopapilla sweetness.
- With fresh berries: Strawberries or raspberries are especially good alongside the rich cheesecake and buttery cinnamon-sugar topping.
- For parties and potlucks: Cut it into smaller squares so everyone can grab a piece. It’s easy to serve straight from the baking dish, too.
Top Tip
Lightly lay the dough in the pan while you pinch the seams together and then stretch it to fit. It’s easier to pinch them together when it’s loose than when it’s already been stretched.
Make Ahead and Storage
Make Ahead
Sopapilla cheesecake is a great dessert to make the day before you need it. Bake it according to the recipe, let it cool, then cover and refrigerate overnight. You can serve it chilled or warm individual squares slightly before serving.
Refrigerator
Store leftover sopapilla cheesecake in an airtight container in the refrigerator for up to 4 days. If you’re stacking the squares, place parchment paper between the layers to keep them from sticking together.
Because of the cream cheese filling, sopapilla cheesecake needs to be refrigerated. Don’t leave it sitting at room temperature for more than 2 hours.
Freezer
You can freeze individual squares for up to 2 months. Let them cool, wrap each square tightly in plastic wrap, and place them in a freezer-safe container. Thaw overnight in the refrigerator.
Keep in mind that the crescent dough topping may lose some of its crispness after freezing and thawing.
Reheating
If you prefer your sopapilla cheesecake warm, microwave an individual square for about 10–15 seconds. Start with a short burst so the cheesecake filling doesn’t get too hot.
Sopapilla Cheesecake Recipe FAQs
The top should be golden brown, and the crescent dough should look fully baked rather than pale or doughy. The cheesecake filling should be set around the edges, with a slight jiggle in the center. It will continue to firm up as it cools.
The most common causes are underbaking or cutting into it before the filling has had time to set. The egg in this recipe helps the cheesecake hold together, but it still needs enough time in the oven and time to cool before slicing.
You can, but the texture will be different. When I tested this recipe both ways, the version without the egg had a much softer filling that squished out between the crescent layers. I recommend keeping the egg if you want cheesecake bars that hold their shape when sliced.
More Easy Dessert Recipes You’ll Love
If you make this recipe and love it, we would love a 5 ⭐️⭐️⭐️⭐️⭐️ rating! It helps us continue to provide free recipes.

Sopapilla Cheesecake Recipe
Ingredients
- 2 cans (8 ounces ea) crescent roll dough
- 16 ounces cream cheese room temperature
- 2 teaspoons vanilla
- 1 large egg
- 1 cup granulated sugar
- 4 tablespoons butter melted
Cinnamon Sugar Topping
- 2 teaspoons ground cinnamon
- 1/3 cup sugar
Instructions
- Preheat the oven to 350°F.
- Spray a 9×13 baking dish with cooking spray.
- Stretch one package of crescent dough over the bottom of the baking dish.(2 cans (8 ounces ea) crescent roll dough)
- In a large mixing bowl, combine the cream cheese, vanilla, egg, and sugar. An electric mixer or stand mixer works best.(16 ounces cream cheese, 2 teaspoons vanilla, 1 large egg, 1 cup granulated sugar)
- Add the cream cheese mixture to the baking dish and spread it evenly over the crescent dough.
- Add the other package of crescent dough over the top of the cream cheese mixture, making sure to pinch the seams together.
- Pour the melted butter over the top of the crescent dough.(4 tablespoons butter)
- In a small bowl, combine the cinnamon sugar topping with the ground cinnamon and sugar.(2 teaspoons ground cinnamon, 1/3 cup sugar)
- Sprinkle the topping over the butter.
- Bake for 30 minutes.
- Allow it to cool 20-25 minutes before serving.
Video
Notes
- Use fully softened, room-temperature cream cheese for a smooth filling.
- Seamless crescent dough sheets are easiest to work with, but regular crescent rolls work too.
- Let cool for 20–25 minutes before slicing. For firmer, neater squares, refrigerate before cutting.
- Refrigerate leftovers in an airtight container for up to 4 days.
- A little honey drizzled over the top just before serving gives it more of that classic sopapilla sweetness.
Nutrition
Nutrition information is automatically calculated, so should only be used as an approximation.