


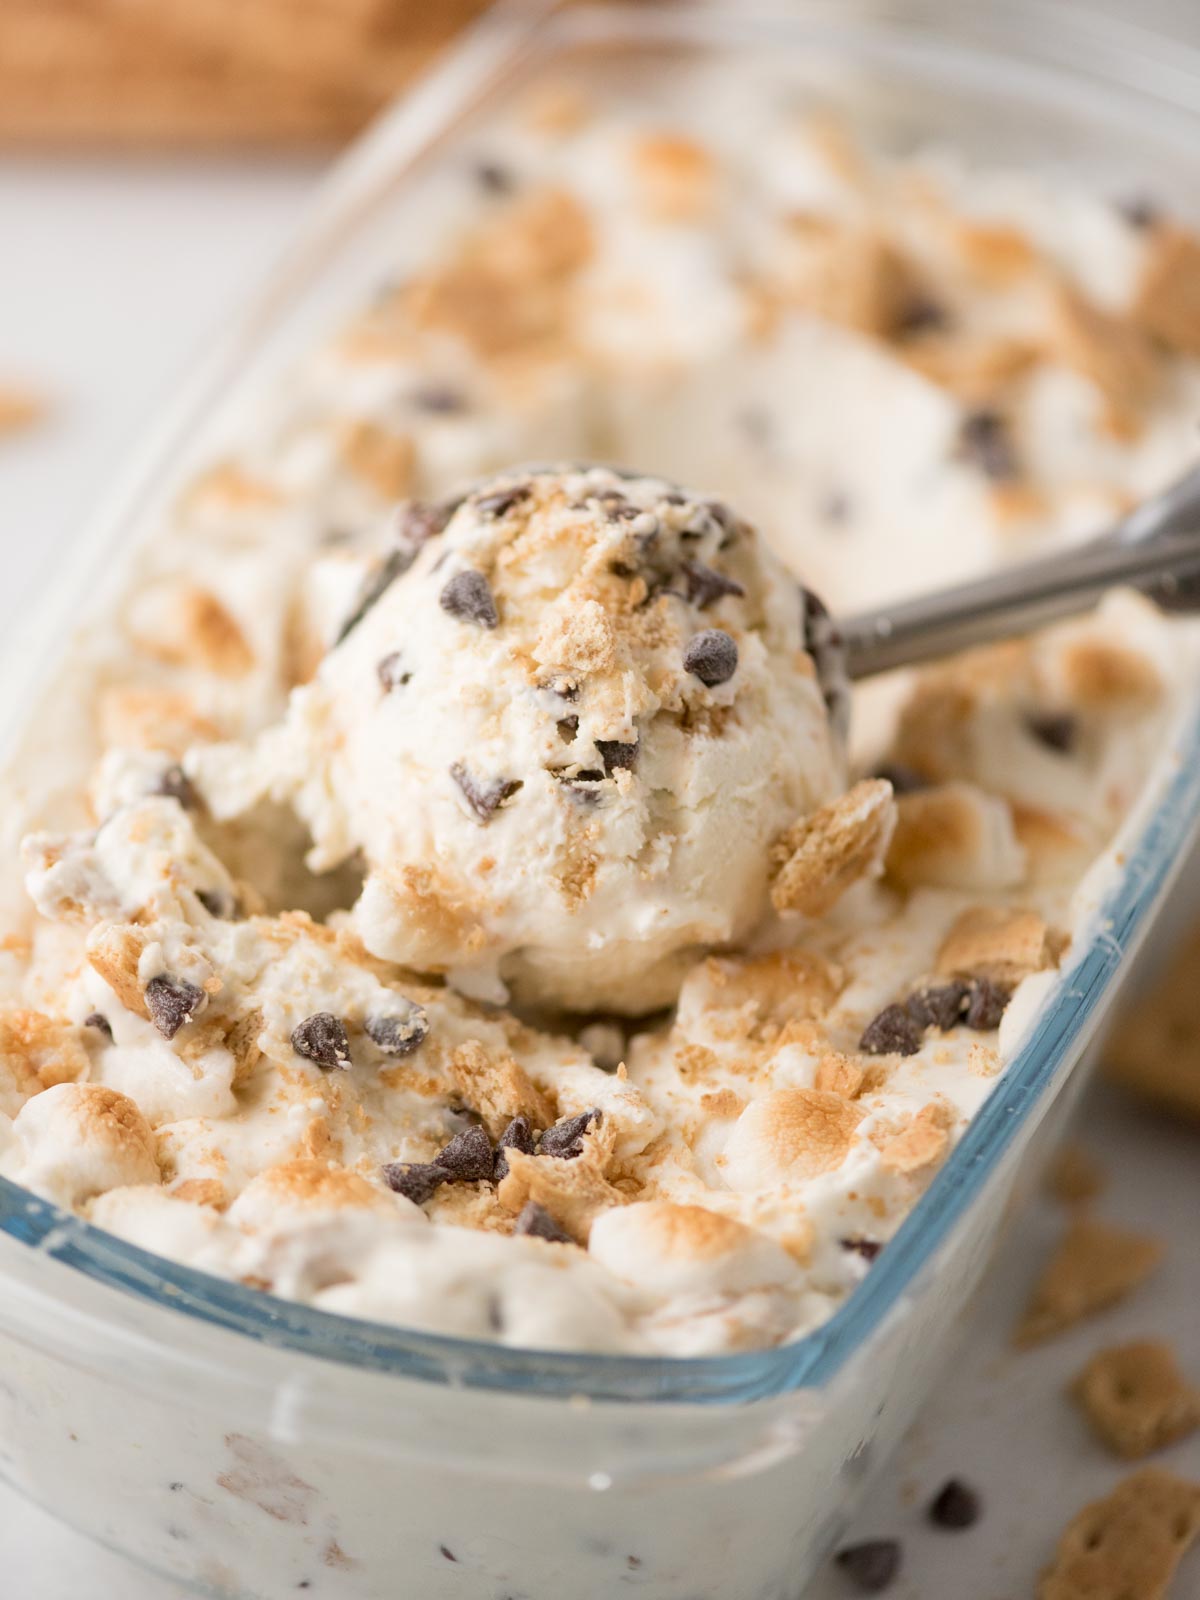
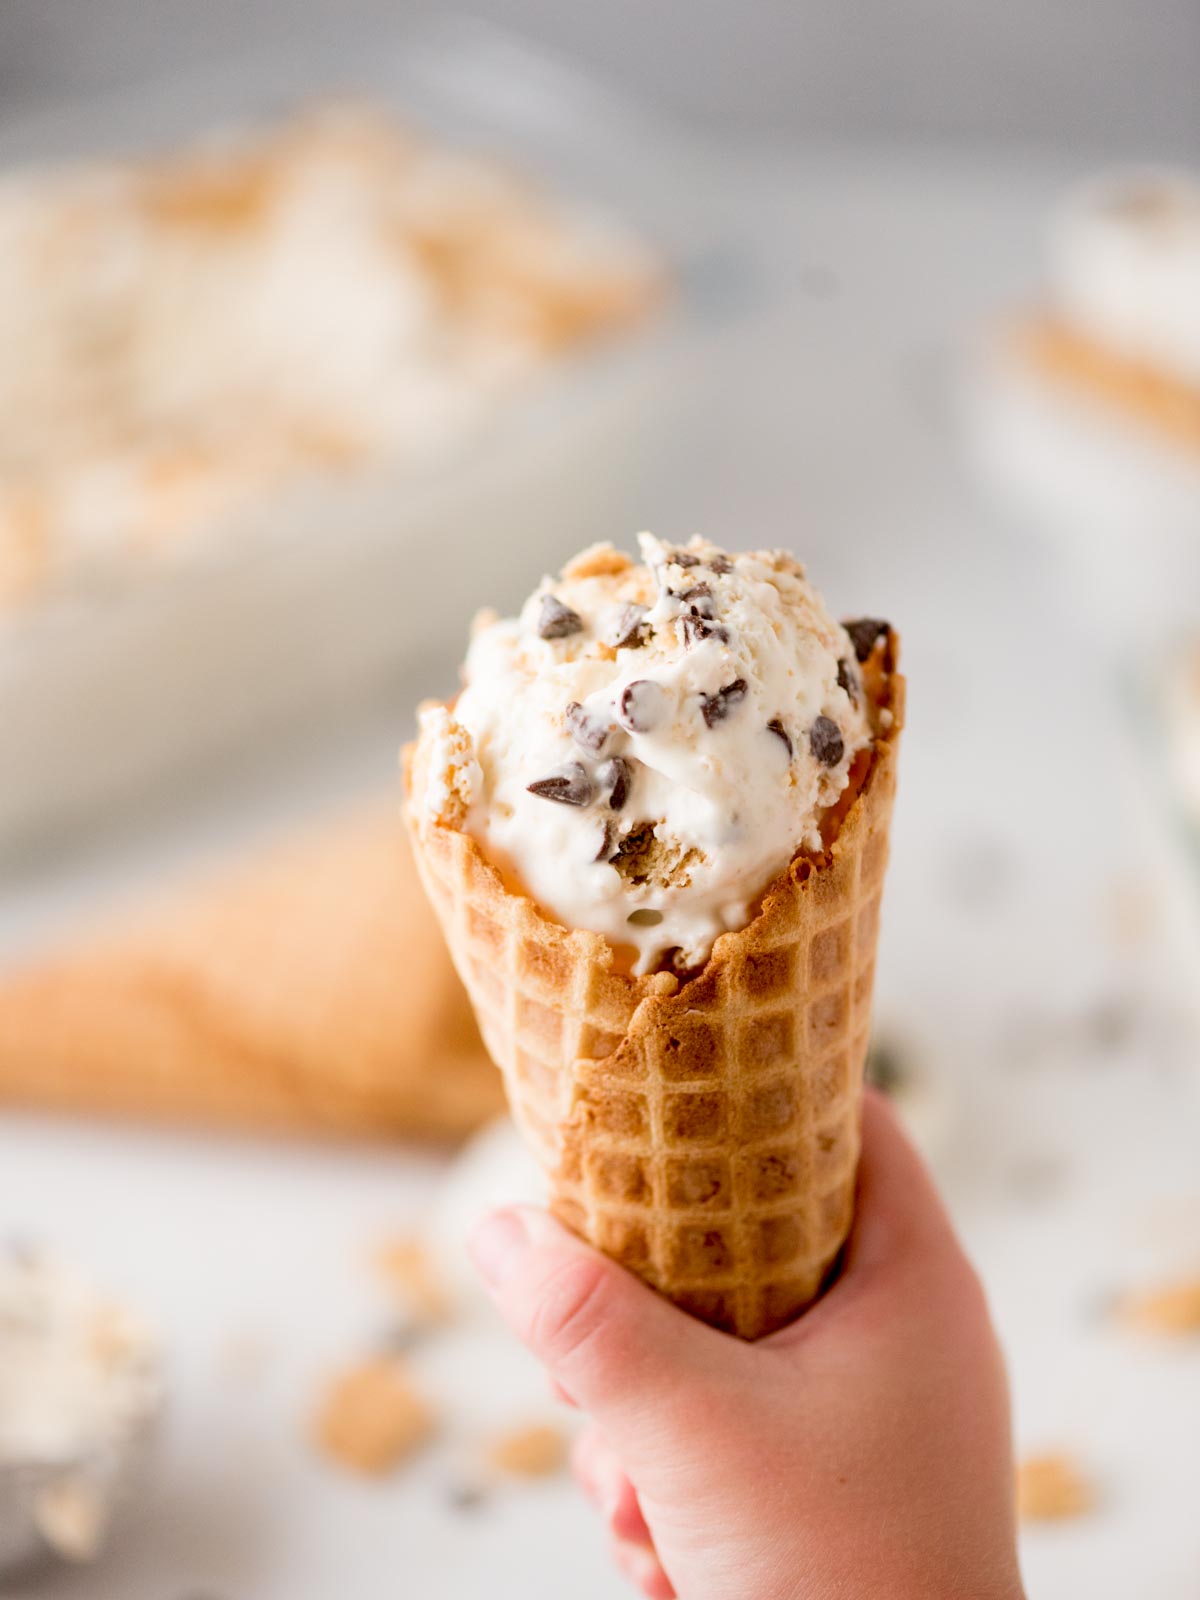
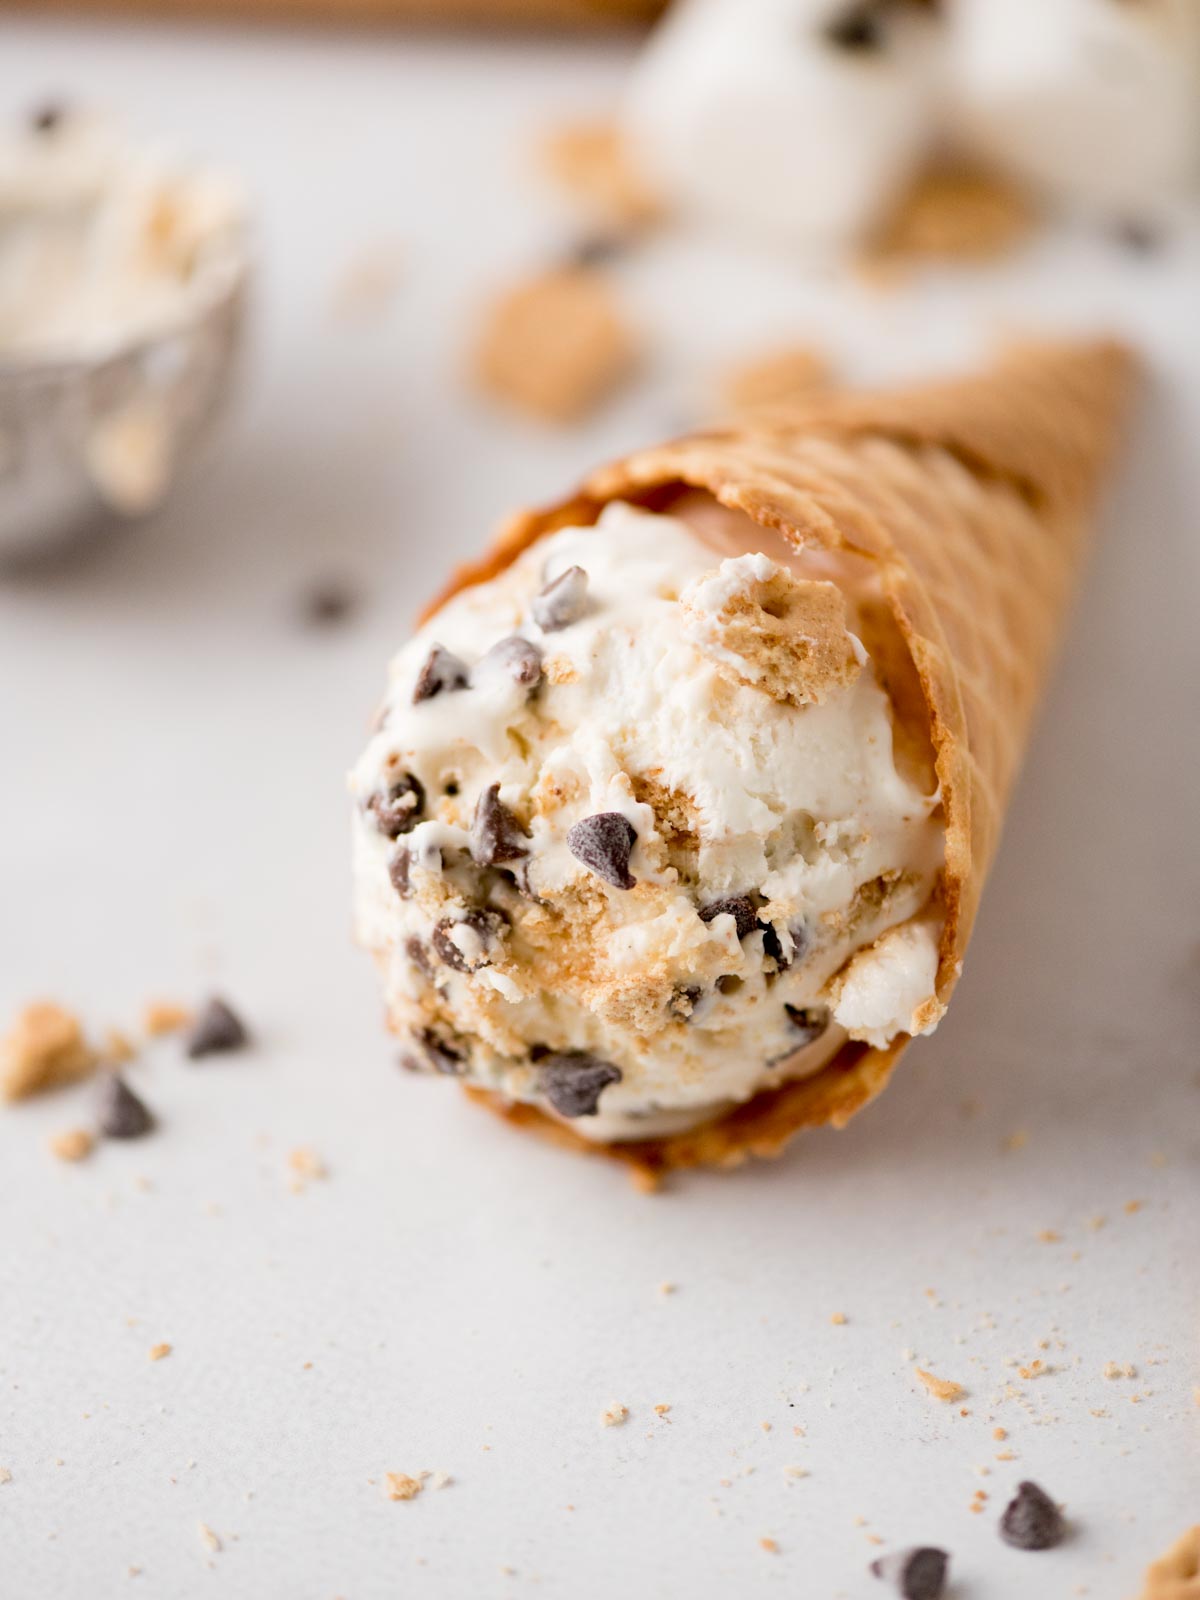
If you’re craving s’mores but it’s way too hot for a campfire, this no churn ice cream has you covered. It’s everything you love about the classic summer treat folded into a cool, creamy scoop that comes together without an ice cream maker. No weird freezing or being too sweet. This one’s perfectly packed with chocolate, graham crackers, and gooey marshmallows in every bite.
There’s a lot of no churn ice cream recipes and some of them just don’t hold up. They either end up too sweet, freeze into a sticky block, or even get a weird spongy texture.
After a few rounds of testing (and troubleshooting my own mistakes), I finally landed on a version that actually freezes well and tastes like an actual s’mores moment in every bite.
The key? Cutting back on the sweetened condensed milk so the base doesn’t overwhelm the whipped cream and keeping the mix-ins just right so they don’t mess with the texture. I also give you an option to toast the marshmallows, which not only gives you that campfire flavor, but helps them hold up better in the freezer too.
This version has the creamy texture you expect from no churn ice cream, with just the right amount of chocolate chips, graham cracker crunch, and marshmallow in every scoop. No ice weirdness. No fancy equipment. Just a cool summer treat that actually works.
Why You’ll Love This S’mores No Churn Ice Cream
- No ice cream maker needed. Just a bowl, a mixer, and a freezer. That’s it.
- Loaded with texture. You get chocolate chips, graham cracker pieces, and marshmallows in every single scoop.
- Perfect for hot summer days. It gives you all the nostalgic campfire flavor without having to stand over one.
- Make-ahead friendly. Prep it the night before your BBQ or family get-together and it’s ready when you are.
- Freezes like a charm. No icy weirdness or spongy texture here. Just creamy, scoopable ice cream.
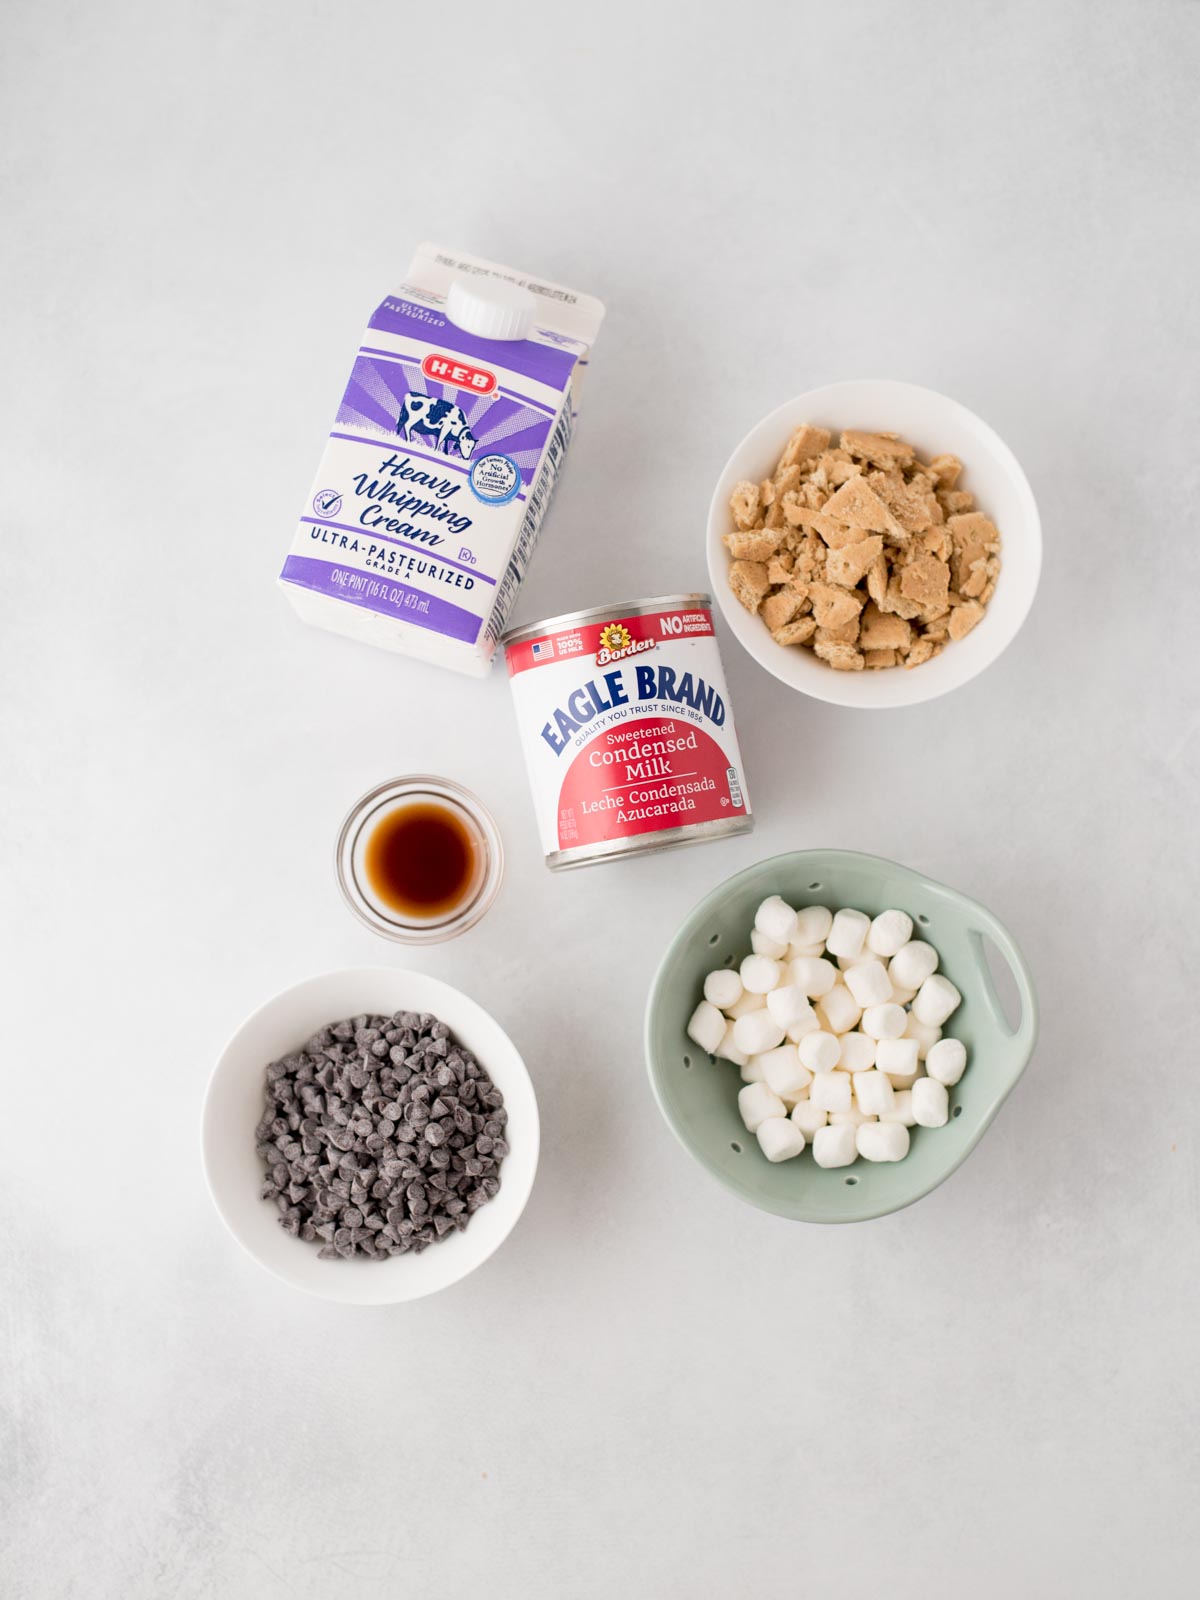
Ingredients You’ll Need
You only need a handful of simple ingredients to bring this no churn s’mores ice cream together. No eggs, no stovetop, and no fancy equipment.
- Heavy whipping cream – The base of your ice cream. This is the part that holds everything together.
- Sweetened condensed milk – Adds sweetness and richness without needing a custard base. We’re using just one can to keep the sweetness balanced and help it freeze properly.
- Vanilla extract – Rounds out the flavor and gives the base that classic ice cream taste.
- Mini marshmallows – They add chewiness and that classic s’mores feel. As an option, you can toast them and take the flavor to the next level.
- Mini chocolate chips – I recommend dark chocolate chips to help balance out the sweetness. They stay slightly firm when frozen and give great texture.
- Graham crackers – You’ll want them crushed, not pulverized. You really want to keep that texture. They bring in that toasty, buttery flavor that makes s’mores what they are.
How to Make S’mores Ice Cream Without an Ice Cream Maker
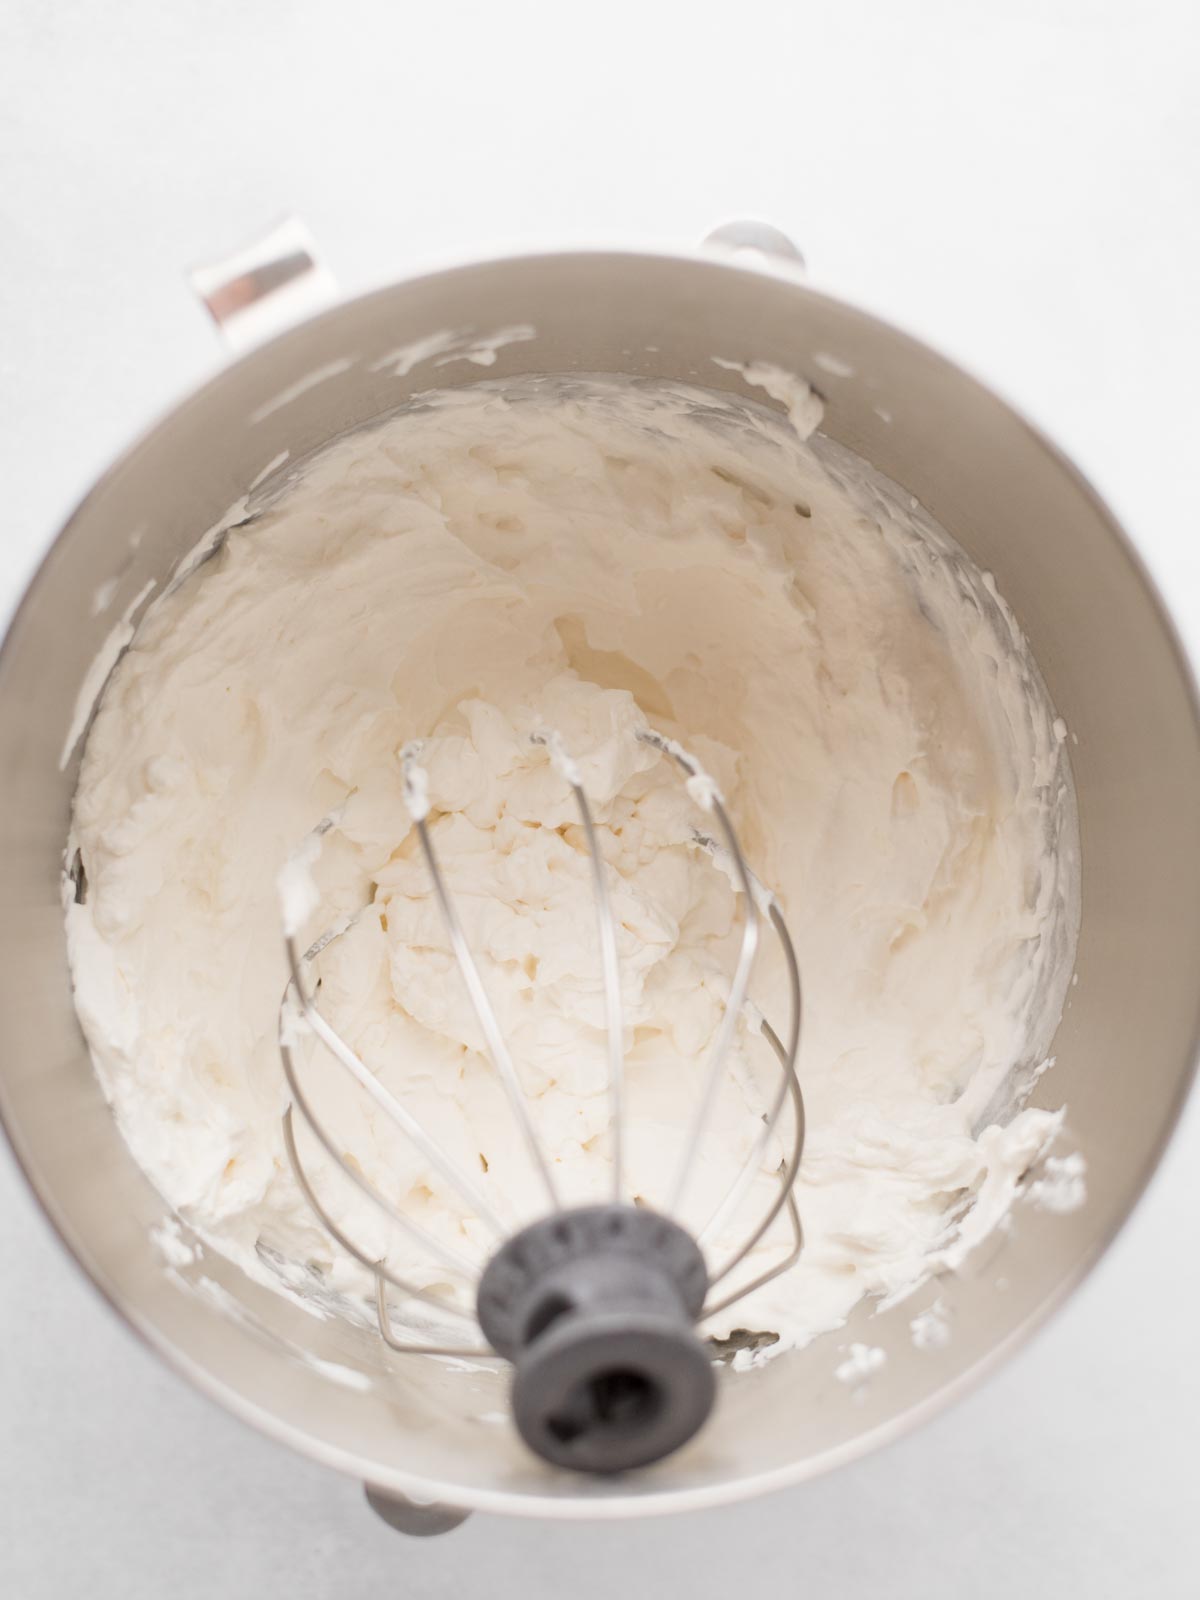
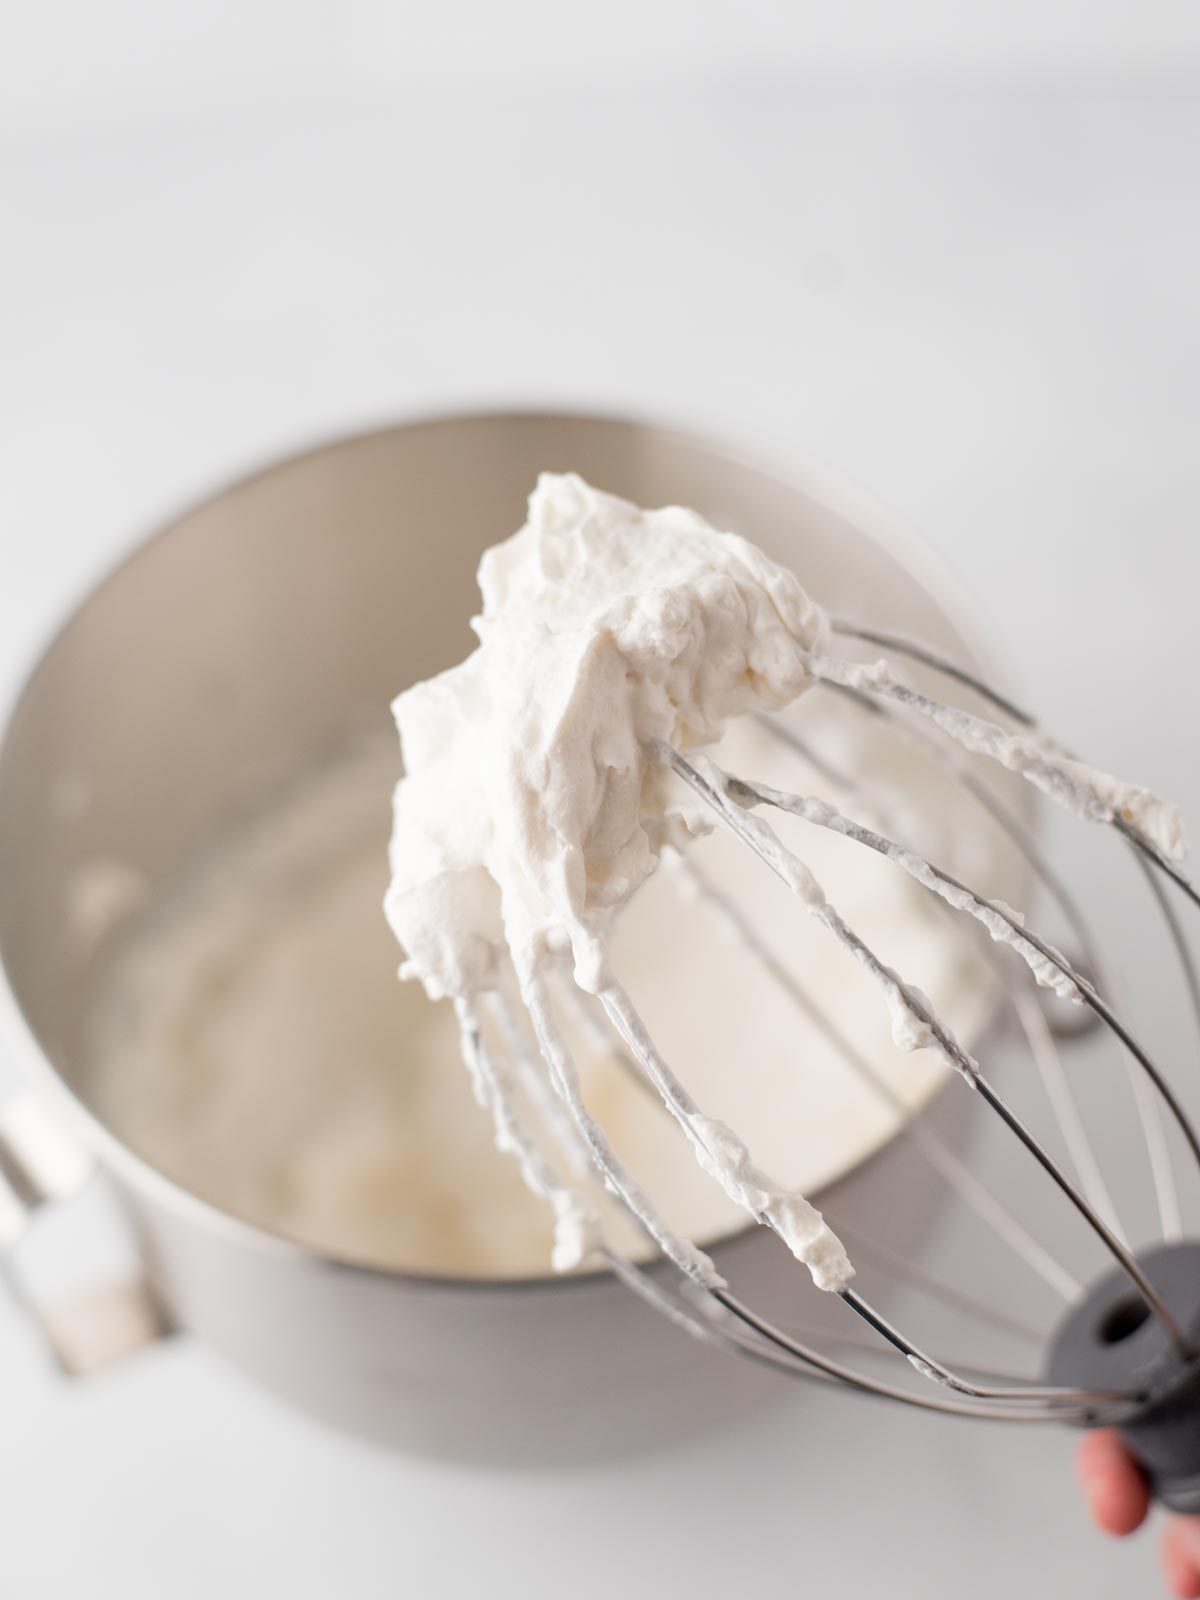
- In a large mixing bowl, use a hand mixer or stand mixer to whip the heavy cream until stiff peaks form. Don’t stop at soft peaks. Go all the way to stiff so the base holds it’s shape.
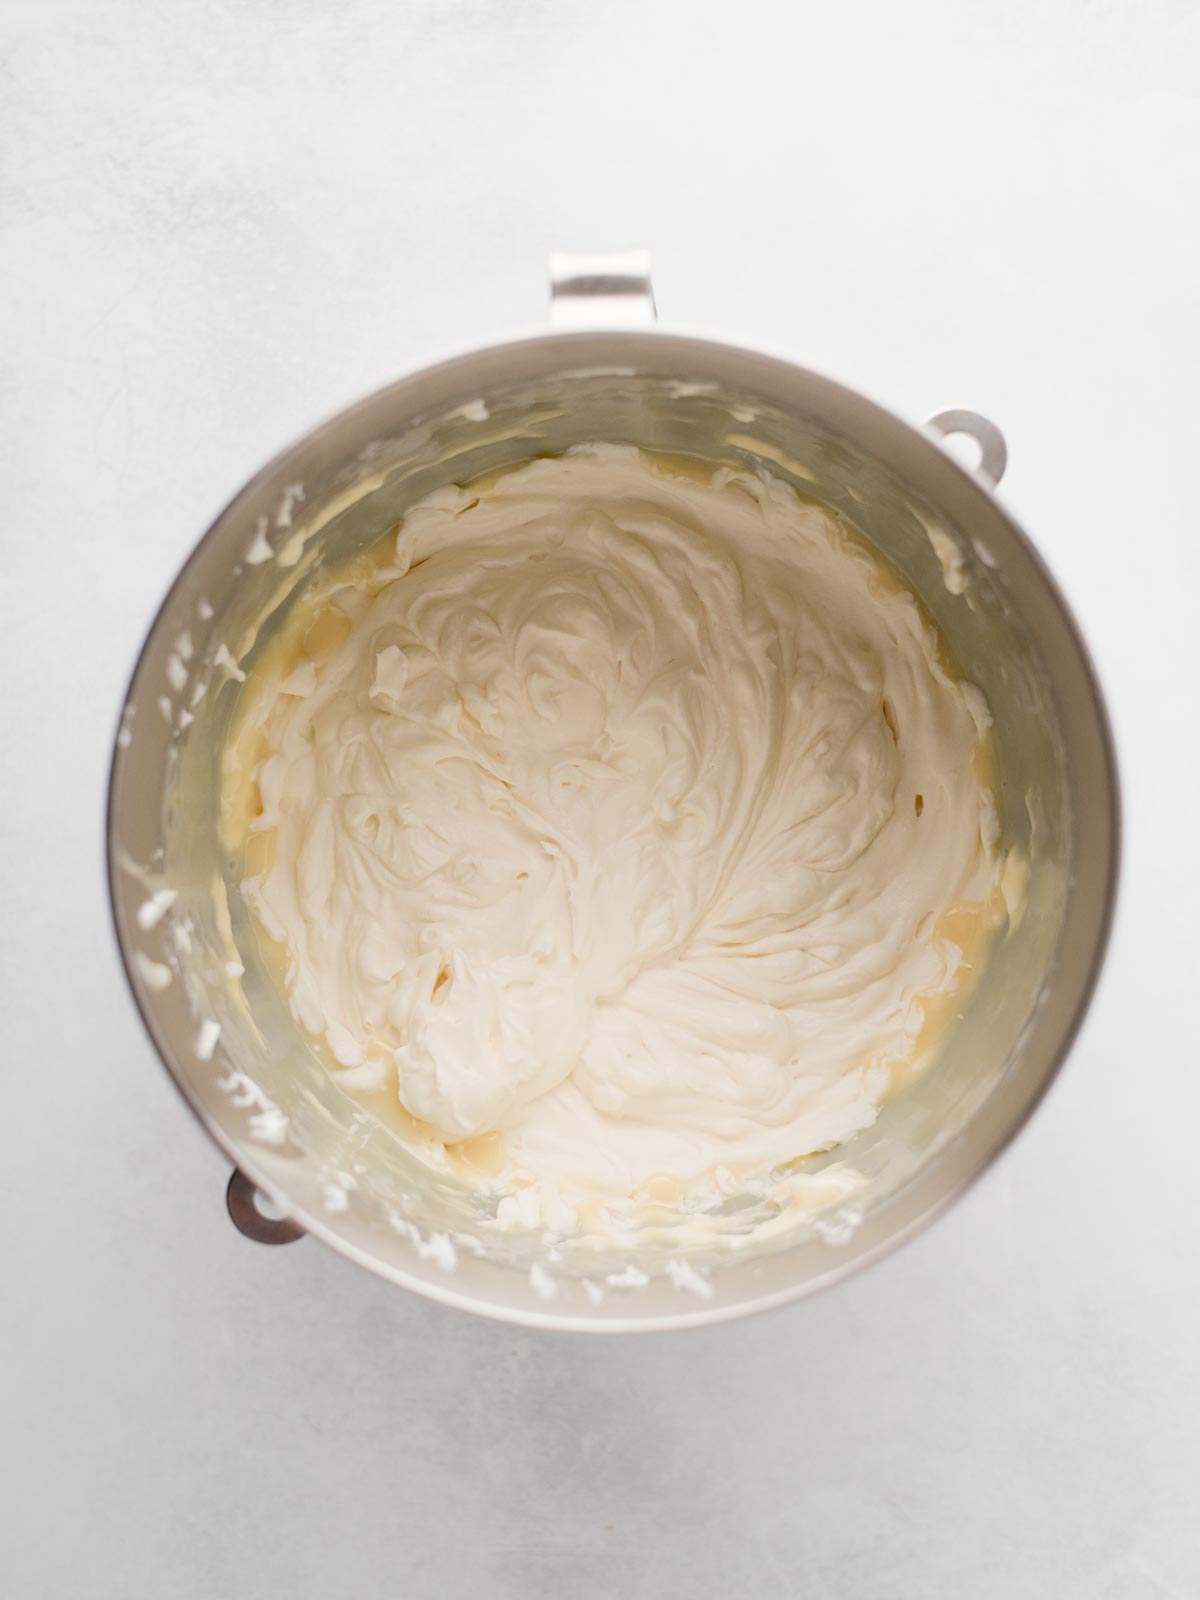
- Reduce the mixer speed to low and slowly drizzle in the sweetened condensed milk and vanilla extract. Mix just until combined. You want to keep as much of that fluffy texture as possible. Sometimes, you’ll see a bit of sweetened condensed milk still on the sides and that’s okay. Just incorporate it in when you fold in the other steps later on. You don’t want to collapse the whipped cream on this step.
- Set the mixer aside. Use a rubber spatula to gently fold in the mini marshmallows, chocolate chips, and crushed graham crackers. Be careful not to overmix. The air in the whippped cream is what keeps it light and creamy.
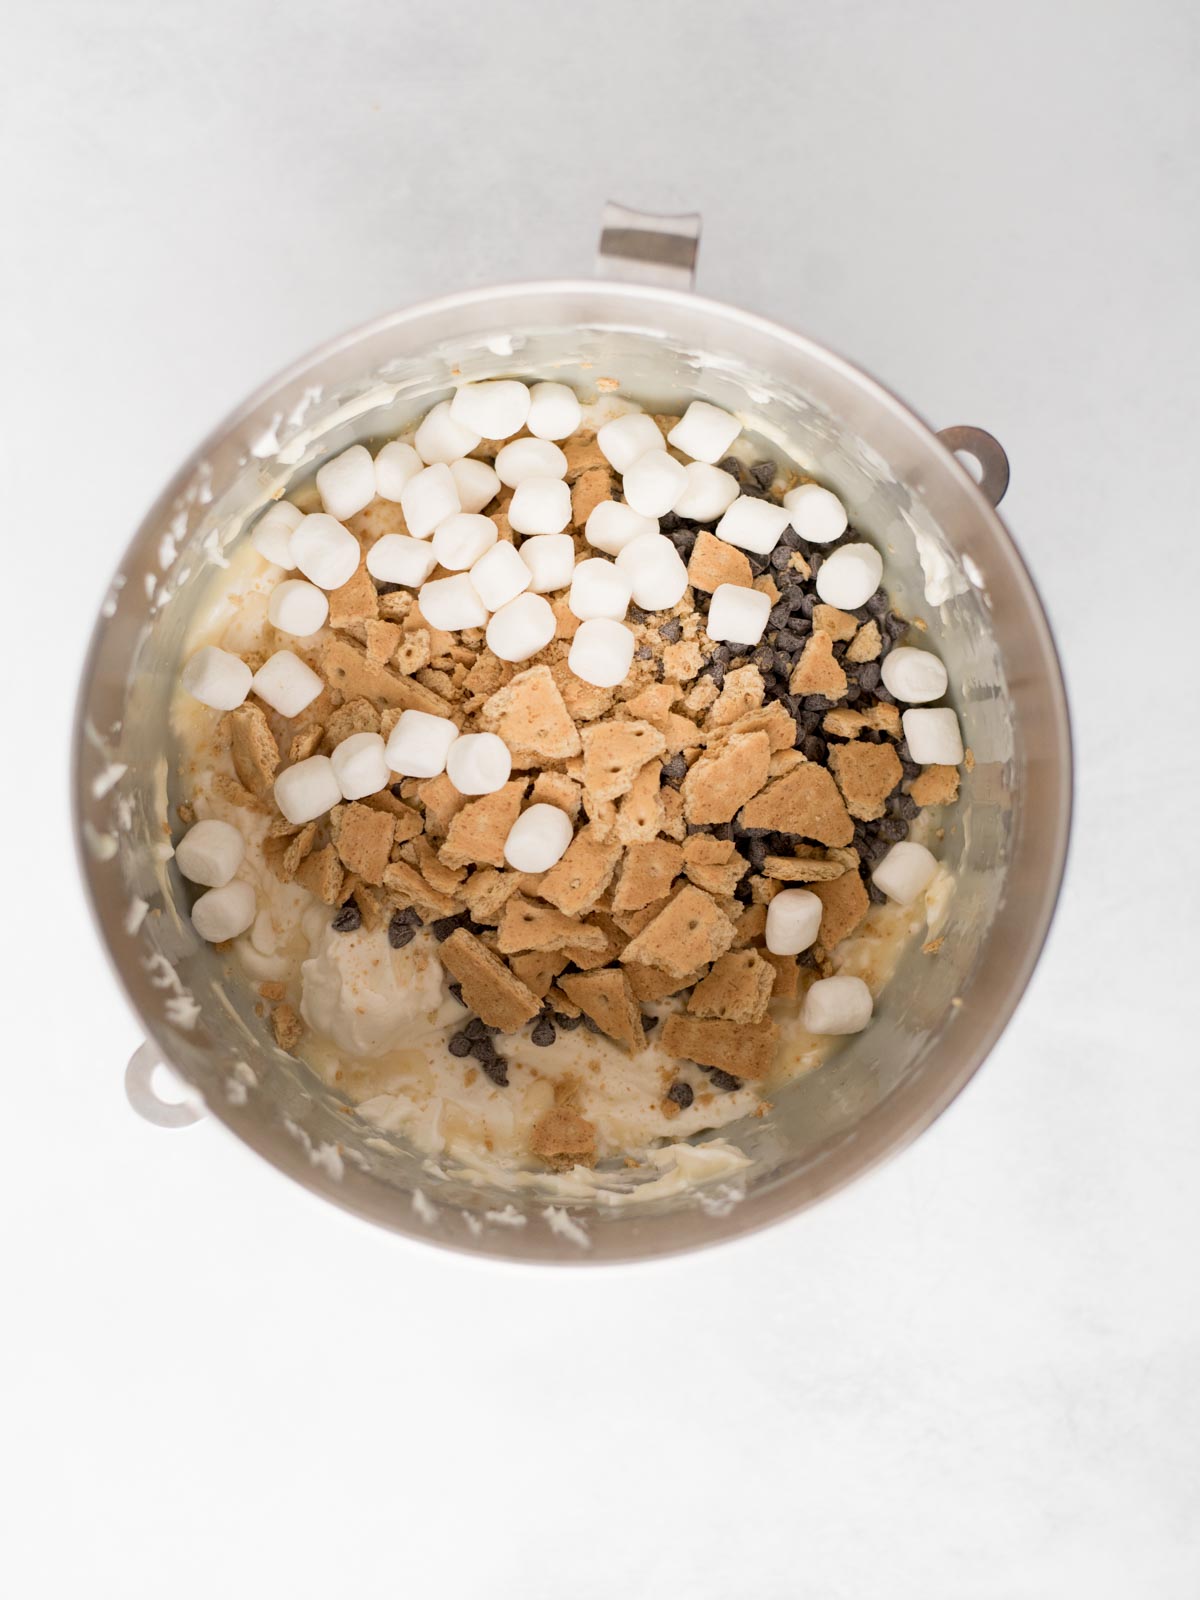
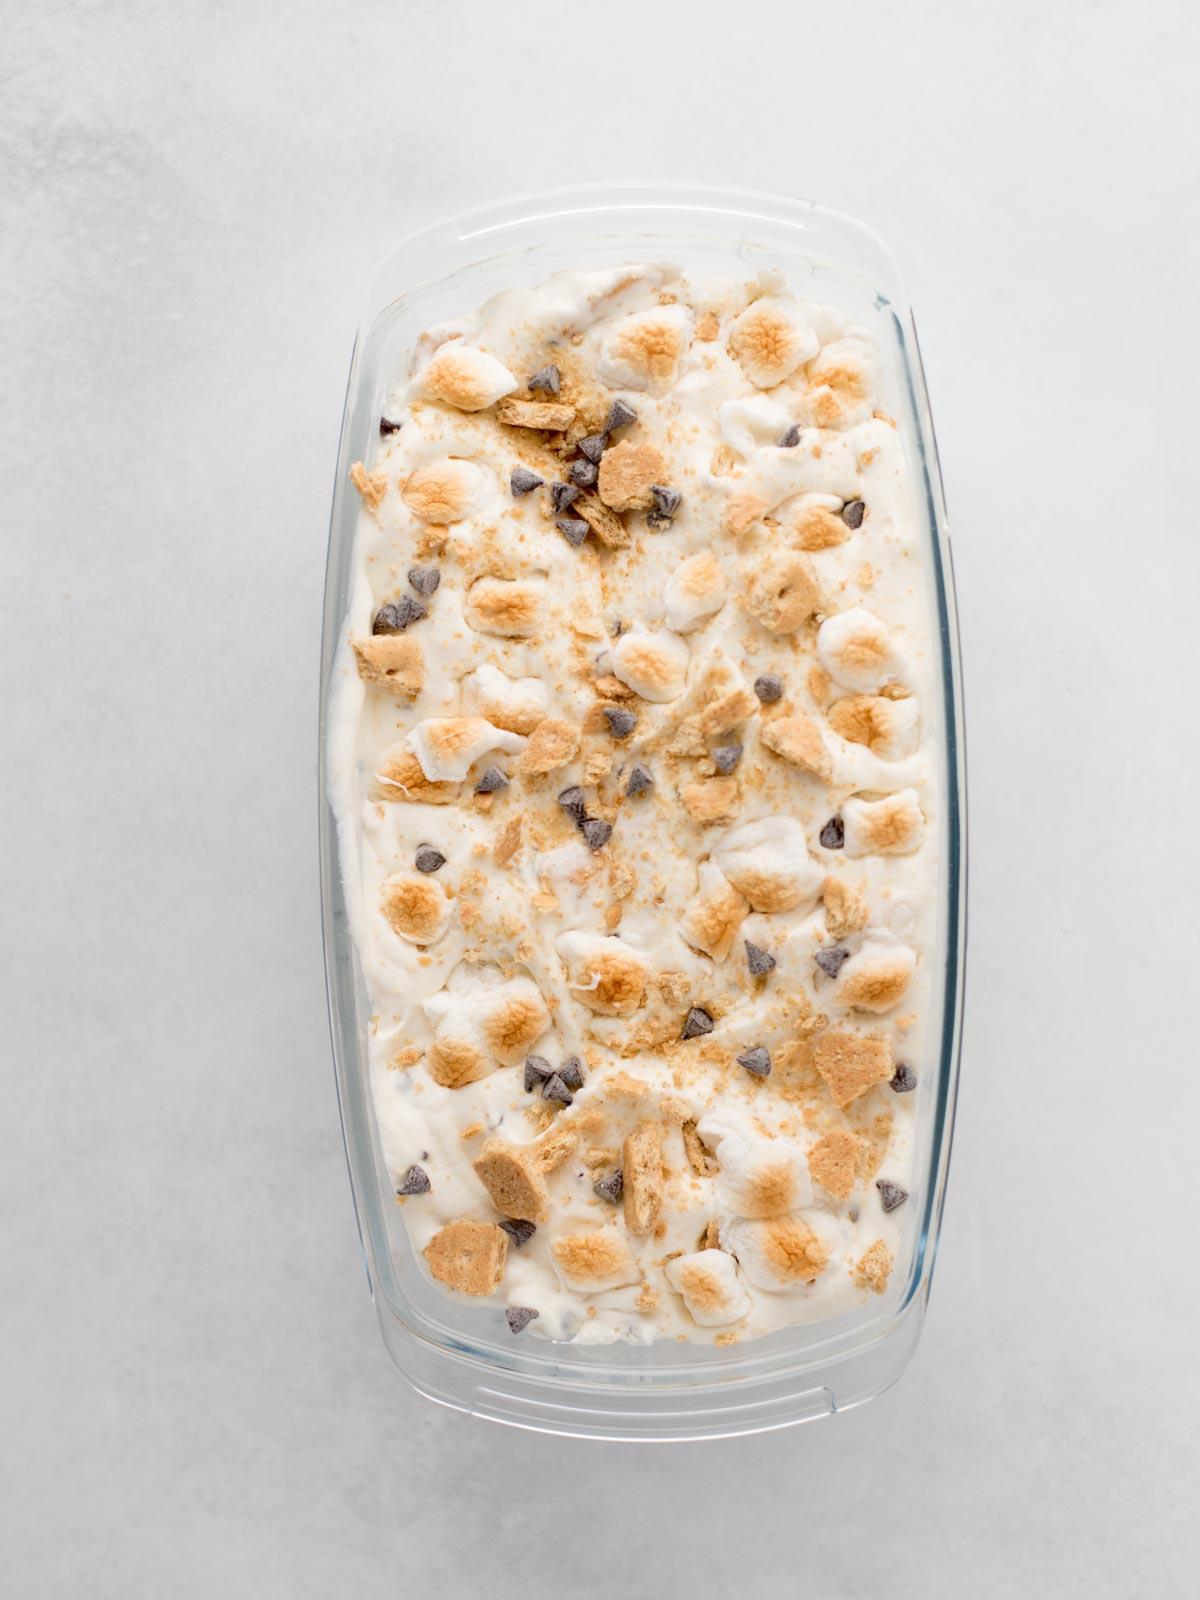
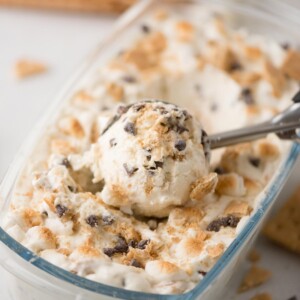
- Pour the mixture into a freezer-safe container (a loaf pan works great). Smooth the top, then sprinkle on a few extra marshmalls, chocolate chips, and graham crackers.
- Cover tightly and freeze for at least 4-6 hours, or until fully set. For the best texture, let it sit at room temperature for about 5-10 minutes before scooping.
What do stiff peaks look like?
When you lift the beaters straight up, the cream should hold a peak that stands without collapsing. It should look thick, smooth, and leave clear lines in the bowl. If it’s still soft or folds over at the tip, keep whipping a little bit longer.
Tips for Making No Churn Ice Cream
- Make sure your cream is cold. Cold cream whips faster and holds its shape better. Don’t let it sit out while you prep the other ingredients. Go straight from the fridge to your mixing bowl.
- Whip to stiff peaks (no shortcuts). The structure of the ice cream depends on it. If you underwhip, your base will be flat.
- Mix gently after adding the condensed milk. Overmixing at this step can deflate your whipped cream and leave you with a dense or spongy texture.
- Don’t overload with mix-ins. Too many marshmallows or chocolate chips can actually interfere with freezing. Stick to the measurements for the best texture.
- Freeze in a shallow, airtight container. A loaf pan with a lid works great for this. Cover it tightly to avoid ice crystals and uneven freezing.
- Let it sit before scooping. No churn ice cream freezes firmly. Leave it out for 5-10 minutes to soften just enough for perfect scoops.
Troubleshooting Texture Issues
- Spongy or sticky texture? You may have overmixed the base after adding the condensed milk, or added too many marshmallows. Stick to the listed measurements and fold gently to keep the texture light.
- Didn’t freeze properly? Double-check that your freezer is set to 0°F and that you’re using a shallow, airtight container. Also, using more than one can of sweetened condensed milk can make it too soft to set.
- Too hard to scoop? That’s normal for no churn ice cream. Let it sit at room temp for a few minutes first.
How to Store No Churn Ice Cream
Store your no churn s’mores ice cream in a freezer-safe, airtight container. A loaf pan with a tight-fitting lid works great. If your container doesn’t have a lid, press a layer of plastic wrap or parchment paper directly onto the surface of the ice cream before covering it with foil. This helps prevent ice crystals from forming on the top.
For the best texture and flavor, be sure to enjoy it within 2 weeks. It’s still safe after that, but it’ll begin to lose it’s creaminess and have more icy bits.
When you’re ready to serve, let the container sit at room temperature for about 5-10 minutes. This softens it just enough to scoop easily without losing that creamy texture.
Frequently Asked Questions
You can, but you’ll want to chop them up into smaller pieces first. Mini marshmallows are easier to fold in and freeze more evenly, which helps keep the texture smooth.
I recommend mini dark chocolate chips. They distribute better throughout the ice cream and balance the sweetness. But if you prefer milk chocolate, go for it. You can even chop up a chocolate bar for bigger bites.
Not at all. It’s totally optional. Toasting adds that classic campfire flavor and helps prevent marshmallows from getting sticky in the freezer, but the recipe works great either way.
Yes! Just make sure you use a larger container or divide it between two loaf pans. It may take a bit longer to freeze completely.
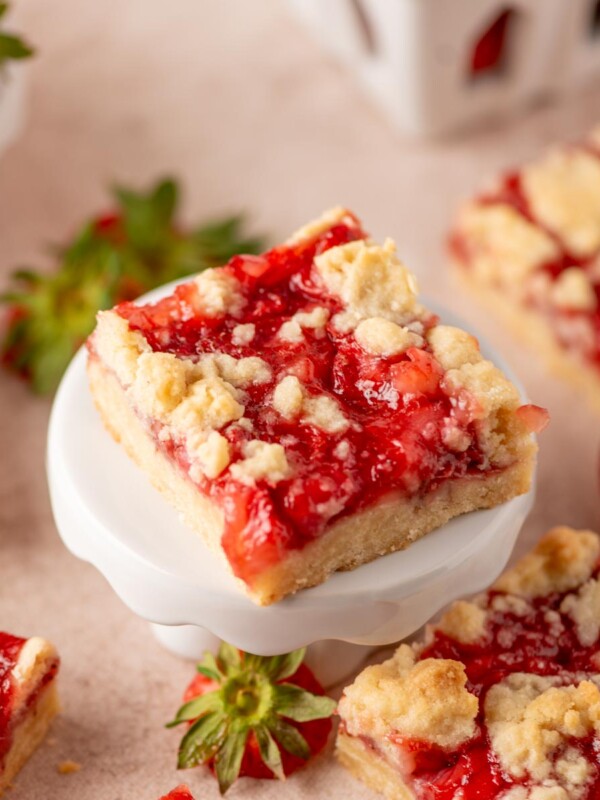
Here are some more dessert recipes you might like:
- Peach Cobbler
- Pumpkin Spice No-Churn Ice Cream
- Apple Pie Pull Apart Bread
- Smores Cookie Bars
- Smores Pie
Pin this now to find it later
Pin ItS’mores No Churn Ice Cream
Ingredients
- 2 cups heavy whipping cream
- 14 ounces Sweetened Condensed Milk
- 2 teaspoons real vanilla extract
- ½ cup mini marshmallows see notes about optional toasting
- ¾ cup mini chocolate chips dark chocolate recommended
- ¾ cup crumbled graham crackers
Instructions
- In a large mixing bowl, use a hand mixer or stand mixer to whip the heavy cream until stiff peaks form.
- Reduce the mixer speed to low and slowly drizzle in the condensed milk and vanilla. Mix just until combined. Don't overmix.
- Set the mixer aside and use a rubber spatula to gently fold in the marshmallows, chocolate chips, and graham cracker crumbs.
- Pour the mixture into a freezer-safe container (like a loaf pan). Smooth the top and sprinkle with extra mix-ins if desired.
- Cover tightly and freeze for 4-6 hours, or until firm. Let sit at room temp for 5-10 minutes before scooping.
Notes
- To toast the marshmallows: Spread them on a parchment-lined baking sheet and broil for 30–60 seconds until golden. Let cool completely before folding into the ice cream base.
- Use a shallow, airtight container to help the ice cream freeze evenly and avoid ice crystals.
- Mini chocolate chips distribute more evenly and keep the mix-ins from clumping.
- For the best texture, enjoy within 2 weeks.
- It’s important to follow the measurements on the mix-ins. The amount of marshmallows and chocolate chips can impact it’s ability to freeze properly.
Nutrition
Nutrition information is automatically calculated, so should only be used as an approximation.