






Leftover Halloween candy brownies are what you make when the candy bowl is still full, but everybody is over eating another mini candy bar straight from the wrapper. These are rich, fudgy brownies loaded with whatever chocolate candy you have left, but the candy goes on after baking so it stays recognizable instead of disappearing into the batter or getting scorched. Add the candy corn, pumpkins, and sprinkles too, and suddenly the Halloween leftovers are good again!
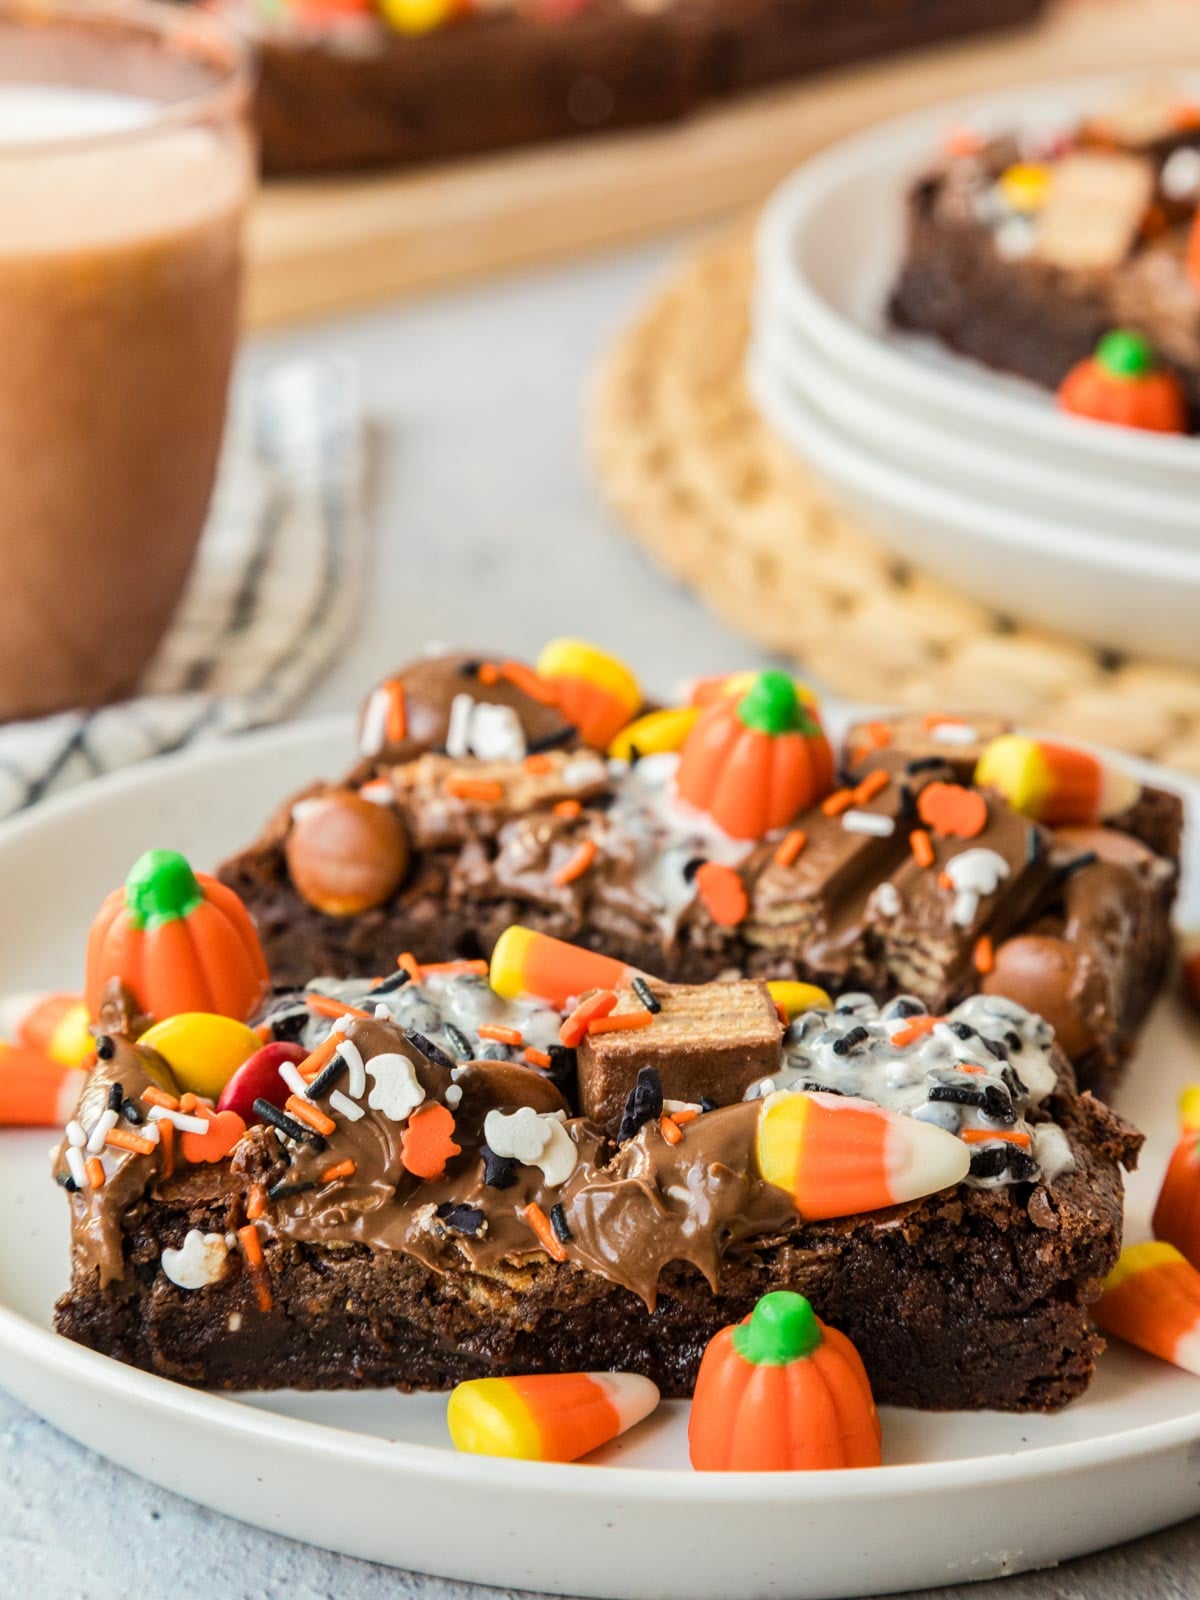
The first time I made these, I put the candy bars on before the brownies went into the oven. It seemed like the obvious way to do it, but most of the chocolate sank into the batter, and what stayed on top didn’t look good by the time the brownies were done. The Cookies ‘N’ Creme browned, the Coffee Crisp looked almost burnt, and candy corn would have gotten hard if I’d baked it along with everything else.
Putting the candy on while the brownies are still piping hot fixed all of that. The heat softens the chocolate bars enough that they melt slightly into the top, then they set into the brownies as everything cools. Candy-coated chocolates may need a little press to get them to stick, but you still end up with visible pieces of Halloween candy all across the top.
I also tested several combinations of chocolate in the brownie batter. Straight bittersweet chocolate worked really well, but my favorite was about three parts bittersweet to one part milk chocolate. Half bittersweet and half milk chocolate worked too. There is plenty of room to use what you have here without turning the brownie itself into a dumping ground for leftover candy.
Why You’ll Love These Brownies
- The Halloween candy actually stays on top. You still see the Kit Kats, candy corn, pumpkins, and whatever else you’re trying to use up.
- They’re properly fudgy. There is only ½ cup flour in the entire pan, so these are fudgy, dense brownies rather than cakey ones.
- You can use a mix of leftover chocolate. Milk, bittersweet, and darker chocolate can all work in the brownie batter.
- They solve the post-Halloween candy pile. Mini candy bars suddenly feel a lot more exciting once they’re sitting on top of a pan of brownies.
Ingredients for Halloween Candy Brownies
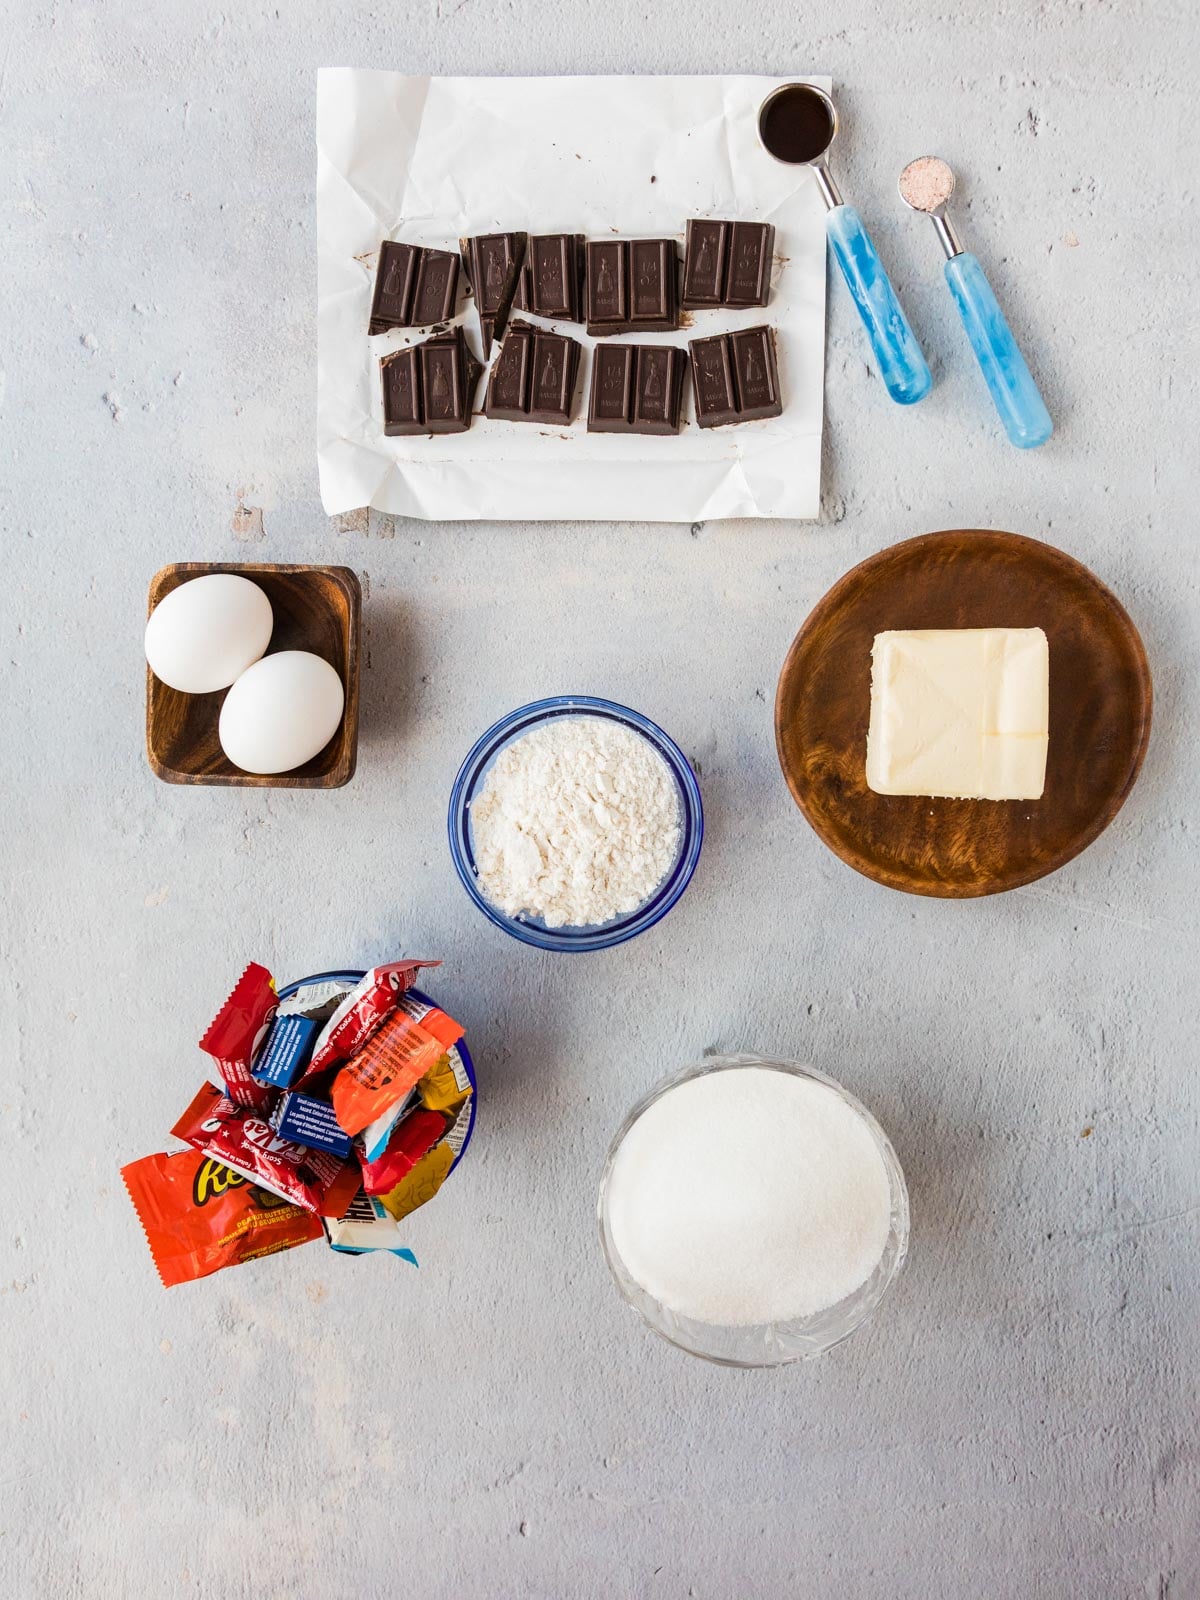
Butter: Salted or unsalted both work. I’ve tested both, including salted butter with the additional salt, and all three versions turned out well.
Granulated sugar: Two cups sounds like quite a bit, but remember that this is a full 9×9 pan of very chocolatey brownies.
Fine salt: Use the full amount with unsalted butter. With salted butter, you can leave it out if you don’t want a noticeable salty edge.
Chocolate: Bittersweet chocolate makes a rich brownie without becoming too sweet once the Halloween candy is added. A combination of bittersweet and milk chocolate also works really well.
Eggs: Four eggs help create that dense, fudgy texture.
All-purpose flour: There’s only a small amount of flour here compared with the chocolate, butter, sugar, and eggs. That’s intentional.
Vanilla extract: Use regular pure vanilla extract or the vanilla you normally bake with.
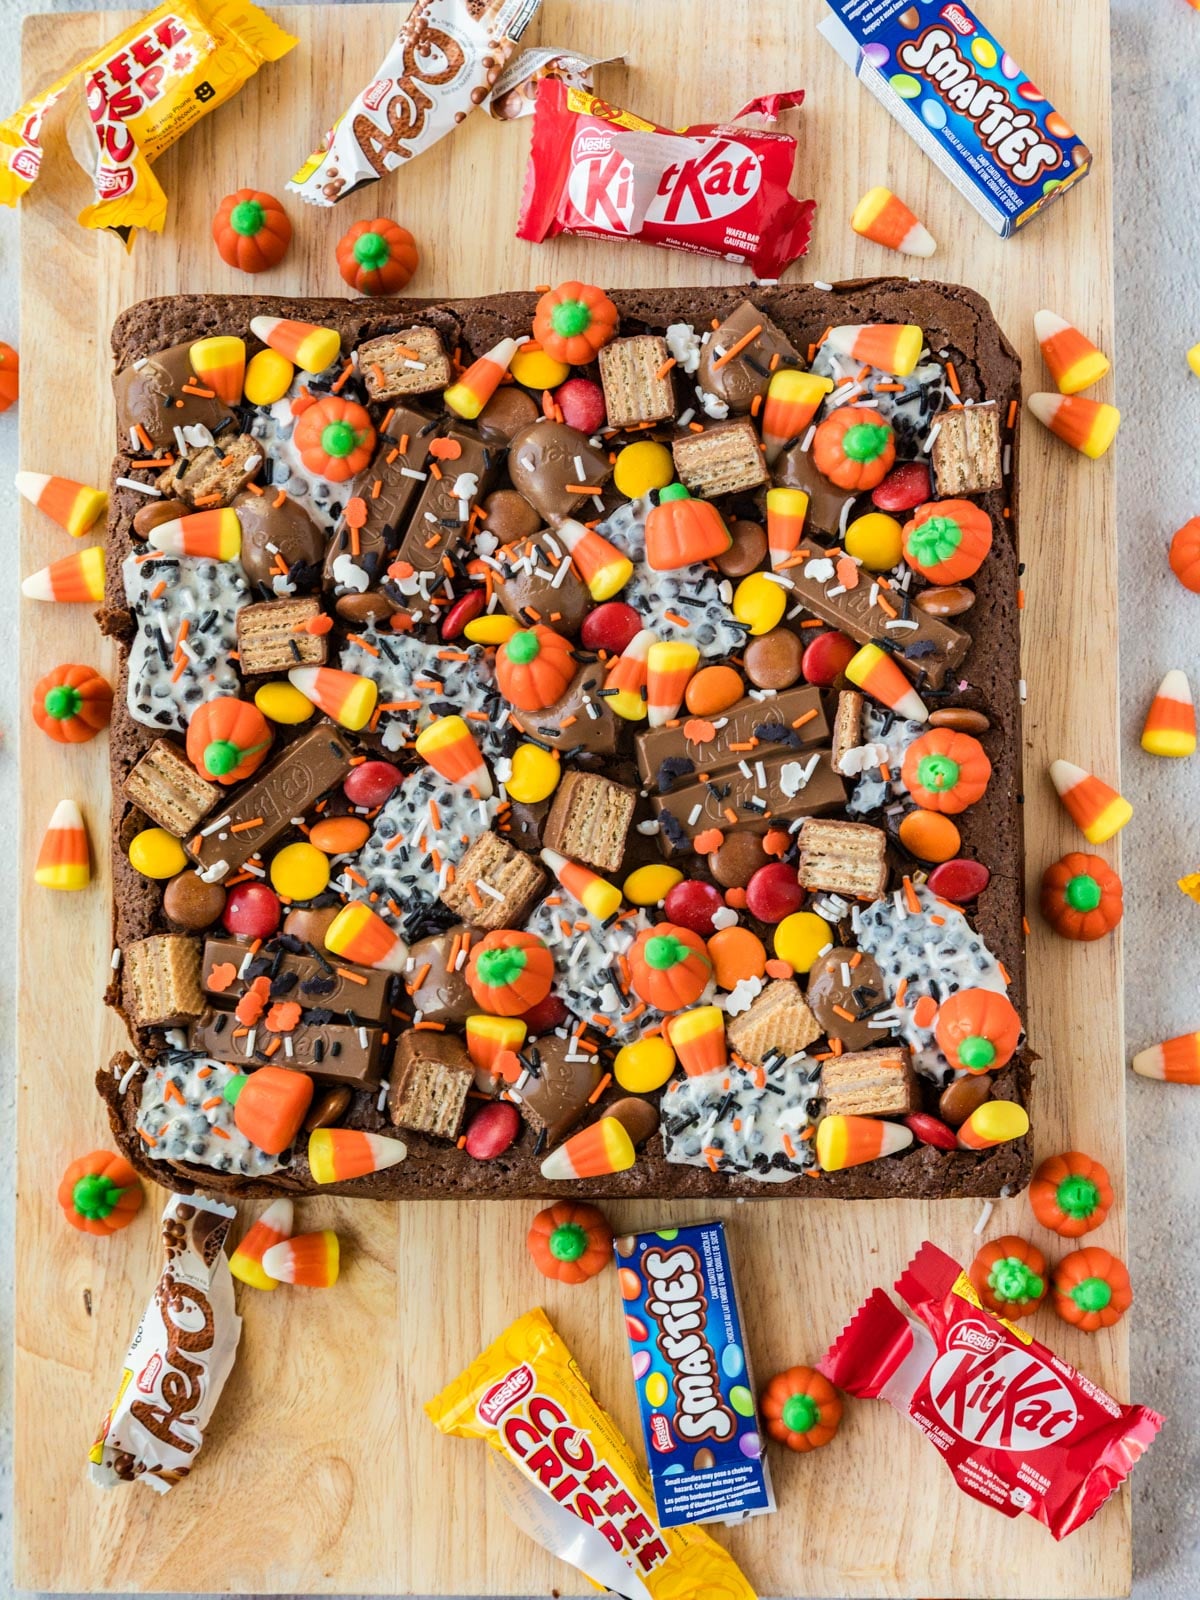
Assorted candy bars: I used mini Kit Kats, Coffee Crisp, Smarties, Aero bars, and Hershey’s Cookies ‘N’ Creme. This is where you pull from whatever chocolate candy is still sitting in the Halloween stash.
Candy corn and candy pumpkins: These work best added after baking. Don’t put them into the oven with the brownies.
Halloween sprinkles: Completely optional, but they’re an easy way to fill in the little spaces between the larger candy pieces.
How to Make Leftover Halloween Candy Brownies
Prepare the Pan
- Preheat the oven to 350°F.
- Line a 9×9-inch baking pan with two pieces of parchment paper. Crease the parchment paper over the edges of the pan so it stays in place. If your pan isn’t nonstick, grease any exposed corners.
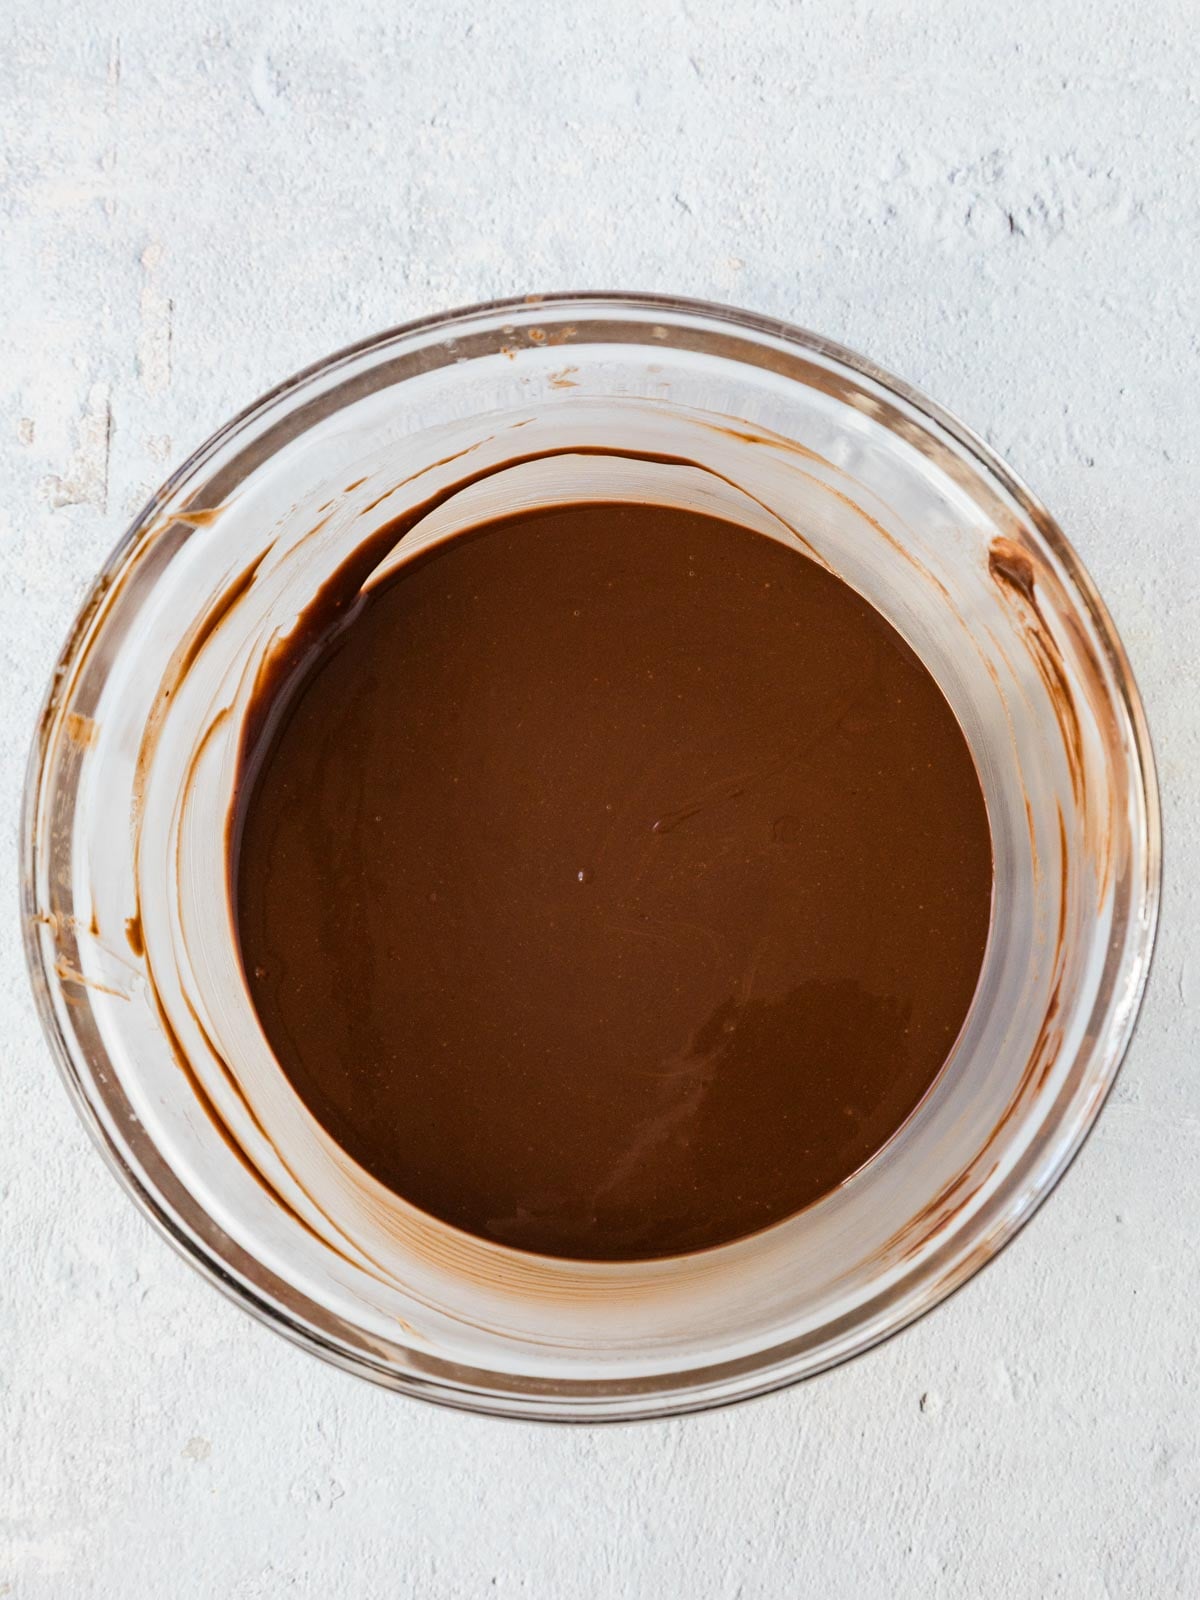
Melt the butter and chocolate
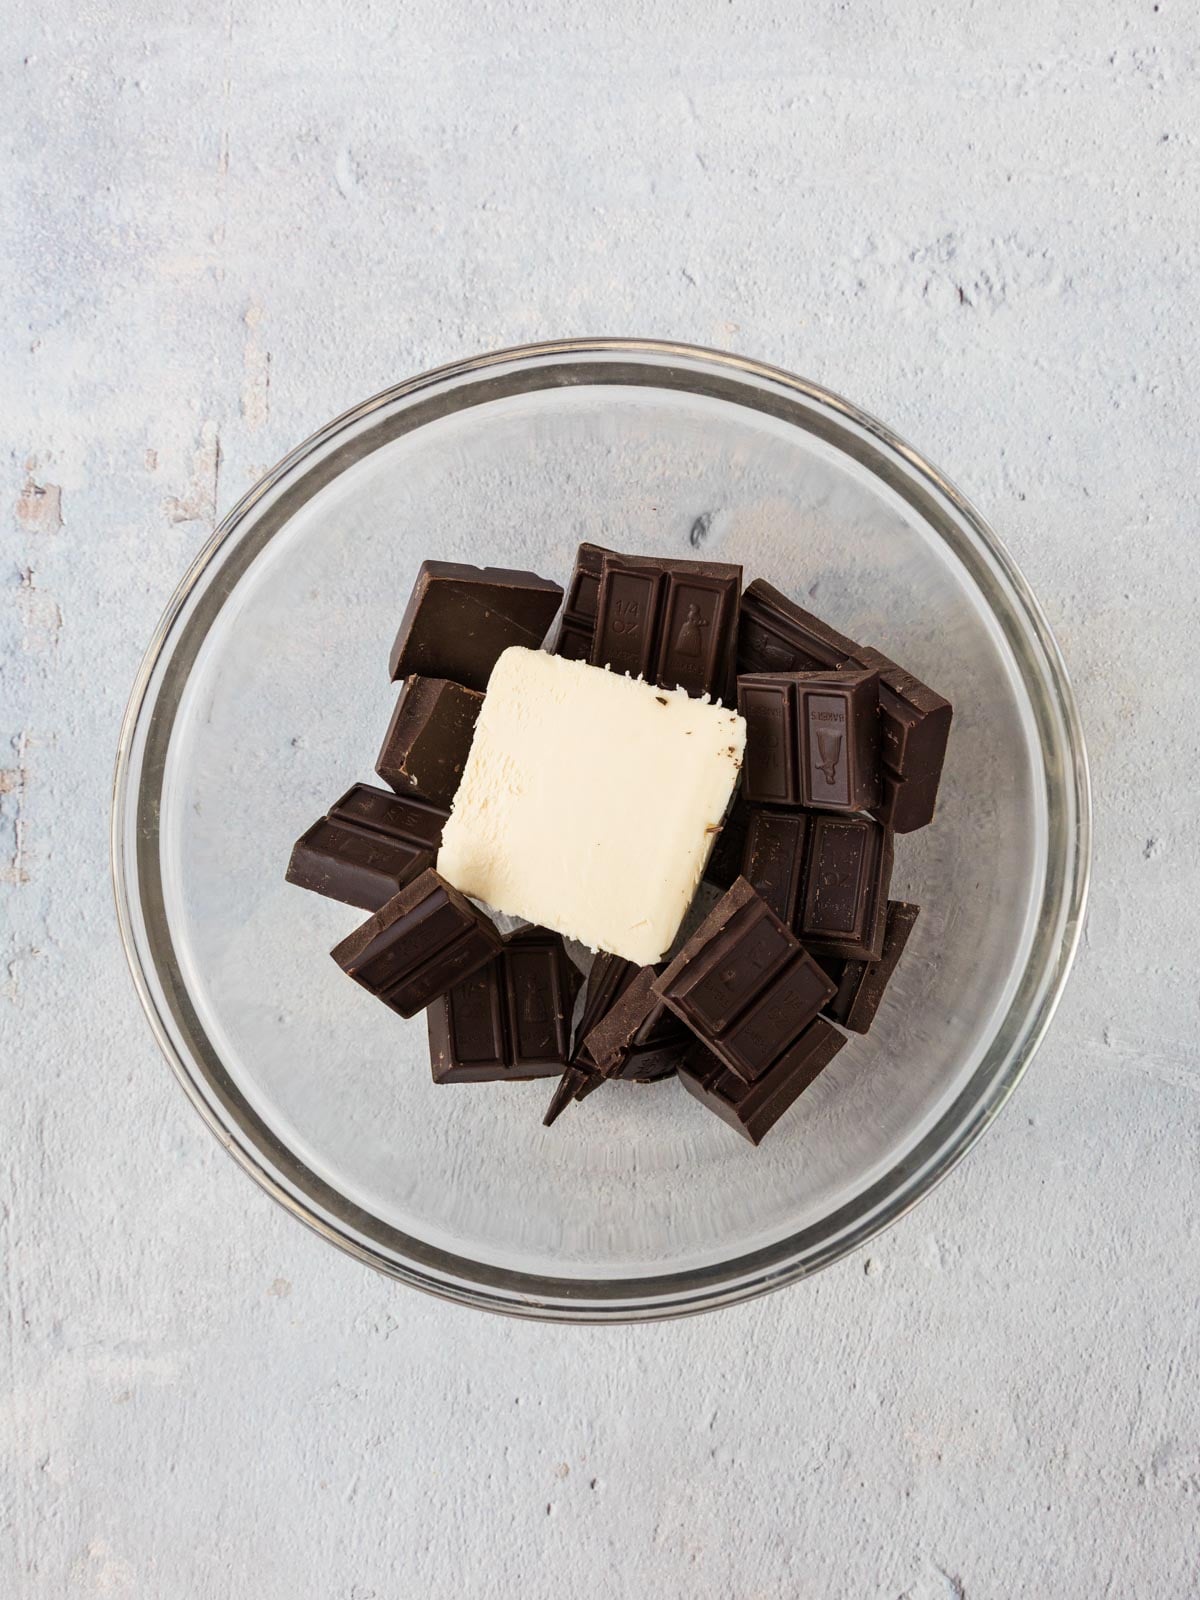
- Place the butter and chocolate in a medium microwave-safe bowl.
- Microwave in 30 second increments, stirring well after each one, until completely melted and smooth. This takes about 2 minutes in my microwave.
Add the sugar
- Mix the granulated sugar and salt together in a small bowl.
- Stir them into the melted chocolate mixture until combined.
Finish the brownie batter
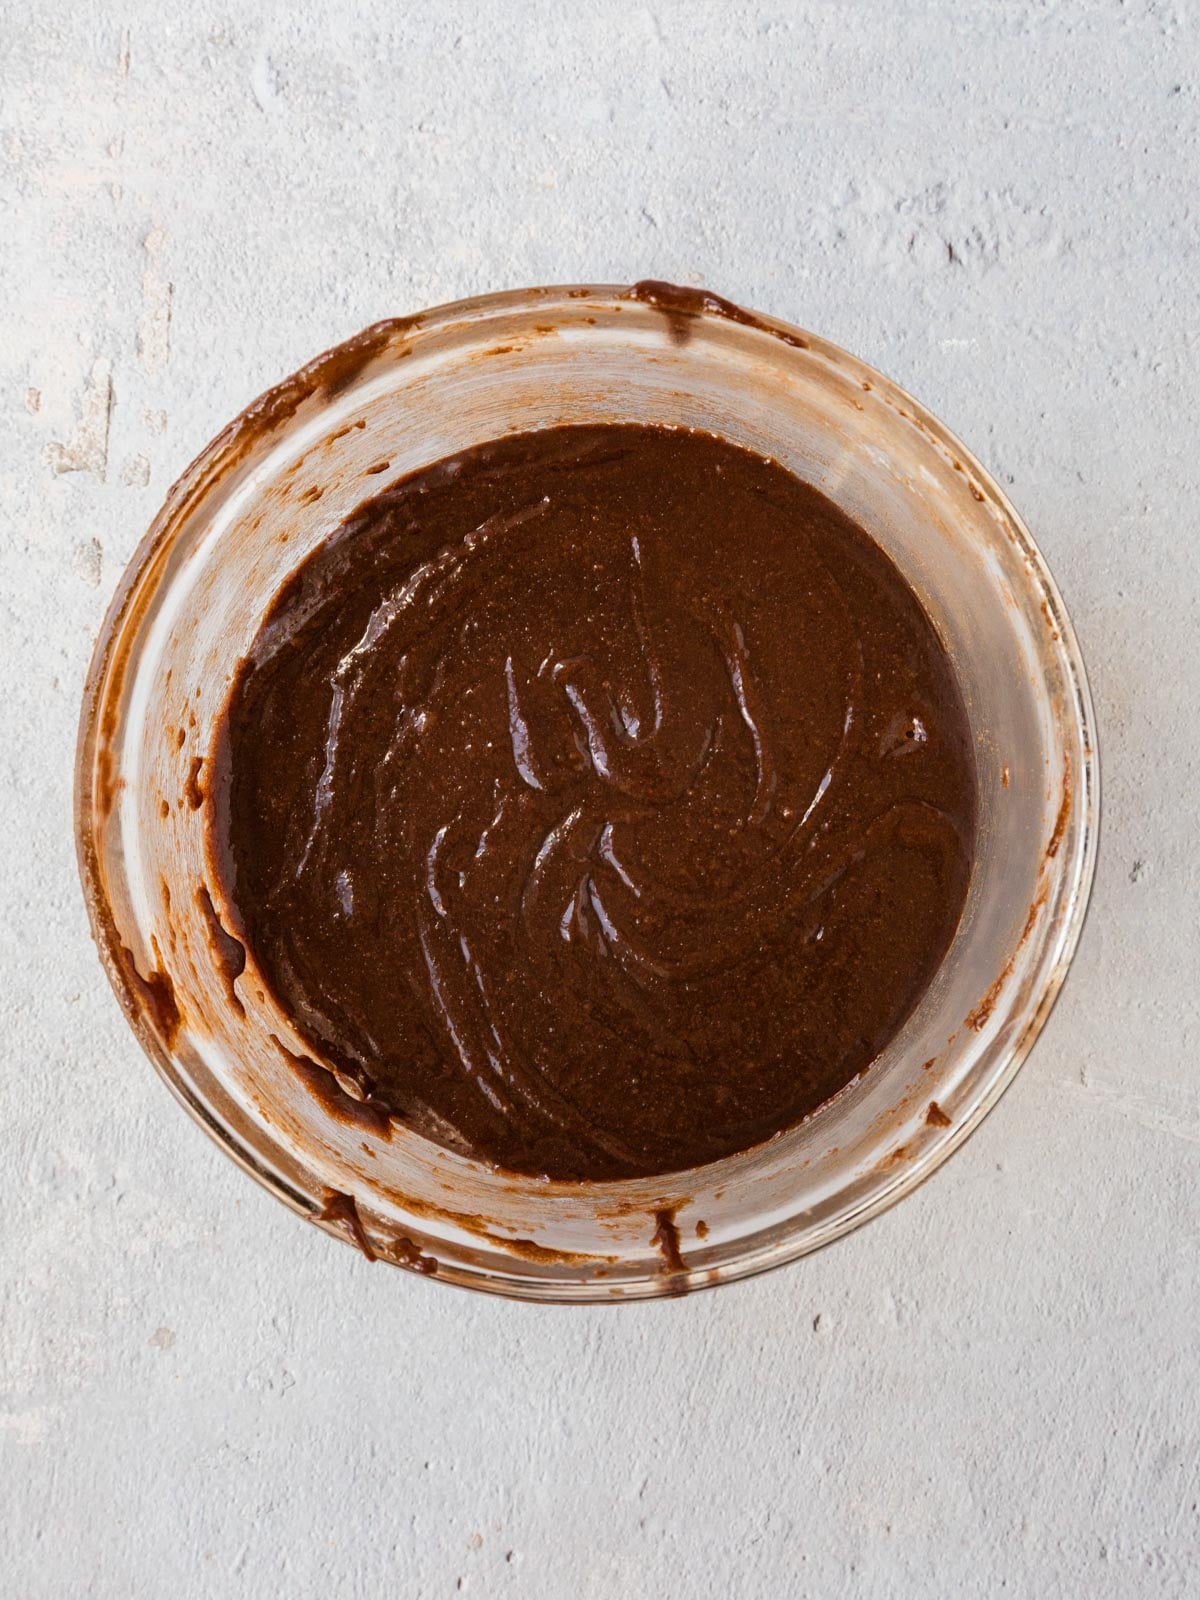
- Whisk in the eggs.
- Add the flour and whisk until incorporated, then stir in the vanilla extract.
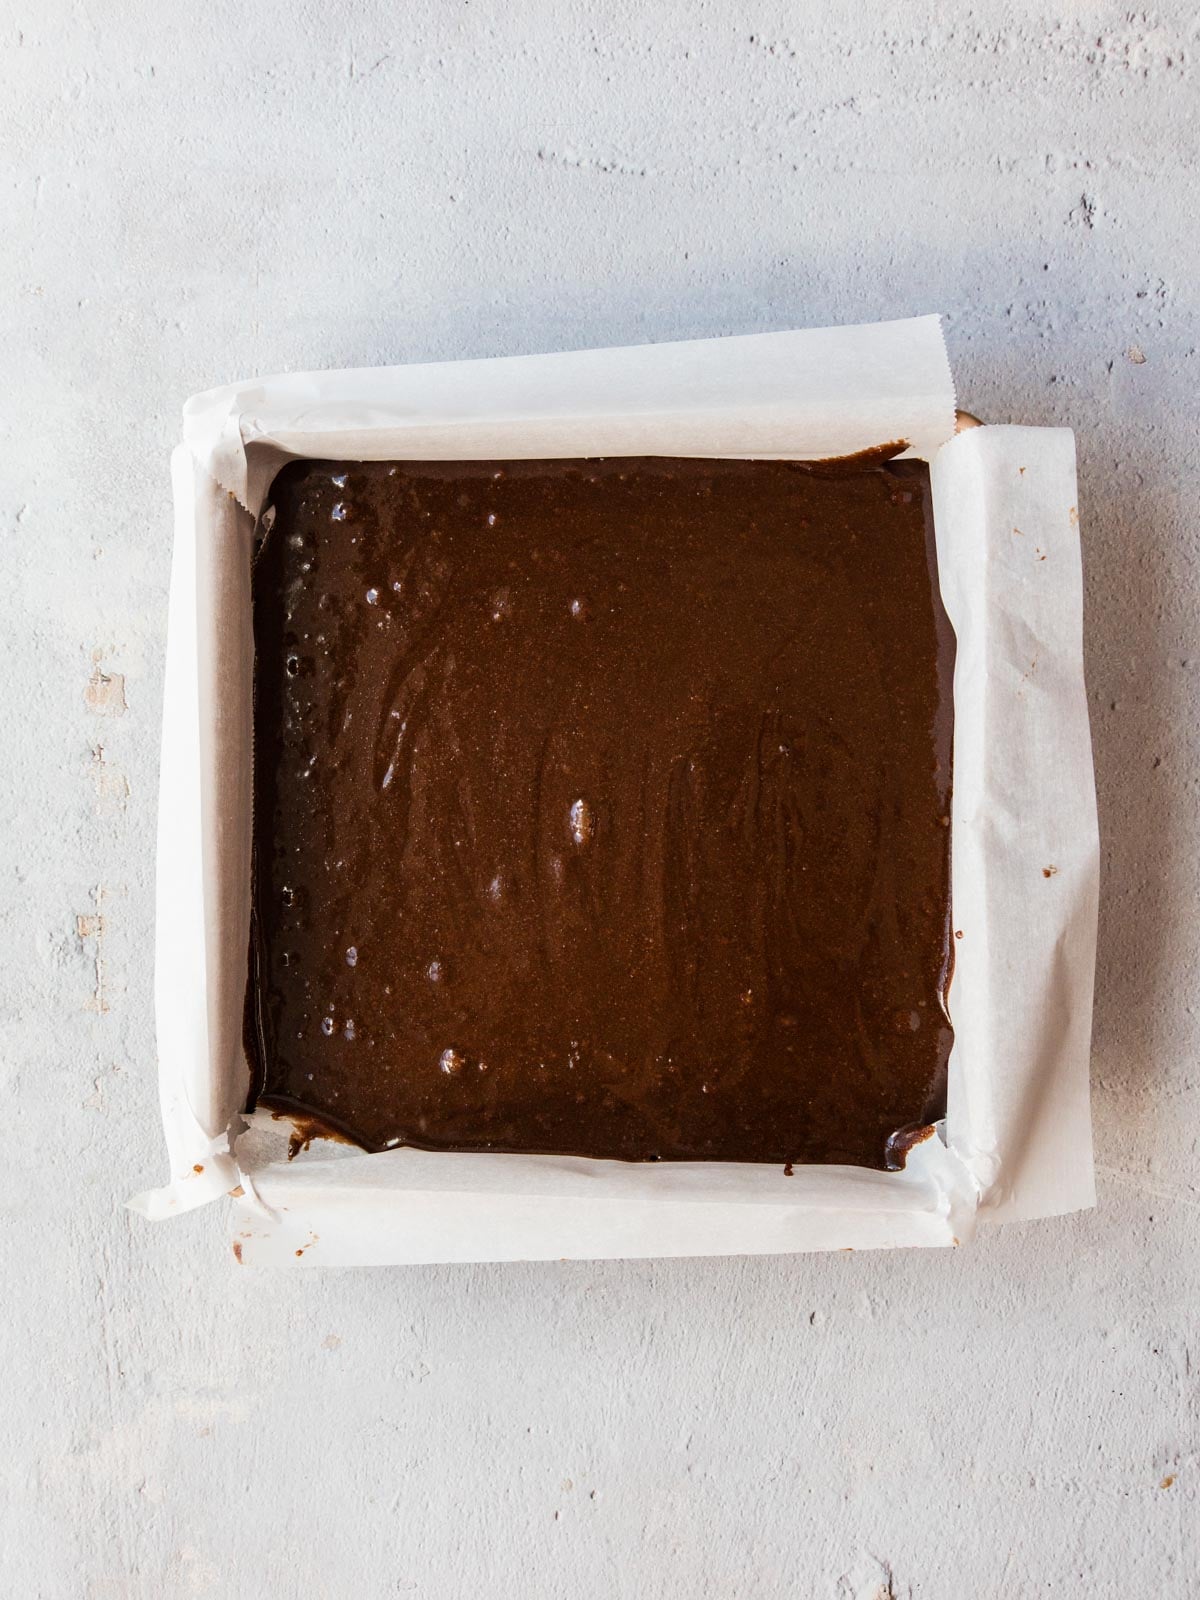
- Pour the batter into the prepared pan and spread it evenly.
Bake
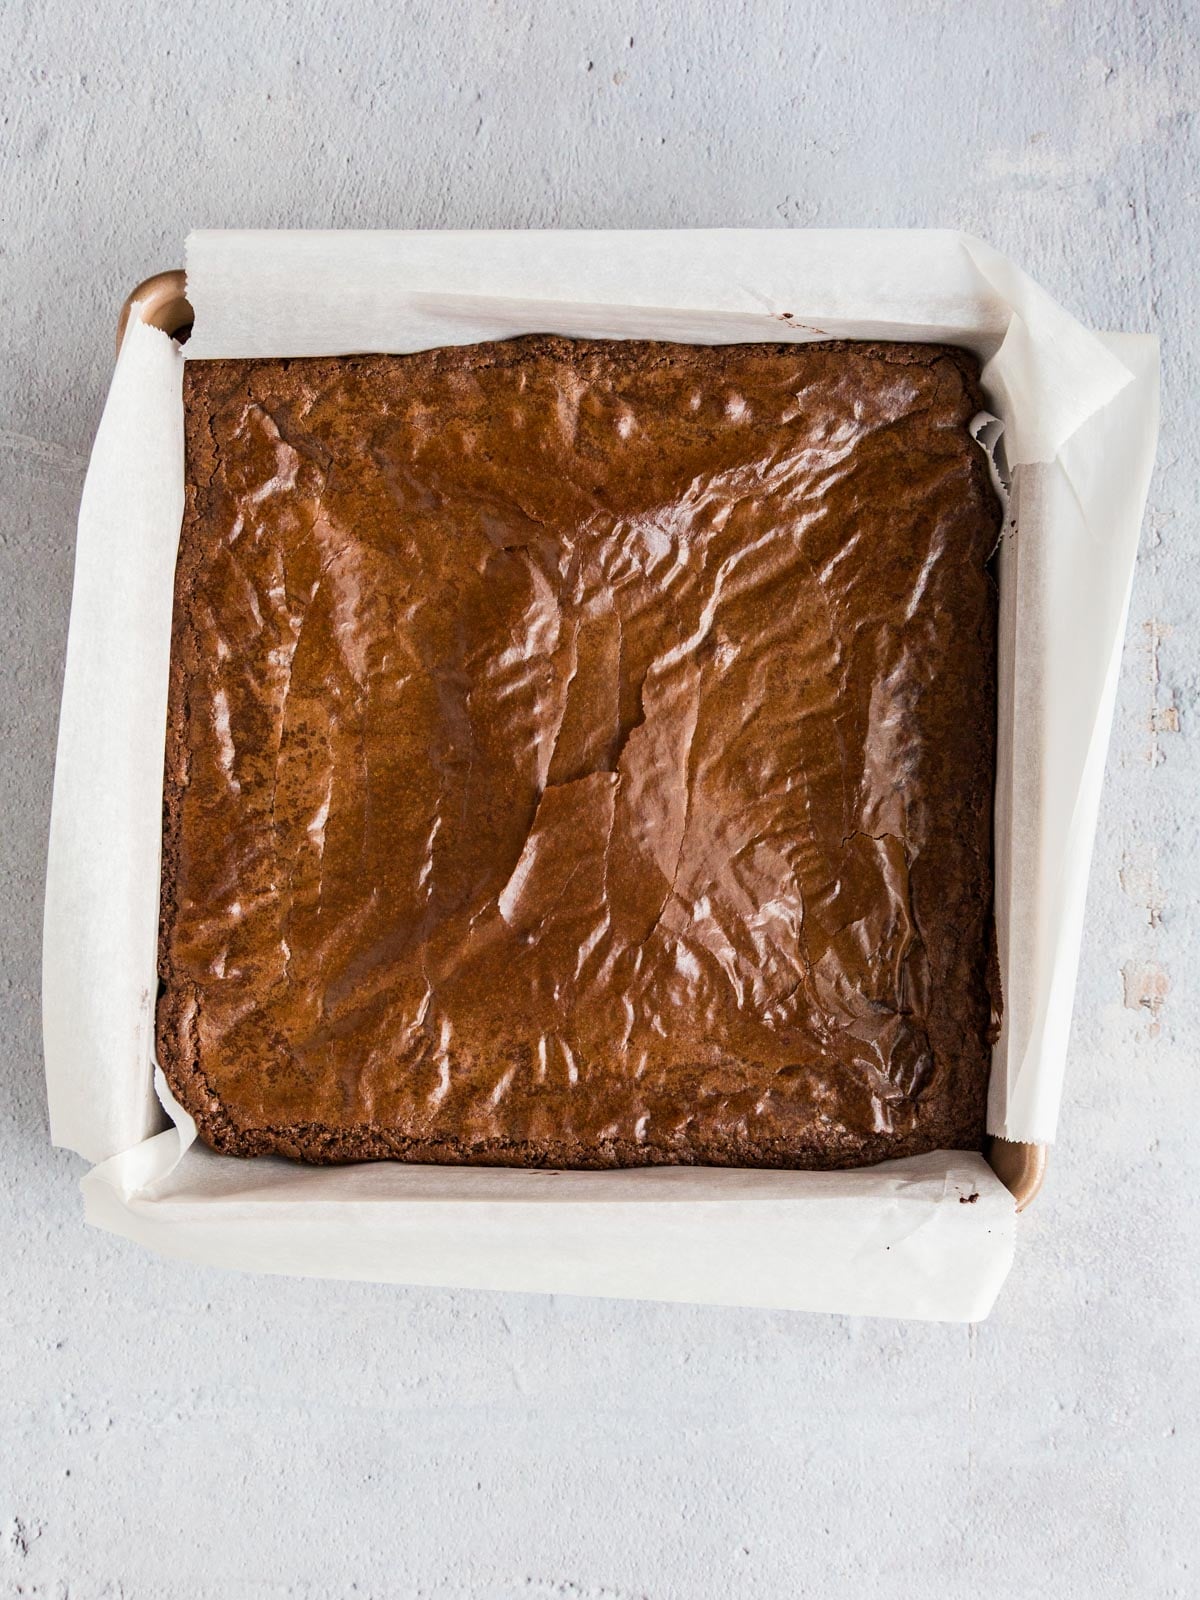
- Bake the brownies for 35 to 37 minutes.
- While they’re baking, unwrap all of your candy so it’s ready to go as soon as the brownies come out.
Add the Halloween candy
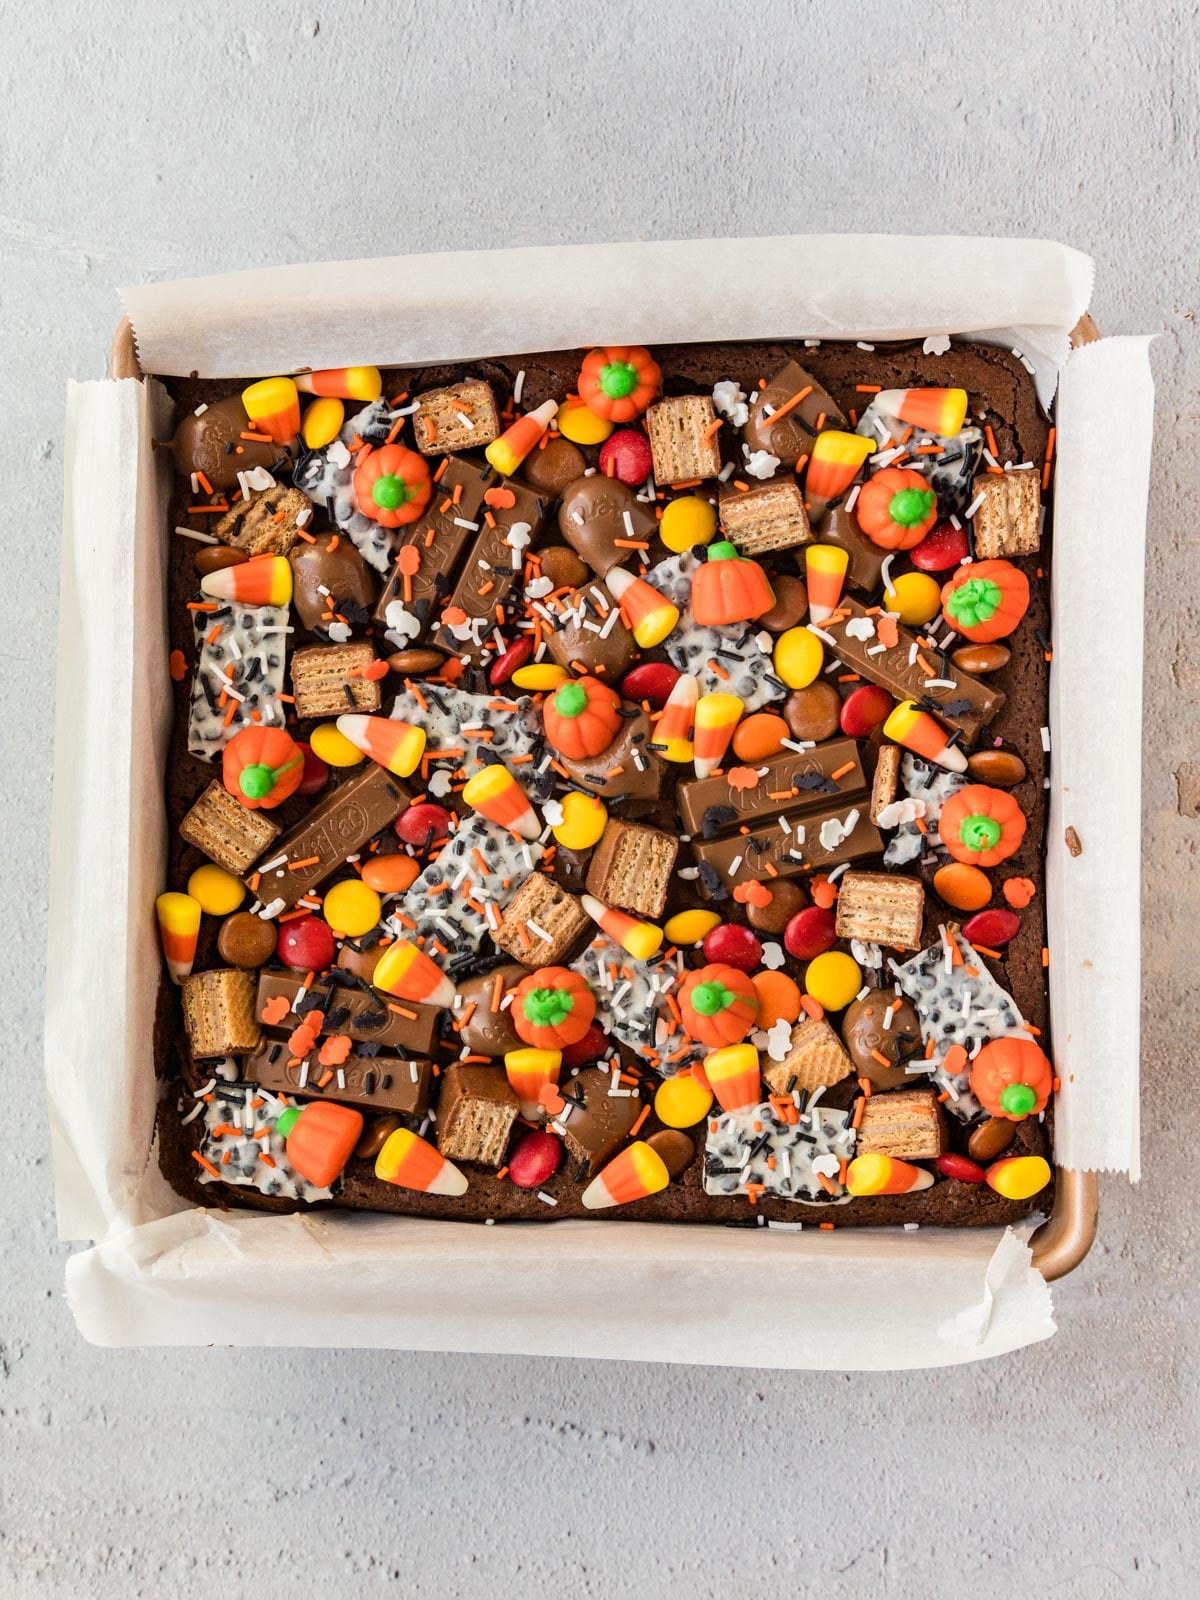
- As soon as the brownies come out of the oven, carefully arrange the candy bars, candy corn, pumpkins, and sprinkles over the top.
- Gently press candy-coated chocolates such as M&M’s into the surface if they aren’t sticking. The chocolate bars will soften considerably on the hot brownies. That’s exactly what you want.
Let them cool
- Let the brownies cool for at least 20 minutes before cutting. The chocolate candy on top may still be very soft at this point. If you’d like it completely set, let the brownies cool on the counter for at least 20 minutes first, then move them to the refrigerator or freezer until the chocolate firms up.
Kara’s Tips
- Have every piece of candy unwrapped before the brownies come out. You need the residual heat from the brownies to soften and attach the candy, so this is not the moment to start opening 25 tiny wrappers.
- Don’t bake the candy on top. Chocolate bars can sink or overcook, and candy corn and pumpkins can become hard. Adding everything after baking gives you a much better-looking pan.
- Expect the chocolate bars to stay soft for a while. Mine stayed melty for hours at room temperature. If you’re trying to cut neat brownies for a party or Halloween tray, cool them first and then chill the pan until the topping sets.
- Use some bittersweet chocolate in the batter if you can. The brownies already have plenty of sugar plus sweet candy on top. Bittersweet chocolate keeps the whole thing from becoming overwhelmingly sweet.
What Halloween Candy Works Best in Brownies?
Chocolate candy bars are the easiest place to start.
Try leftover:
- Kit Kats
- Hershey’s bars
- Cookies ‘N’ Creme bars
- Aero bars
- Crunch-style bars
- Coffee Crisp
- M&M’s or Smarties
- Mini peanut butter cups
- Chopped chocolate bars
Candy corn and candy pumpkins also work well here because you add them after the brownies bake.
You don’t need 25 identical candy bars. The whole point is to use the random assortment you already have.
Serving Leftover Halloween Candy Brownies
These belong right in that stretch between Halloween night and the weekend after, when there are costumes on the floor and enough candy in the house to last until Christmas.
Cut them into squares once they’re cool and put them out for an after-school treat, add them to a Halloween party dessert table, or make a pan specifically to clear out the handful of mini chocolate bars nobody seems to be choosing from the candy bowl.
If you’re serving them somewhere and want the tops to look neat, chill the brownies until the melted candy has completely set before slicing.
How to Store Halloween Candy Brownies
Room Temperature
Store the brownies in an airtight container at room temperature for 3 to 5 days.
Keep in mind that some of the chocolate candy on top can soften considerably if your kitchen is warm.
Refrigerator
Store them in an airtight container in the refrigerator for up to 1 week.
This is also a good option if you prefer the chocolate candy on top completely firm.
Freezer
The brownies can be frozen for up to 3 months.
Let them cool completely before transferring them to an airtight freezer-safe container.
Leftover Halloween Candy Brownies FAQs
I wouldn’t. I tested the candy on the brownies before baking, and most of the chocolate sank while some of the pieces left on top looked overcooked.
Candy corn and candy pumpkins are another problem because they can become very hard in the oven.
Putting everything on immediately after baking lets the hot brownies soften the candy without ruining it.
That’s normal. Chocolate bars can stay surprisingly soft for several hours after sitting on the hot brownies.
Let the brownies cool at room temperature for at least 20 minutes first. If you want the candy completely firm before slicing, transfer the pan to the refrigerator or freezer afterward.
You can use a combination of milk chocolate and bittersweet chocolate. I’ve tested a 50/50 mixture as well as roughly 75% bittersweet and 25% milk chocolate, and both worked well.
I have not tested the recipe using 100% milk chocolate. Because the batter contains two cups of sugar and you’re adding candy on top, an all-milk-chocolate version may end up sweeter than I’d want.
Bittersweet chocolate works very well here. I haven’t tested the recipe using 100% very dark chocolate, so I would stick with bittersweet chocolate or use dark chocolate as part of a blend rather than making the entire batch with a very high-cacao chocolate.
More Halloween Recipes
Pin this now to find it later
Pin It
Leftover Halloween Candy Brownies
Ingredients
For the Brownies
- ¾ cup butter salted or unsalted
- 12 ounces bittersweet chocolate or a combination of bittersweet and milk chocolate
- 2 cups granulated sugar
- ¼ teaspoon fine salt optional if using salted butter
- 4 large eggs
- ½ cup all-purpose flour
- 1 teaspoon vanilla extract
For the Candy Topping
- 25 mini chocolate candy bars assorted varieties
- Candy corn and candy pumpkins as desired
- Halloween sprinkles as desired
Instructions
- Preheat the oven to 350°F. Line a 9×9-inch baking pan with two pieces of parchment paper, creasing the paper over the edges to keep it in place. If you’re not using a nonstick pan, grease any exposed corners.
- Add the butter and chocolate to a medium microwave-safe bowl. Microwave in 30-second increments, stirring between each, until completely melted and smooth. This takes approximately 2 minutes, depending on your microwave.
- In a small bowl, stir together the granulated sugar and salt. Add the mixture to the melted chocolate and stir until combined.
- Whisk in the eggs, followed by the flour, and finally the vanilla extract. Stir until everything is incorporated.
- Pour the batter into the prepared baking pan and spread evenly. Bake for 35–37 minutes.
- While the brownies bake, unwrap the mini candy bars and gather the candy corn, candy pumpkins, and Halloween sprinkles.
- As soon as the brownies come out of the oven, carefully arrange the candy bars and other Halloween candy over the hot surface. Gently press candy-coated chocolates like M&M’s or Smarties into the top if needed. The heat will soften the chocolate bars and help them stick to the brownies as they cool.
- Allow the brownies to cool for at least 20 minutes before cutting. The chocolate bars may still be soft. If you prefer the candy completely set, refrigerate or freeze the brownies after they’ve cooled on the counter for at least 20 minutes.
Video
Notes
- Butter and salt: Salted or unsalted butter both work. If using salted butter, the additional ¼ teaspoon salt is optional.
- Chocolate: Bittersweet chocolate works well on its own. A mixture of 75% bittersweet and 25% milk chocolate is another great option. Using only milk chocolate has not been tested.
- Candy: Add the candy immediately after baking, while the brownies are still hot. Baking the candy with the brownies can cause it to sink, scorch, or become hard.
- Cooling: Allow at least 20 minutes for cooling before cutting. Refrigerate after the initial cooling period if you want the chocolate candy on top to firm up completely.
- Storage: Store in an airtight container at room temperature for 3–5 days, refrigerated for up to 1 week, or frozen for up to 3 months.
Nutrition
Nutrition information is automatically calculated, so should only be used as an approximation.