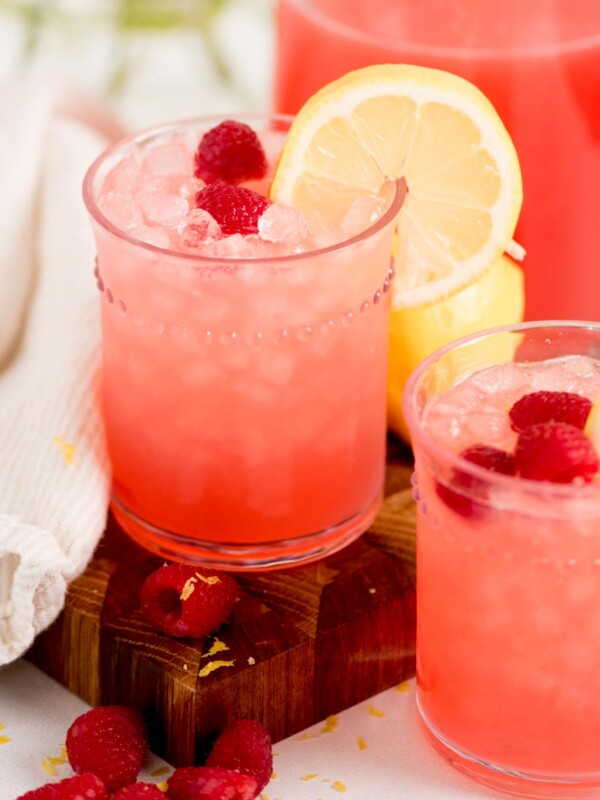







This is the strawberry lemonade that doesn’t separate into a sad, syrupy bottom layer by the time you’re on your second glass. There’s one step, nothing fancy, just five minutes on the stove, that keeps every sip tasting like fresh strawberries instead of watered-down sugar water. Pour it over ice at a lake weekend or a backyard cookout, and watch people love it!
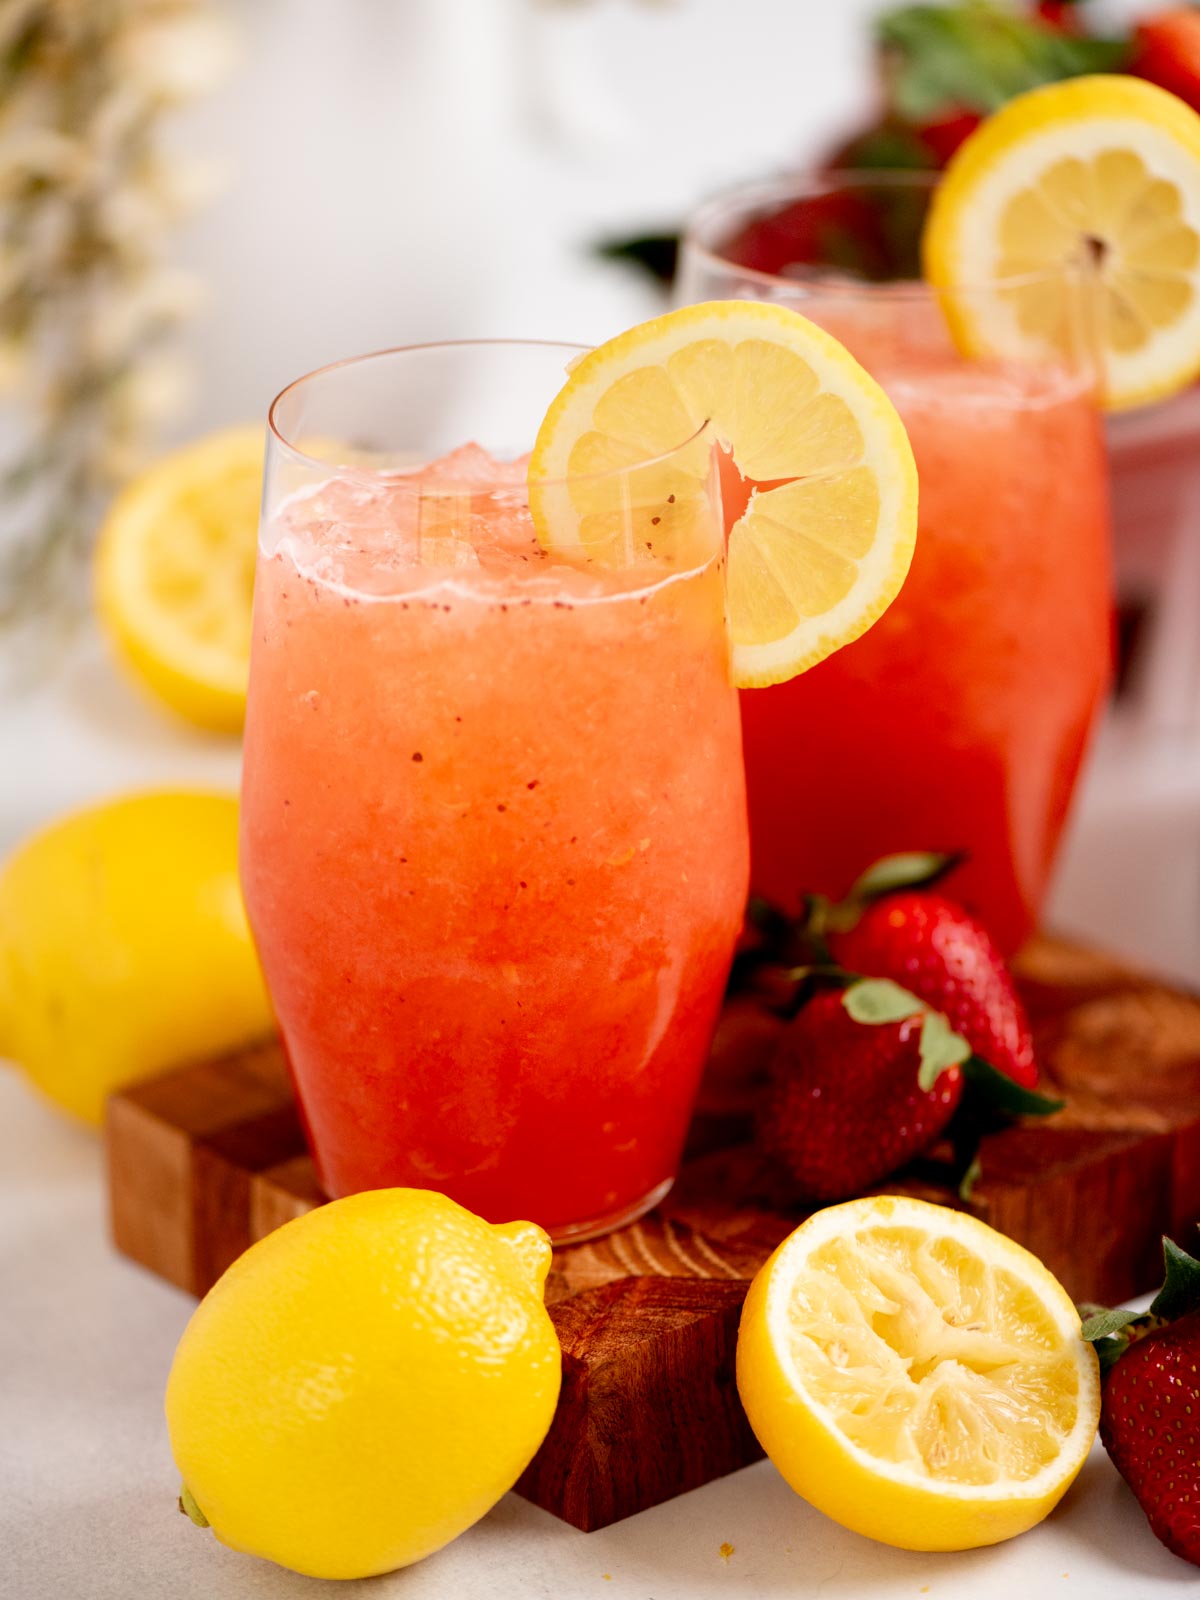
I’ve made strawberry lemonade for a long time in a lot of ways. Probably in more ways than I can count. I’ve tried blended, muddled, and dumped straight from a bag of frozen berries into a pitcher, and every single one of those shortcuts left me with either grit in my teeth or lemonade that tasted like strawberry-flavored water by the time the ice melted.
My grandma never blended anything into her lemonade and always cooked her fruit down first, every time. It’s a habit I picked up standing next to her at the stove, and it’s the reason this version holds up instead of separating the second you set it down.
Why You’ll Love This Strawberry Lemonade
It actually tastes like strawberries, not sugar water (or lemon water). Most versions dump raw berries in a blender and call it a day, but simmering them down first brings out the strong strawberry flavor instead of watered-down pink color.
It holds up for hours, not just the first pour. No separating, no settling pulp at the bottom of the pitcher. This one still tastes balanced whether you’re pouring the first glass or the last one at the end of the party.
The sweet-tart balance is dialed in, not an afterthought. Fresh lemon juice keeps it bright, the strawberry syrup rounds it out, and you can nudge the sugar up or down without throwing off the whole thing.
Ingredients
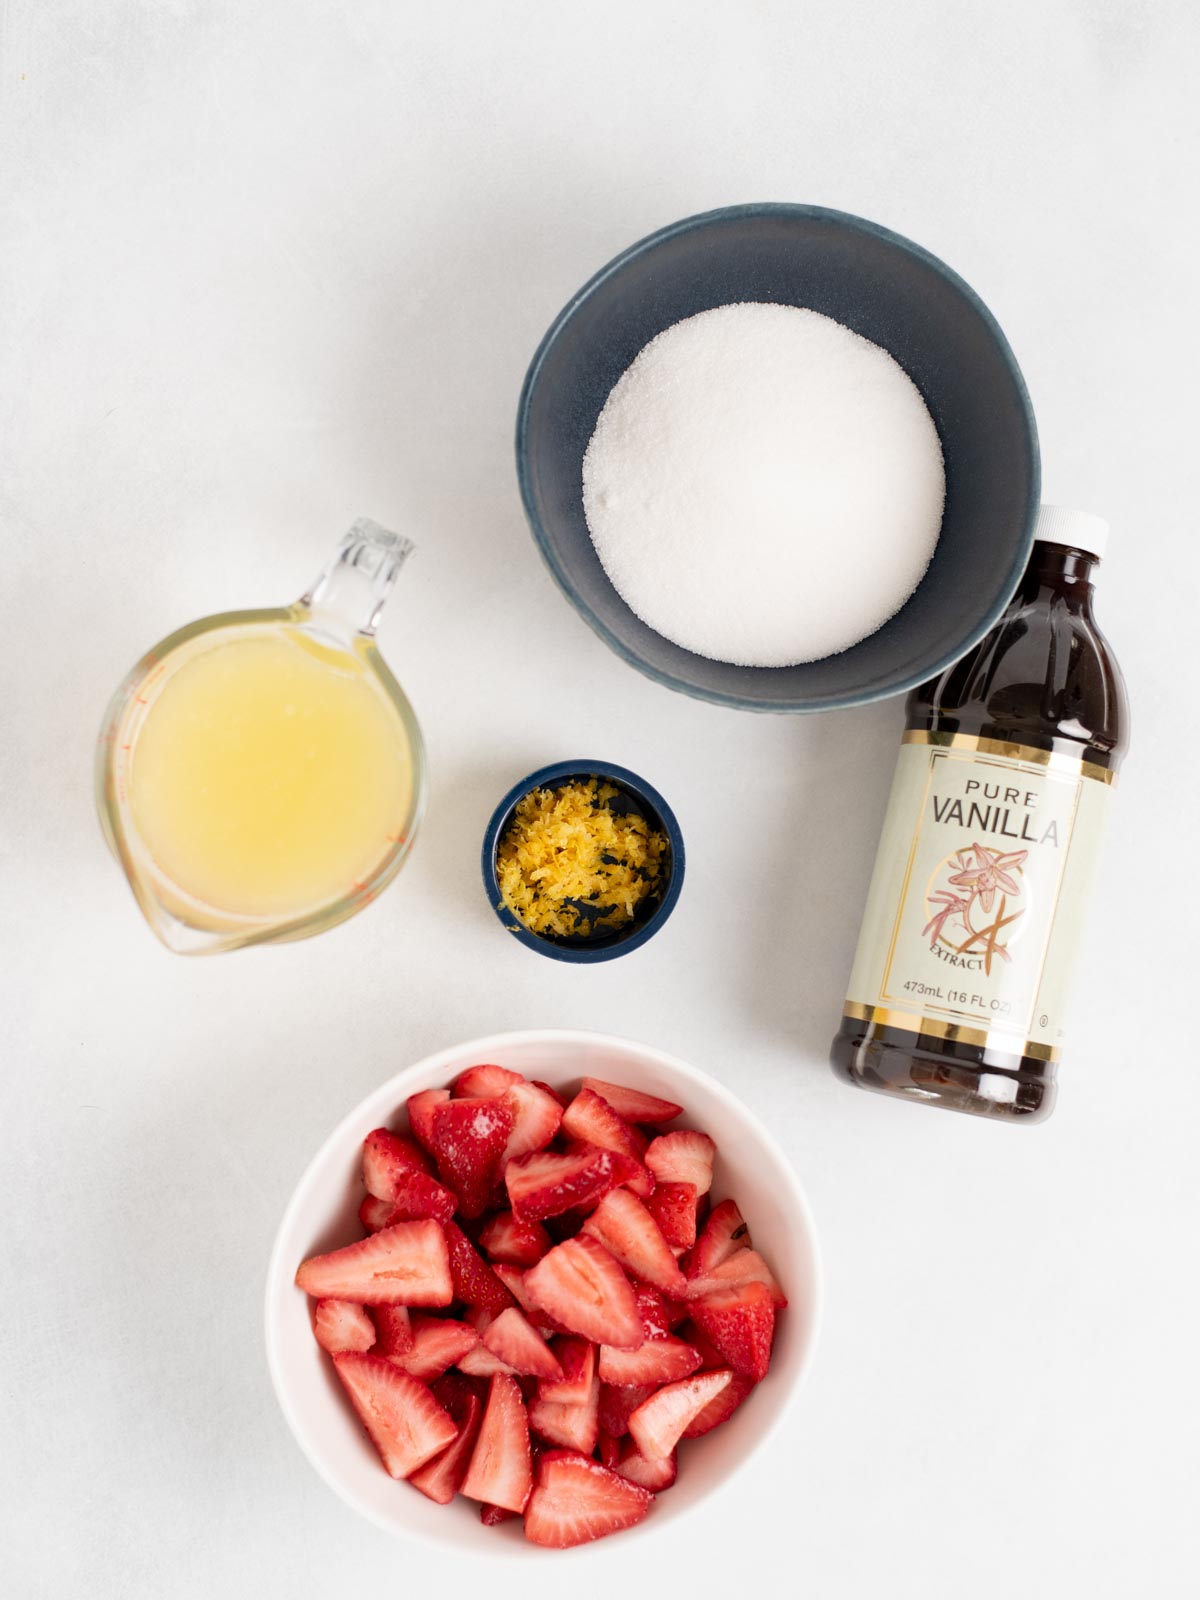
- Fresh strawberries – Frozen works in a pinch, but fresh ones simmer down into a cleaner, more concentrated syrup that will give you a better flavor. Look for berries that are fully red, not white-shouldered. Those under-ripe spots stay bitter even after cooking. If you can only find under-ripe, grab the frozen kind.
- Granulated sugar. The recipe is written with ¾ cup because it’s the balance point for this. It’s not overly sweet, but not too sour or tart. You can start at ½ cup if you’re sugar-shy and adjust once you’ve tasted the finished syrup, since the exact sweetness of your berries will shift how much you need.
- Fresh lemon juice. Bottled juice will work in a pinch, but it can’t replicate the brightness fresh juice gives you here. Roll your lemons firmly on the counter before cutting. It breaks down the membranes and gets you noticeably more juice per lemon.
- Cold water, divided. Split between the syrup base and the final mix so you control concentration at two different points instead of diluting everything at once.
- Lemon zest (optional). Skip the syrup step’s flavor loss by adding this straight to the pitcher. It’s the fastest way to punch up lemon flavor without adding more acid.
- Vanilla extract (optional). A small amount rounds out the tartness and makes the whole pitcher taste smoother. Don’t skip this one. It doesn’t make it taste like vanilla at all.
How to Make Strawberry Lemonade
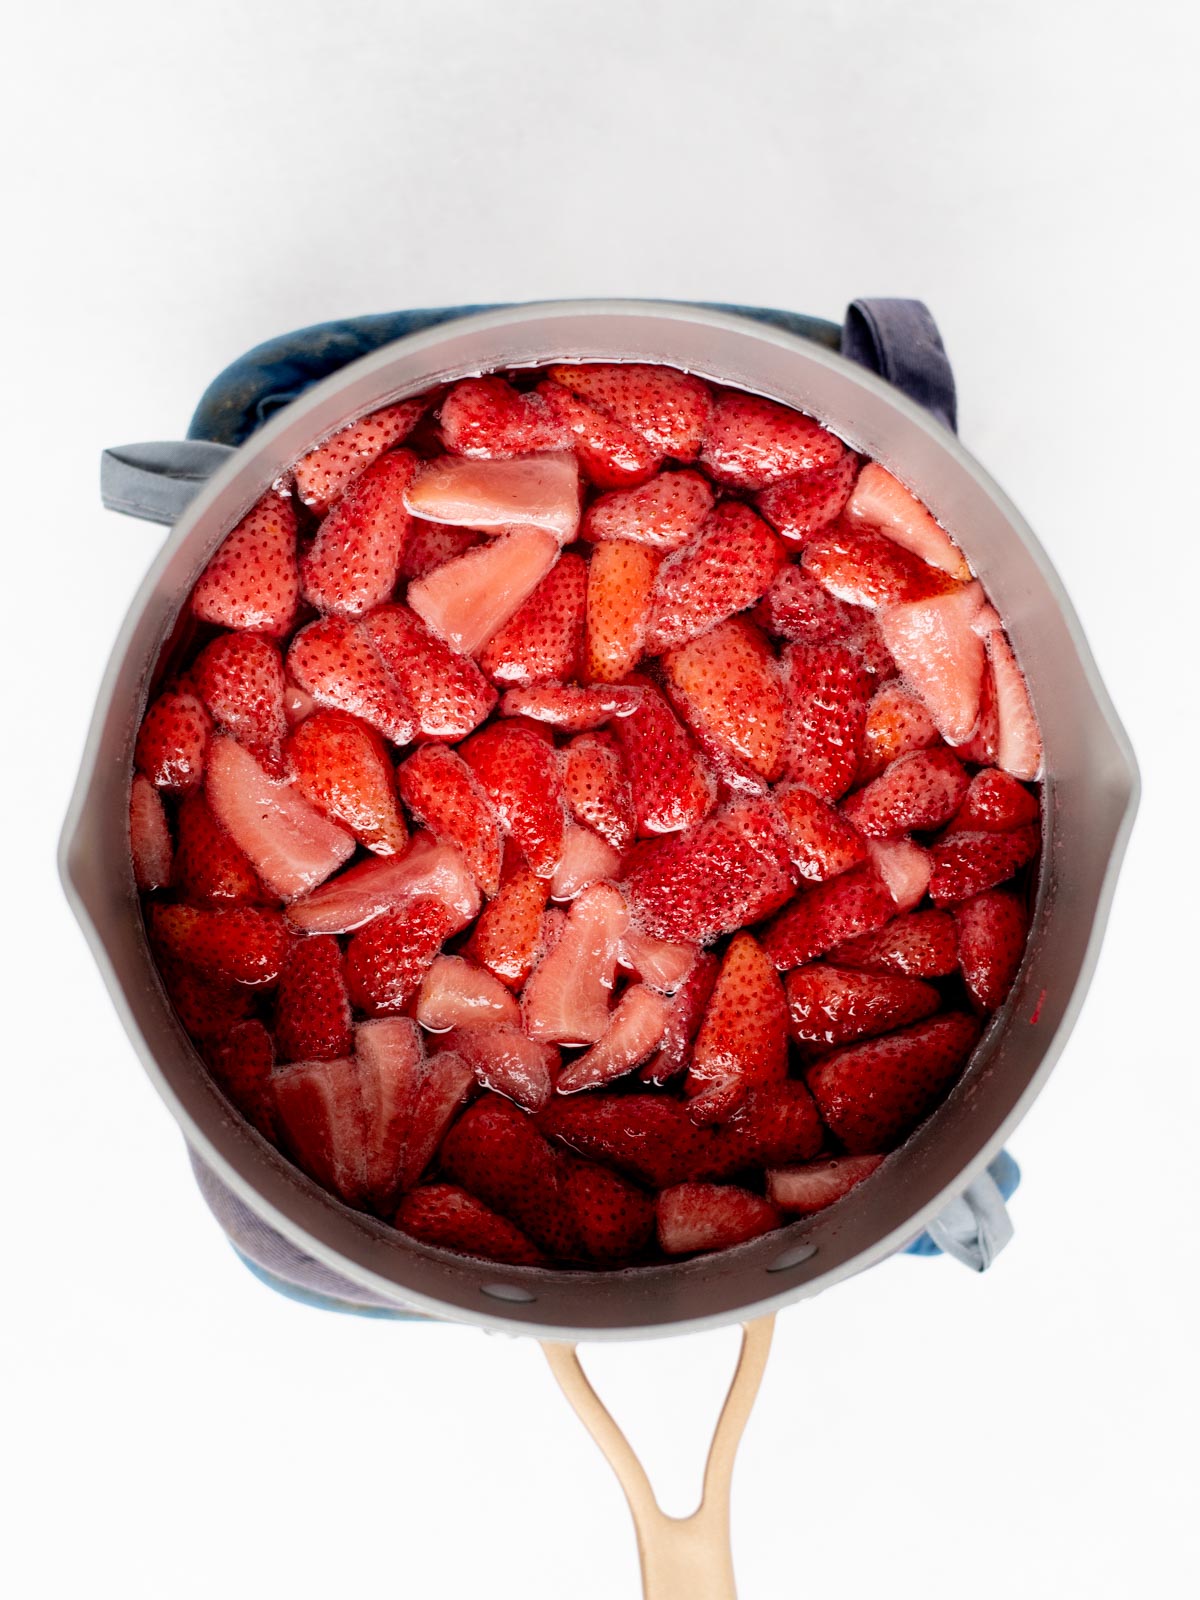
- Start by making the strawberry syrup. Combine the sliced strawberries, sugar, and 1 cup of water in a saucepan over medium heat.
- Let it simmer for 5 to 7 minutes, stirring occasionally, until the berries go soft and the liquid turns a deep, syrupy pink. You’ll know it’s ready when the strawberries collapse easily against the side of the pan.
- Mash the berries with a fork or potato masher (I also like to use my meat chopper) to release even more flavor, then strain the mixture through a fine mesh sieve, pressing firmly on the solids. I usually press it with the back of a spoon. This is the step that makes the difference. Straining pulls out all the flavor and color without leaving you with pulp in the lemonade. Don’t rush it, and don’t skip it.
- Next up, you’ll start juicing the lemons. Roll each lemon firmly against the counter before cutting. It breaks down the membranes inside and gets you more juice per lemon. Squeeze the lemons and strain out the seeds as you go, so you’re not fishing them out of the pitcher later.
- Start to combine everything together! Pour the warm strawberry syrup into a large pitcher along with the fresh lemon juice and the remaining 3 cups of cold water. Stir well to combine. If you’re using the vanilla extract or lemon zest, add them now, while everything’s still warm.
- Fill each glass with ice, then pour the lemonade over top. Garnish with fresh lemon slices right before serving, not before, so they stay bright instead of wilting into the pitcher.
Top Tip
Don’t skip straining the syrup. This is the one step that separates smooth, sippable lemonade from something that tastes like a fruit smoothie. Pressing the solids through a fine mesh sieve pulls out every bit of flavor and color while leaving the pulp behind.
Tips and Tricks
Roll your lemons before juicing. Press down firmly and roll each one on the counter for a few seconds before cutting. It breaks down the membranes inside and gets you noticeably more juice, which matters when you’re relying on fresh-squeezed.
Taste the syrup before you mix everything together. Sugar levels vary depending on how ripe your strawberries are. If the syrup tastes flat or too tart on its own, that’s your moment to adjust, not after it’s already diluted with lemon juice and water.
Add zest and vanilla while the syrup is still warm. Both taste better with a little heat behind them. If you wait until everything’s ice-cold, you’ll lose some of that depth.
Garnish right before serving, not before. Lemon slices lose their snap if they sit in the pitcher too long. Add them at the last minute, so they still look and taste fresh when you pour.
Make the syrup ahead if you’re short on time. It holds in the fridge for up to a week, so you can knock out the one step that takes actual attention days before you need the lemonade, then just mix and serve.
Substitutions and Variations
- Make it fizzy! Swap half the cold water for chilled sparkling water or club soda, added right before serving, so it doesn’t go flat. Don’t sparkling-water the syrup step itself; add it at the very end. You can also add it to each glass individually.
- Make it strawberry basil lemonade. Muddle a small handful of fresh basil right in the pitcher or glass before you add the ice. Basil pairs surprisingly well with strawberries.
- Make it less sweet. Start with ½ cup sugar instead of ¾ cup, then taste the syrup before mixing everything together. It’s easier to add more sugar than to fix an overly sweet syrup after the fact.
- Use frozen strawberries. They’ll work in the syrup step, no need to thaw first, just add a couple extra minutes to the simmer time since they release more water as they cook and you’ll want a little of that to evaporate. The flavor will be slightly less bright than fresh, but the syrup-and-strain method still holds up.
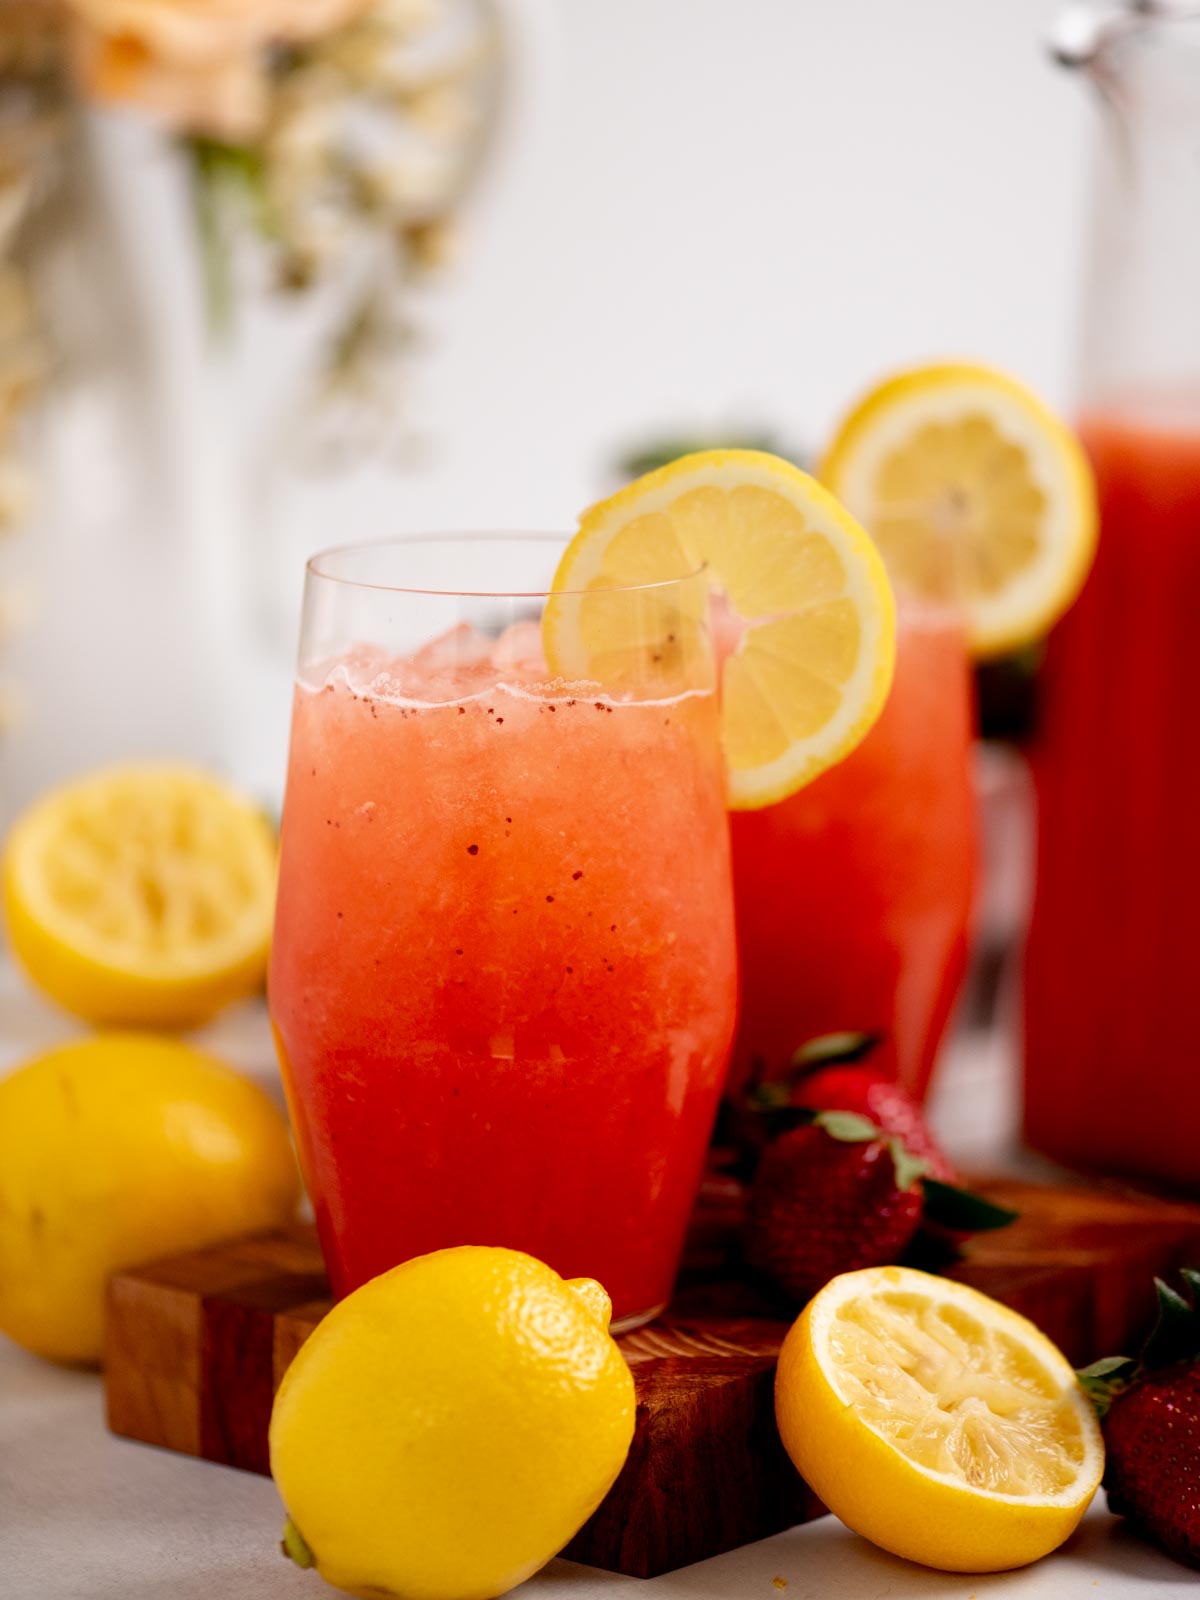
How to Serve Homemade Strawberry Lemonade
This is your pitcher for the moments where people are standing around a table longer than they planned to, church potlucks, lake weekends, Sunday lunch after church lets out. It’s sweet enough to stand on its own but not so sweet it fights with barbecue, fried chicken, or anything off the grill.
Good company for this pitcher:
- Bean Salad — make it the night before, and it’s still the first thing gone at the potluck.
- Grilled Corn — sweet and smoky off the grill, and this lemonade cuts right through it.
- Smoked Baked Beans — rich, slow-cooked, exactly what this bright, tart pitcher was built to balance out.
- Summer Pasta Salad — light, cool, and the first bowl empty at every potluck this side of July.
Make Ahead & Storage
Make Ahead Instructions
The syrup holds in the fridge for up to a week in an airtight container. It’s the only step that requires real attention so that’s the shortcut you’ll take.
Make the syrup, then let it cool completely. Add it to an airtight container (I like using a mason jar for this), and put it in the fridge.
When you’re ready to make your lemonade, combine it with the fresh lemon juice, zest, vanilla, and water. Mix it up to combine and serve it!
Pro tip: Don’t mix the full pitcher ahead of time if you can avoid it. Lemonade made with fresh lemon juice starts losing it’s brightness after about a day, even when refrigerated. If you’re prepping it for a party, I’d recommend mixing it all together about an hour or two before you’re going to serve it.
Storing Strawberry Lemonade
You can store mixed strawberry lemonade in the fridge for up to 2 to 3 days. You’ll want to keep it covered and give it a good stir before serving. The flavor will soften just a bit each day and be a little more muted, but it’s still good!
I don’t recommend freezing the mixed lemonade. The texture changes once it thaws and it’ll lose it’s fresh flavor. You can definitely freeze the syrup though! Freeze that in a freezer safe container for up to 3 months so you can batch it to use when strawberries aren’t in season.
Frequently Asked Questions
Yes, the syrup is your make-ahead move. It holds in the fridge for up to a week, so the only step that takes real attention can happen days before you need it. Just juice your lemons fresh and mix everything together when you’re ready to serve.
This usually comes down to skipping the strain step or not letting the syrup simmer long enough. If the strawberries haven’t fully softened and released their juice, you’re diluting the batch with underdeveloped flavor. Give it the full 5 to 7 minutes and press firmly when straining.
You can in a pinch, but fresh juice is what gives this lemonade its brightness. Bottled juice tends to taste flatter and slightly bitter once it’s mixed in, and it’s a noticeable difference in a recipe where lemon is doing half the work.
Mixed and stored in a covered pitcher, it holds for 2 to 3 days. The flavor softens a bit each day, so it’s best within the first 24 hours if you want it tasting as bright as when you made it.
Yes. Add them straight to the saucepan without thawing, just give the syrup a few extra minutes to simmer since frozen berries release more water as they cook. The straining step still applies the same way.
Not as written, but sweetness is adjustable. Start with less sugar in the syrup step, taste it before mixing the full pitcher, and add more only if needed. It’s easier to sweeten the finished lemonade than to fix an oversweet syrup after the fact.
More Summer Drink Recipes To Try
Pin this now to find it later
Pin It
Strawberry Lemonade

Ingredients
- 1 ½ cups fresh strawberries hulled and sliced
- ¾ cup granulated sugar adjust to taste
- 1 cup fresh-squeezed lemon juice about 4–6 lemons
- 4 cups cold water divided
- 1 tablespoon lemon zest optional
- 1 teaspoon vanilla extract optional
- Ice for serving
- Lemon slices for garnish
Instructions
- In a saucepan over medium heat, combine the strawberries, sugar, and 1 cup of water. Stir occasionally and simmer for 5–7 minutes, until the strawberries are soft and syrupy.
- Mash the strawberries slightly with a fork or potato masher to release more of their flavor.
- Strain the strawberry syrup through a fine mesh sieve, pressing on the solids to get as much juice as possible. Discard the pulp or save it for yogurt, smoothies, or oatmeal.
- Roll the lemons on the counter, then cut and juice them. Strain out any seeds.
- In a large pitcher, combine the strawberry syrup, fresh lemon juice, and remaining 3 cups of cold water. Stir well.
- Stir in the vanilla extract and lemon zest, if using.
- Chill the lemonade for at least 1 hour before serving.
- Serve over ice and garnish with fresh lemon slices.
Video
Notes
Nutrition
Nutrition information is automatically calculated, so should only be used as an approximation.