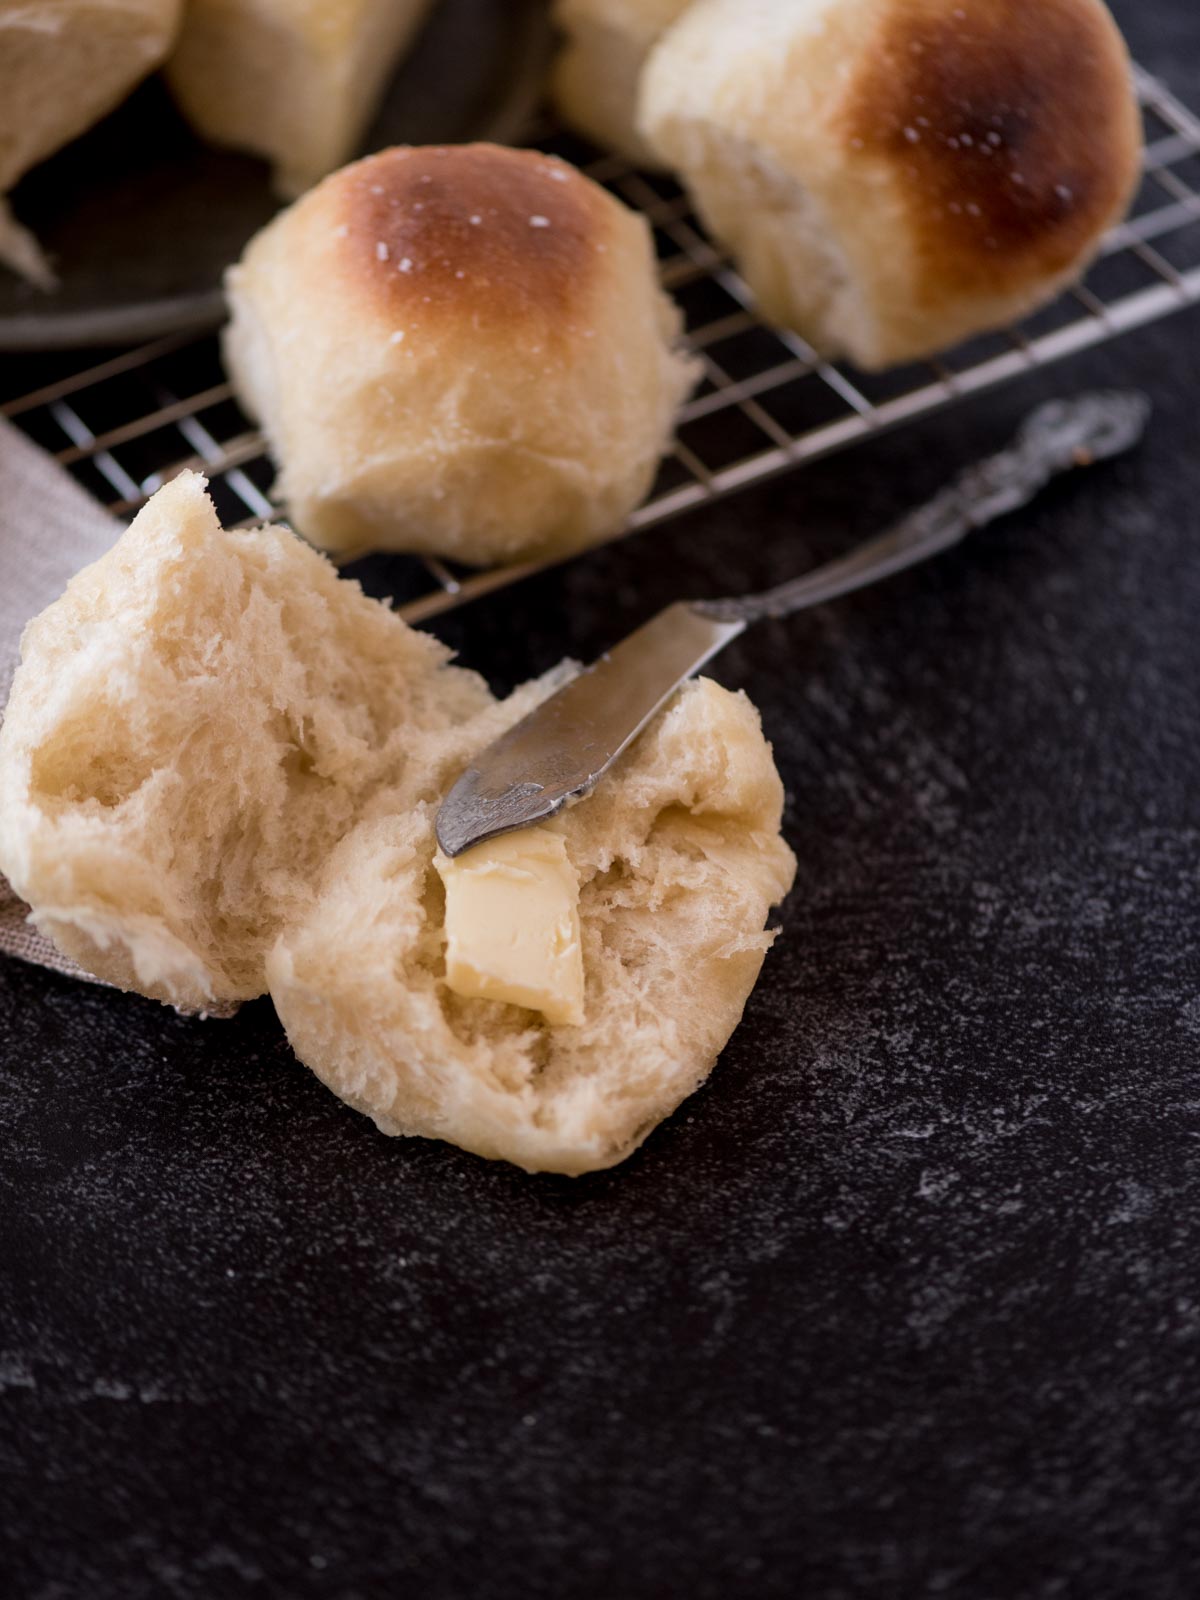
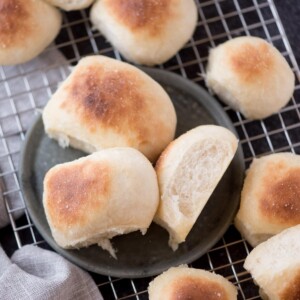
Even if you’re not an experienced baker, you can make soft, buttery dinner rolls in only an hour. This recipe for easy yeast rolls for beginners won’t leave you feeling intimated or worried. The easy to follow steps will give you light and fluffy yeast rolls every time.
why you’ll love this one hour dinner rolls recipe
These homemade dinner rolls are so easy, they don’t have to reserved for a special holiday like Thanksgiving, Christmas, or Easter.
They’re so simple, you can easily make them for a family weeknight dinner. If you love your grandma’s homemade yeast rolls, you can make them all on your own!
This recipe is perfect for beginners because:
- This recipe isn’t overly complicated or confusing. With straight forward instructions, you can feel confident you’re doing the right step at the right time.
- You can start right away without needing to make or feed any “starter.”
- It only takes 1 hour from start to finish. This isn’t a bread recipe that takes days or hours.
- The entire recipe is only 6, easy to find ingredients. No weird ingredients or a long list you have to sort through.
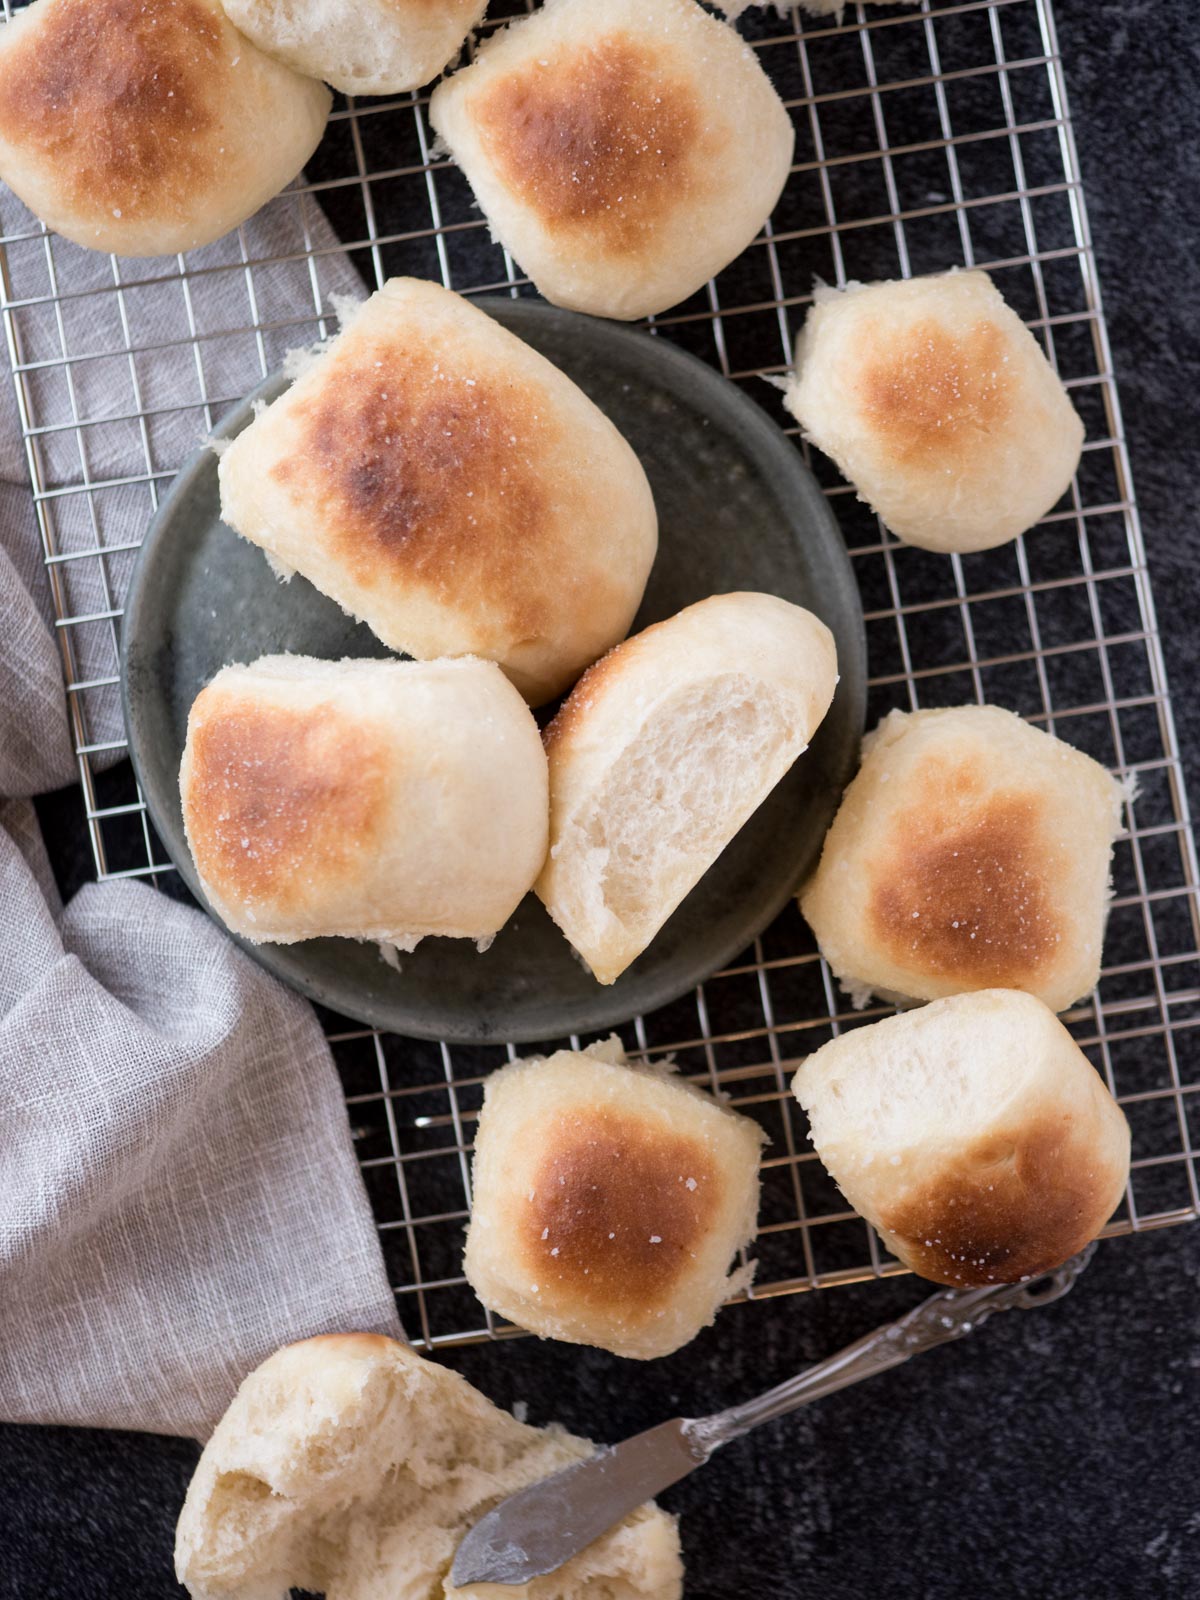
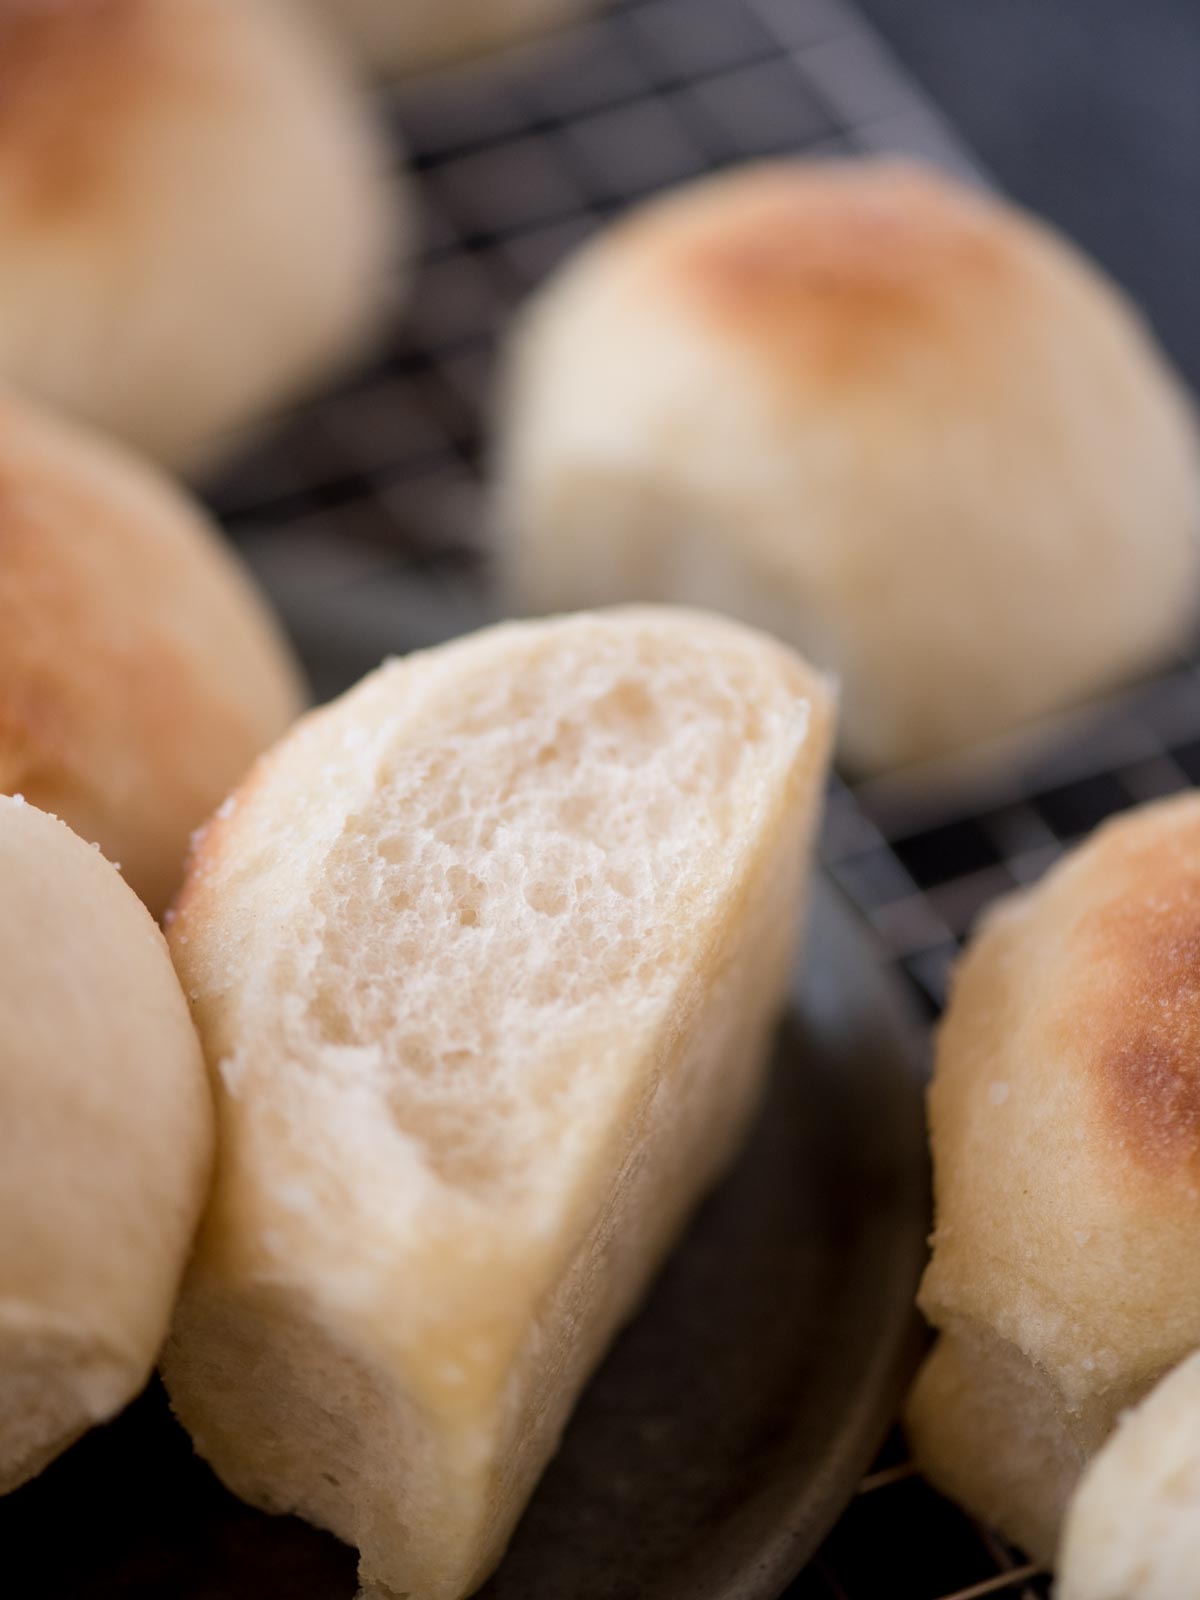
- This yeast roll recipe has no egg wash and just browns using a quick broil at the end.
Ingredients for this old fashioned yeast rolls recipe
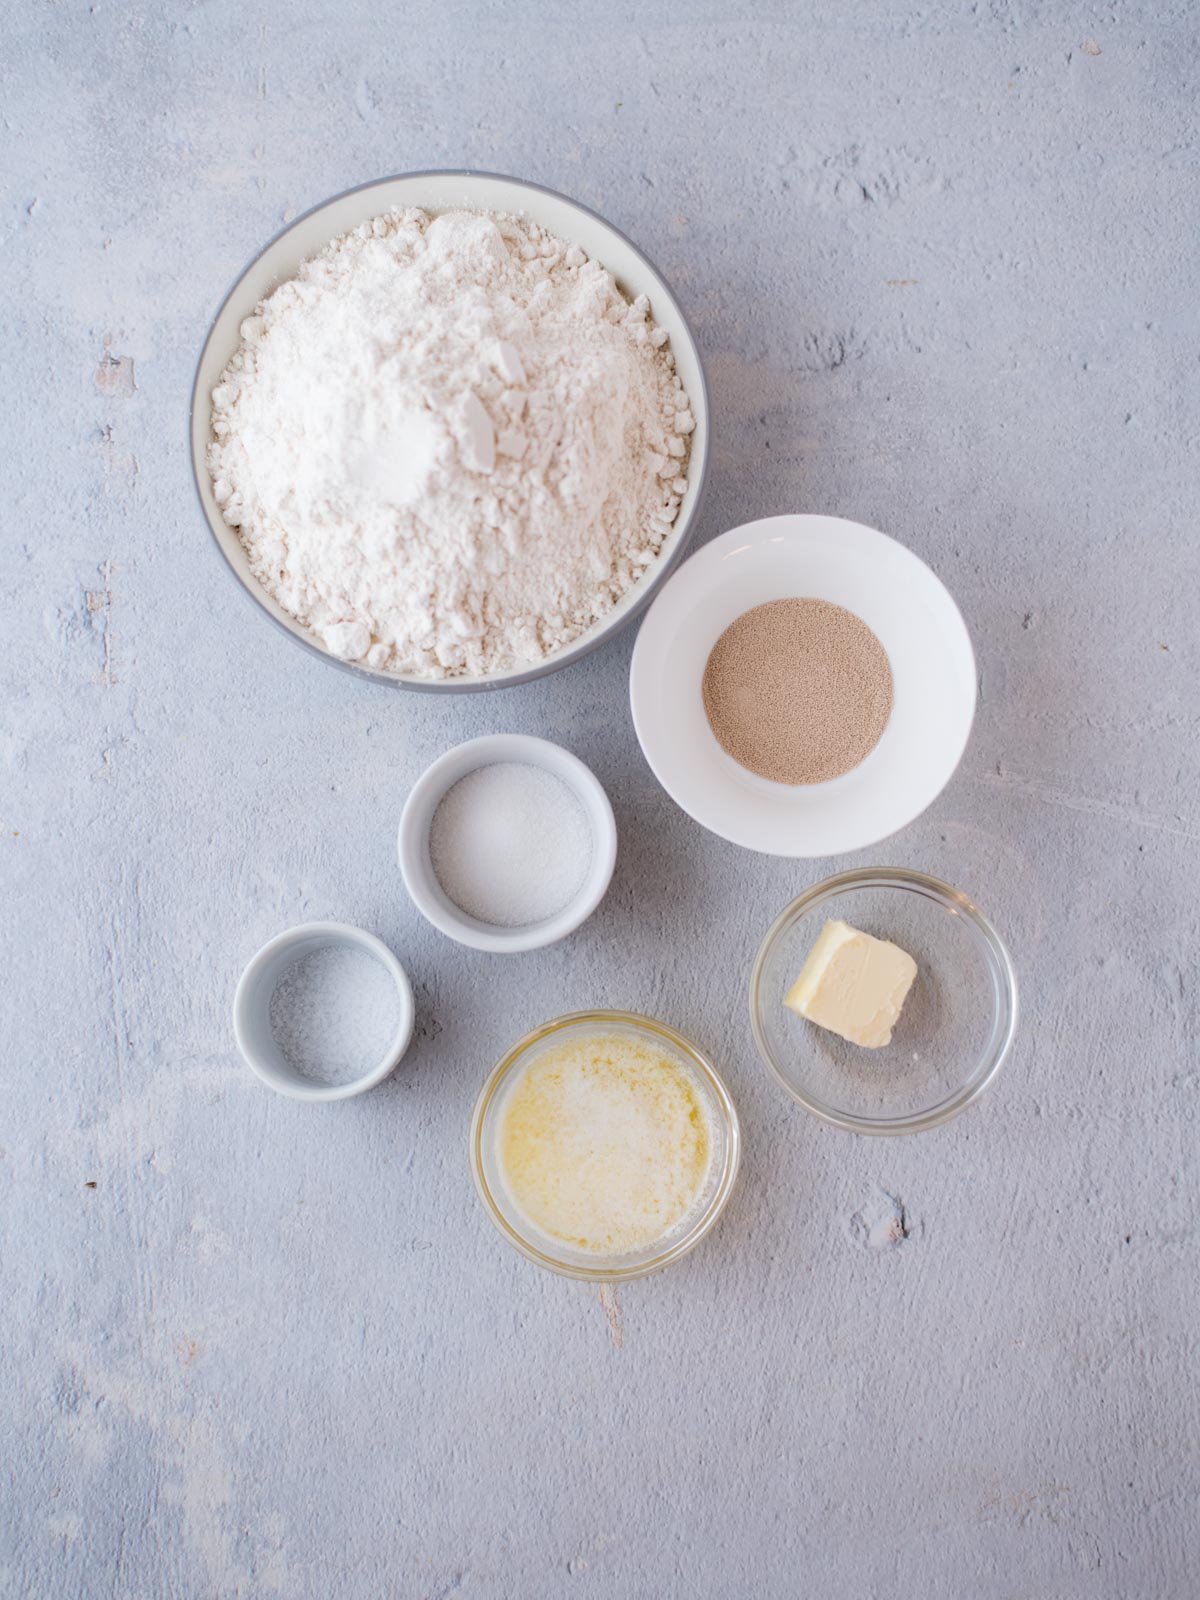
- warm water – you’ll need the warm water to activate the yeast. The temperature will depend on your specific yeast. Most need around 115ºF.
- yeast – We aren’t using instant dry yeast in this recipe, but you can. I prefer to use active dry yeast. The reason I prefer active dry yeast is because you can see if it’s still fresh when you activate it. Rather than learning after you’ve made your roll dough.
- granulated sugar – You’ll use the granulated sugar with the yeast to help feed it and sweeten the rolls.
- butter – you can use either salted butter or unsalted butter in this recipe. Whatever you have on hand! You’ll need both softened butter and melted butter to brush on them for this.
- coarse kosher or sea salt – I always recommend coarse kosher or sea salt in recipes. Especially for this one since you’re going to be sprinkling it on at the end. Those crispy, crunchy little pieces of salt help you have the best little rolls ever.
- all-purpose flour – There’s no special flour needed here! We’re just using some standard all-purpose flour in this recipe.
Equipment to make homemade yeast rolls
 Buy Now →
  Buy Now →
  Buy Now →
  Buy Now →
  Buy Now →
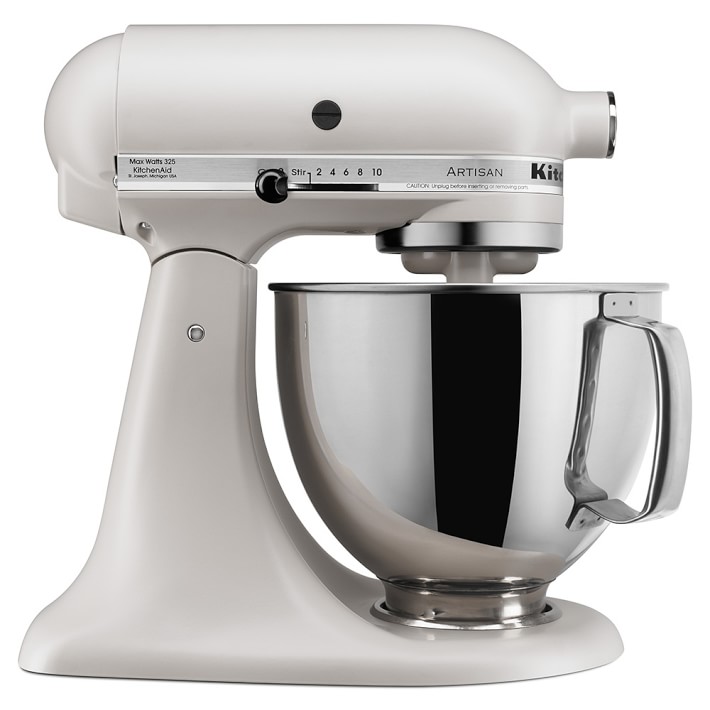
 While you don’t have to use an electric stand mixer for this old fashioned sweet yeast rolls recipe, it will make it significantly easier.
If you don’t have a stand mixer, you can make this recipe in a large mixing bowl using a wooden spoon and your hands. You will need to knead the dough by hand for the full 2 minutes.
How to make yeast rolls
Step 1
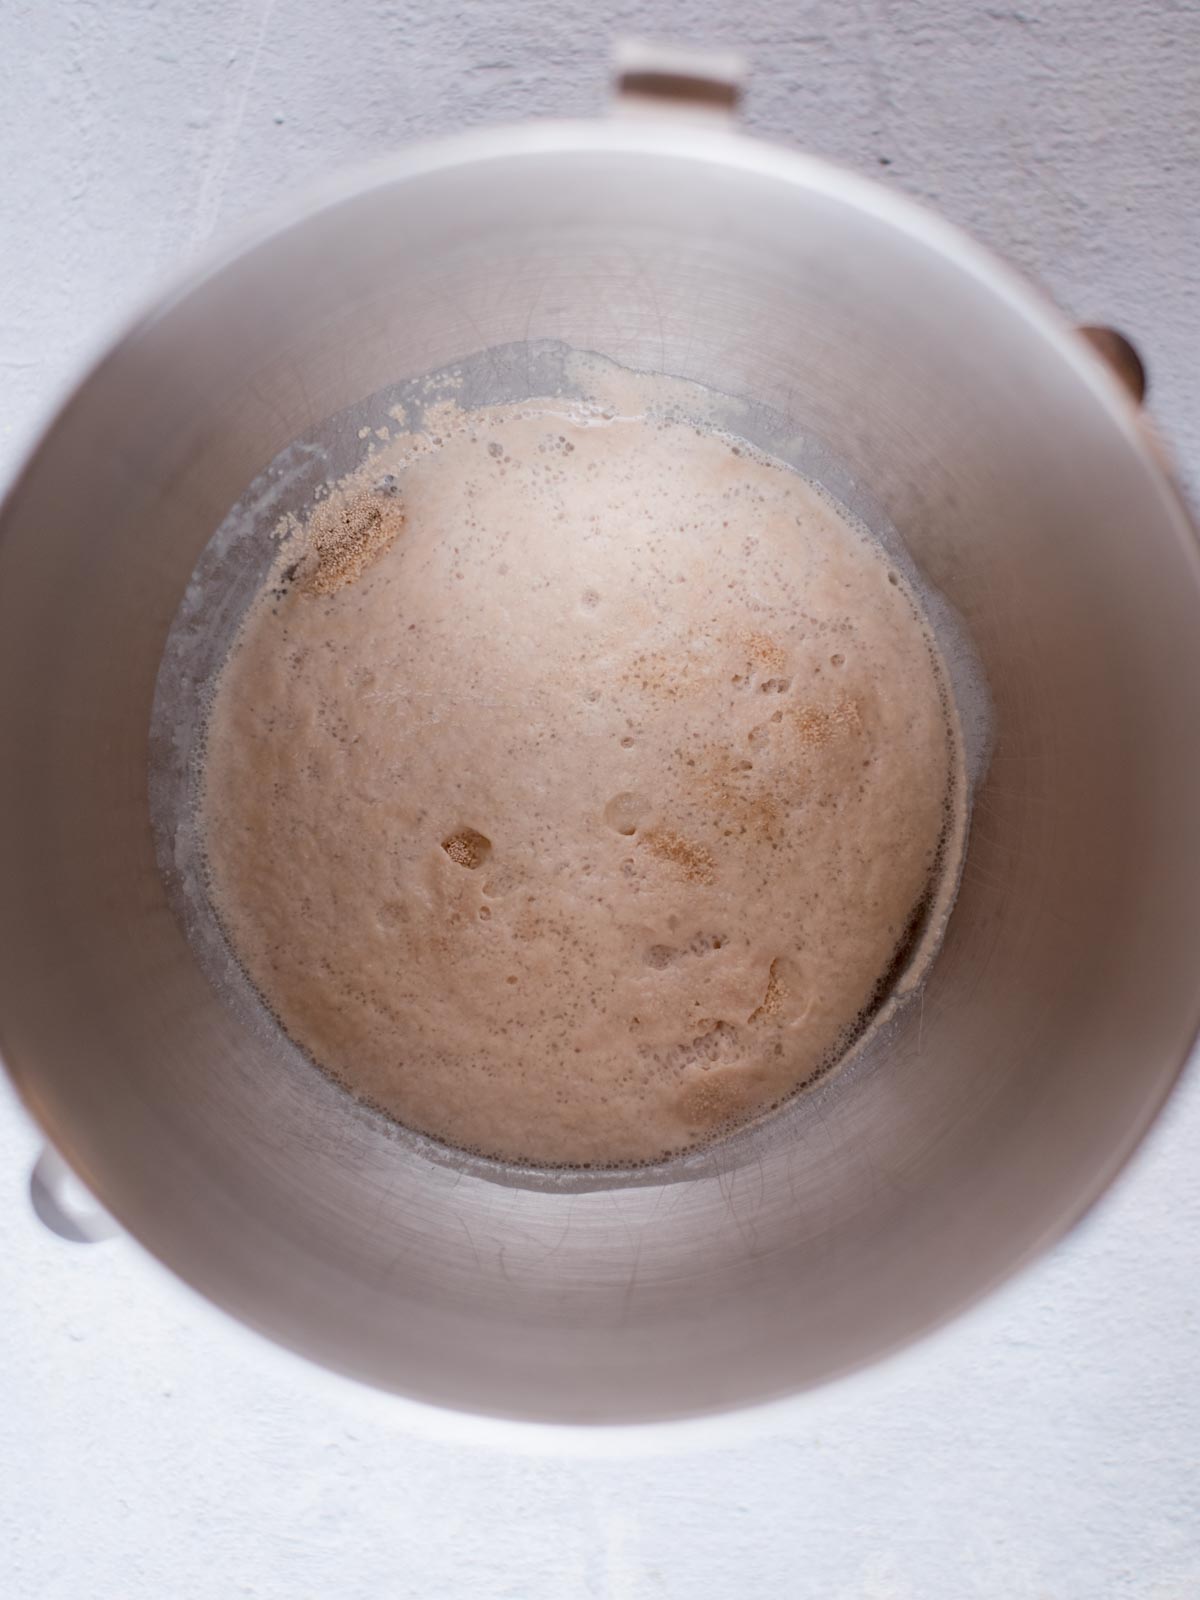
Add the yeast and sugar to warm water and allow the yeast to bloom. This will take about 5 minutes.
You’ll know it’s blooming when you see little puffs of expanded yeast float to the top and it gets nice and foamy.
Step 2
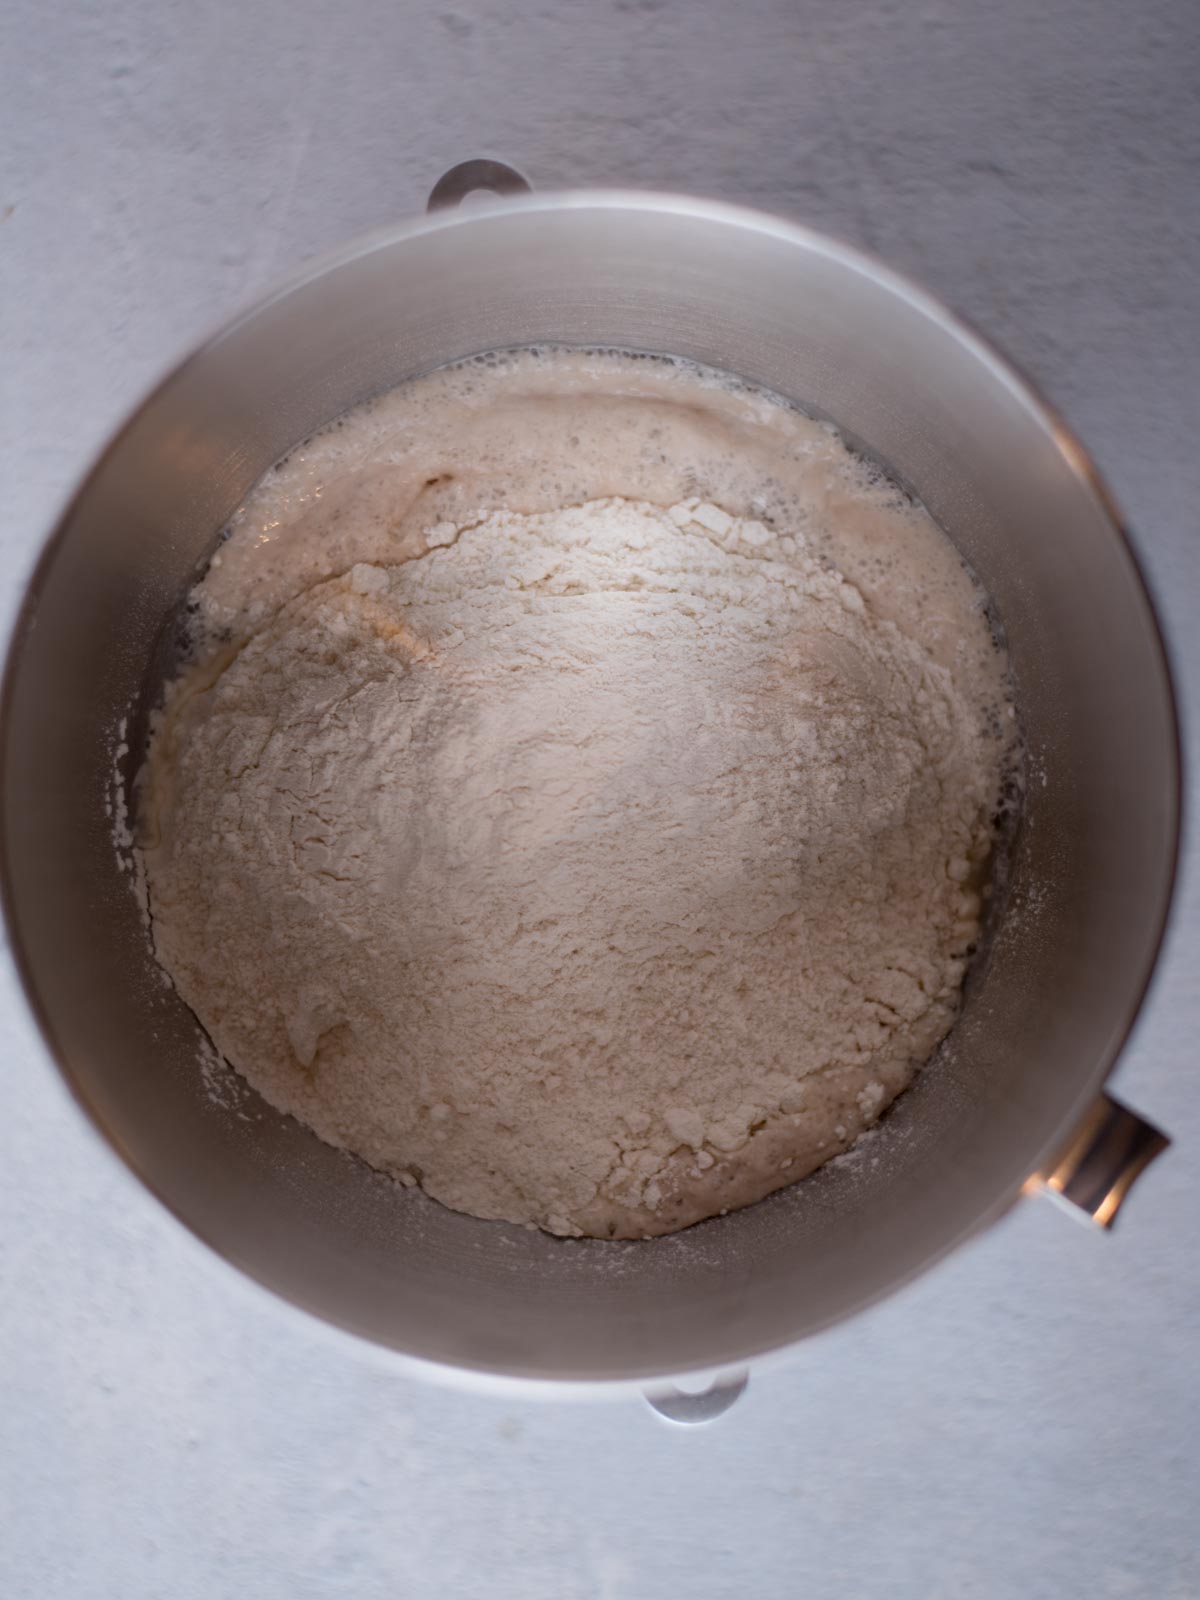
Add the softened butter, salt, and 3 cups of flour to the bowl. Turn the mixer on medium speed and mix the ingredients until they are combined. Add in the remaining flour a little at a time just until the dough is only slightly sticky.
Step 3
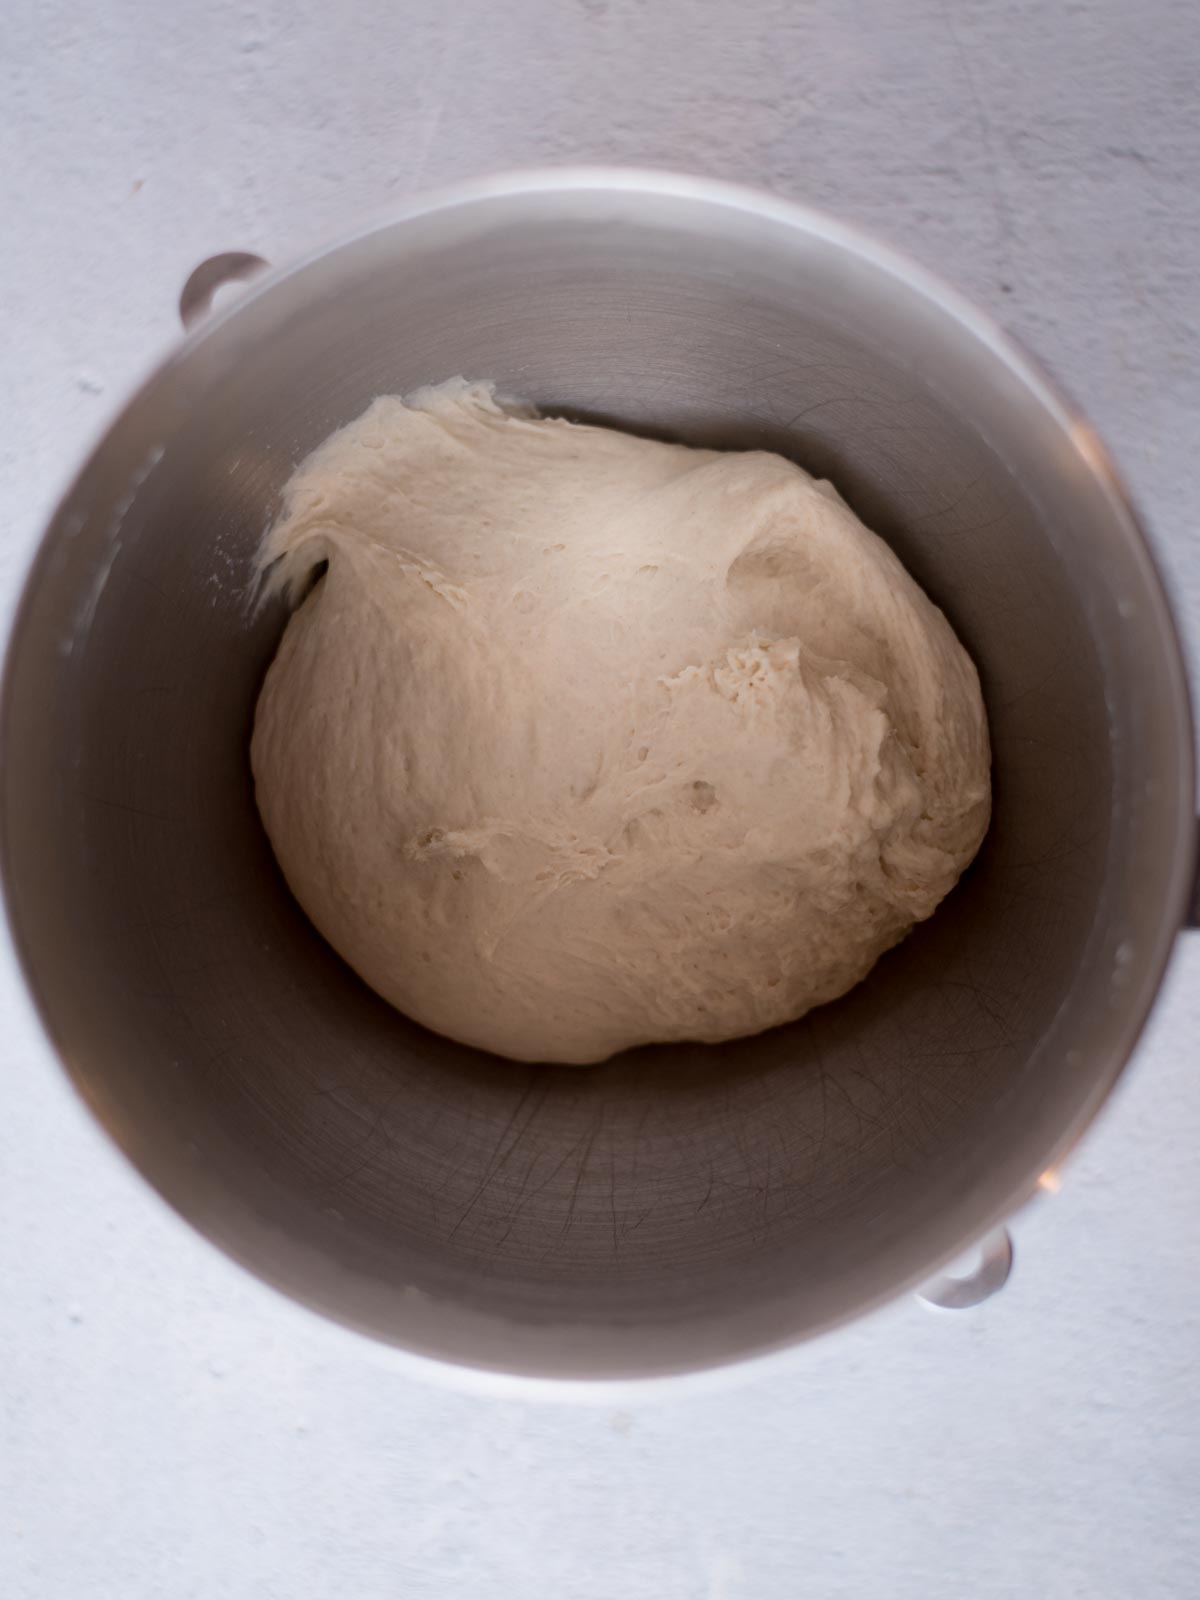
Knead the dough for 2 minutes on low speed until the dough is smooth.
Step 4
Cover the bowl with plastic wrap or a tea towel. Let it rise in a warm place for 20 minutes.
Step 5
Preheat the oven to 400ºF while the dough rises. Spray a 9×13 baking dish with nonstick spray.
Step 6
Remove the cover on the bowl and punch down the dough. Divide the dough into 20 equal pieces.

Step 7
Roll each piece of dough into a smooth ball and place them in the pan. You want to stretch the top of the ball and pinch the bottom together so that there is a smooth top.
Step 8
Brush them with melted butter and let them rise an additional 15 minutes.
Step 9
Place them in the oven, uncovered for 13 minutes. Turn on the broiler and broil them for 1 minute to get the golden brown tops.
Step 10
Remove the rolls from the oven and brush them with butter. Sprinkle the tops with coarse salt and enjoy!
tips and tricks for easy dinner rolls
Making old fashioned yeast rolls can feel overwhelming, but we’ll address some of the common hiccups you might face.
Dough not rising for rolls
There are a few possible causes for this. There are several possible reasons for the yeast not working.
One reason could be that it is expired or stored incorrectly. Another reason could be that the water temperature is wrong. Additionally, the dough may not have had enough time to rise in a warm place.
To avoid these, be sure to check the expiration date of your yeast. Believe it or not, when you buy yeast in the packets of 3, sometimes one will be inactive while the others are fine.
This is why I highly recommend sticking with active dry yeast rather than instant. You’re able to tell from the beginning if your yeast is good.
Be sure your water is within the recommended temperature range of your yeast. Allow the dough enough time to rise in a warm environment. Sometimes I stick mine in the microwave (turned off) so that there’s no draft.
Dough is too sticky or too dry
This could be because of incorrect measurements of flour or liquid. It could even be because of the humidity in your kitchen.
To fix this, adjust the flour or liquid as needed. Be slow and gradually add in more flour if the dough is sticky or a bit more liquid if it’s too dry.
Tough or dense rolls
You can end up with tough or dense rolls if you overmix them or if you don’t give it enough time to rise. While it can be hard to remain patient, be sure the dough has enough time to rise and double its size.
Unevenly shaped rolls
While the rolls don’t all have to be exactly the same size, they do need to be roughly the same size.
Be sure to pay attention when dividing the dough and practice shaping them. This will help them bake evenly.
Use a light hand when rolling them around to smooth them out. Mashing them won’t give you light and fluffy rolls.
Burnt tops
Usually burnt tops are the result of oven temperature issues. Double-check your oven temperature with a thermometer if this is a recurring issue for you.
If you find that the rolls are browning quicker than they should, cover them with foil for the remainder of the baking time.
Bland rolls
You’ll want to be sure you salt the rolls, butter the rolls, and allow the yeast to fully bloom. These will make sure you end up with a flavorful roll that isn’t bland.
Rolls go deflate or go flat during baking
This is usually due to over-proofing the dough. Be sure to pay attention to the proofing (rising) times to avoid them collapsing during baking.
yeast rolls vs dinner rolls
The terms “yeast rolls” and “dinner rolls” can often be used interchangeably and often refer to a similar type of bread. All yeast rolls could be considered dinner rolls, but not all dinner rolls are made with yeast.
However, there are some small differences in the two.
yeast rolls
Yeast rolls typically refer to rolls that have been specifically leavened with yeast. Yeast as the leavening agent makes rolls light, fluffy, and sweet.
dinner rolls
Dinner rolls are often any sort of small, individual sized bread that’s served as part of a meal. It doesn’t particularly refer to any specific type of roll.
Dinner rolls can use yeast, baking powder, or baking soda, unlike yeast rolls which only have yeast as a leavening agent. They often have a richer texture than yeast rolls.
active dry yeast vs instant dry yeast
While both active dry yeast and instant dry yeast can be used in recipes, there are some major differences.
Active dry yeast does require activation (blooming) before proceeding with the rest of the recipe.
Instant dry yeast (as it’s name suggests), can be used instantly in the recipe without blooming.
It often comes down to personal preference in recipes. I personally prefer active dry yeast for one specific reason. You know if it’s active.
Using instant yeast in a recipe can be frustrating if it doesn’t work. This can result in your dough not rising. Not only have you wasted time, but also ingredients.
If active dry yeast doesn’t bloom in warm water after 5 minutes, it may be expired or inactive. You’ve wasted far less time and definitely less ingredients.
Waiting the 5 minutes for yeast to bloom can feel a bit annoying. It’s usually worth it to make sure your recipe is rising as it should and the yeast isn’t to blame.
how to store yeast rolls
To keep yeast rolls fresh for an extended period, it’s crucial that they’re stored properly. To store them at room temperature you’ll need to:
- Start by cooling the rolls completely. They need to be cooled completely to room temperature before storing. If you store them while they are still warm, it can create condensation which can result in soggy and moldy rolls.
- Wrap them tightly in plastic wrap or aluminum foil. You want to minimize the exposure to air.
- Place them in a zip tight bag or airtight container.
- Store them at room temperature in a cool dry place for 1-2 days away from direct sunlight.
I would recommend avoiding refrigerating the rolls. Even though it can extend their shelf life, it causes them to quickly become stale. They dry out quickly in the refrigerator.
how to freeze yeast rolls
The first step in properly freezing yeast rolls to keep them fresh is to flash freeze them.
- Cool the rolls until they are room temperature and then place them on a baking sheet.
- Place the baking sheet in the freezer until each individual roll is frozen.
- Transfer the rolls to a freezer bag or airtight container that is dated and labeled.
When you’re ready to thaw them, allow them to thaw at room temperature.
how to warm up yeast rolls
I prefer heating yeast rolls in the oven to restore the softness and freshness they’re known for.
Preheat the oven to 300°F.
Wrap the rolls in foil and place them on a baking sheet.
Let them heat in the oven for about 10-12 minutes, just until heated through.
Unwrap the rolls just before serving to allow any moisture to escape to prevent them from becoming soggy.
FAQs
You can! If you won’t be eating them within 1-2 days, freezing them is the best way to preserve their taste, texture, and freshness.
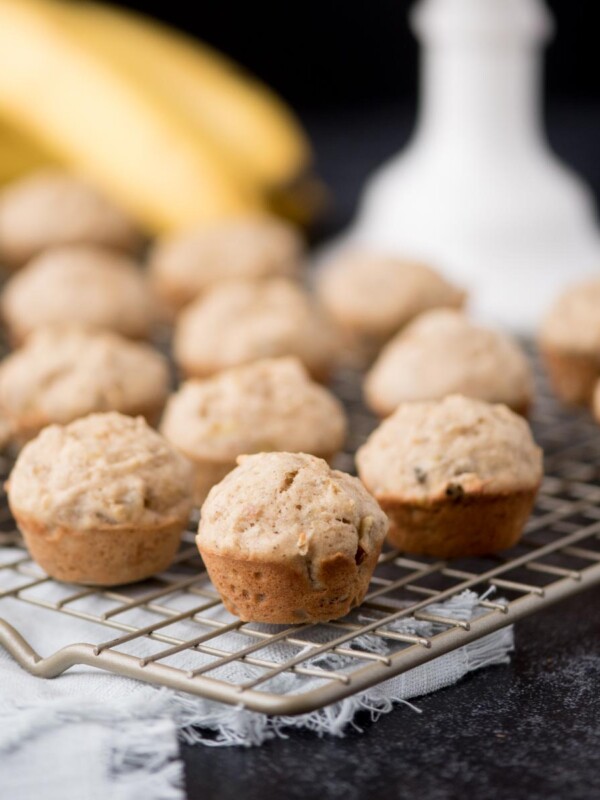
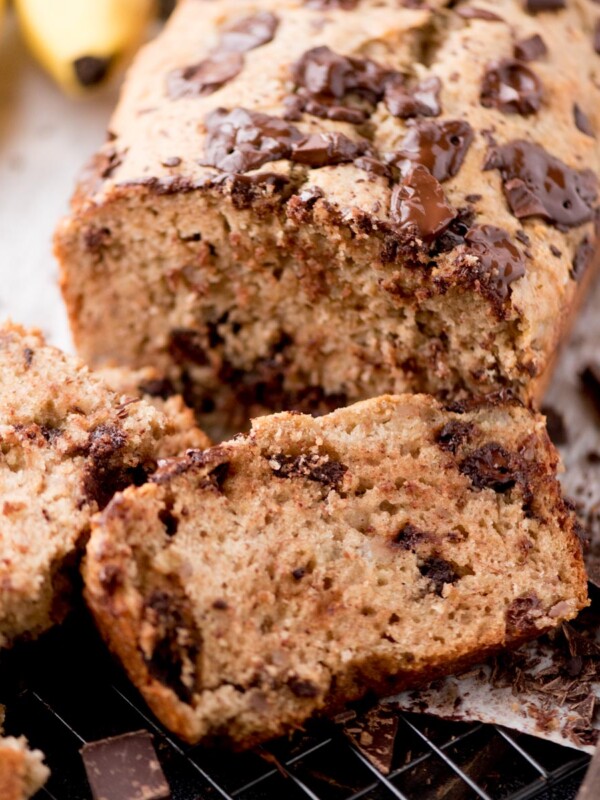
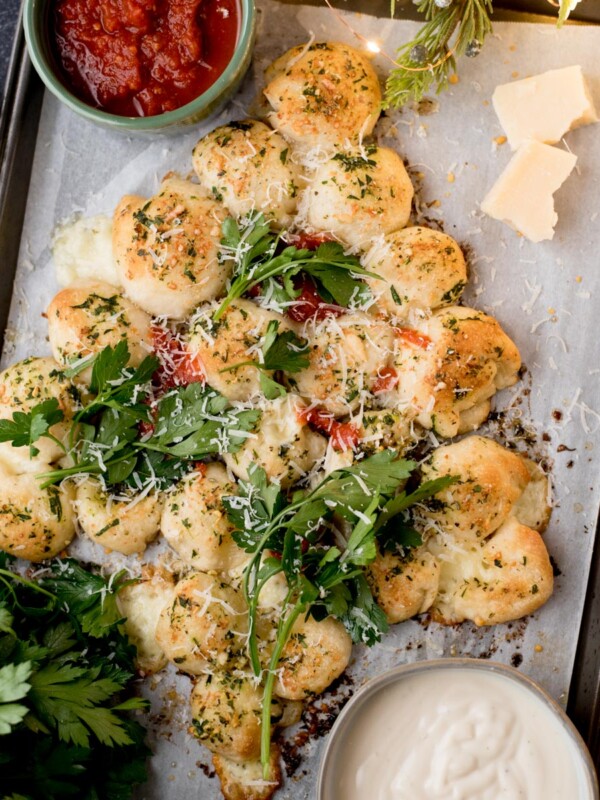
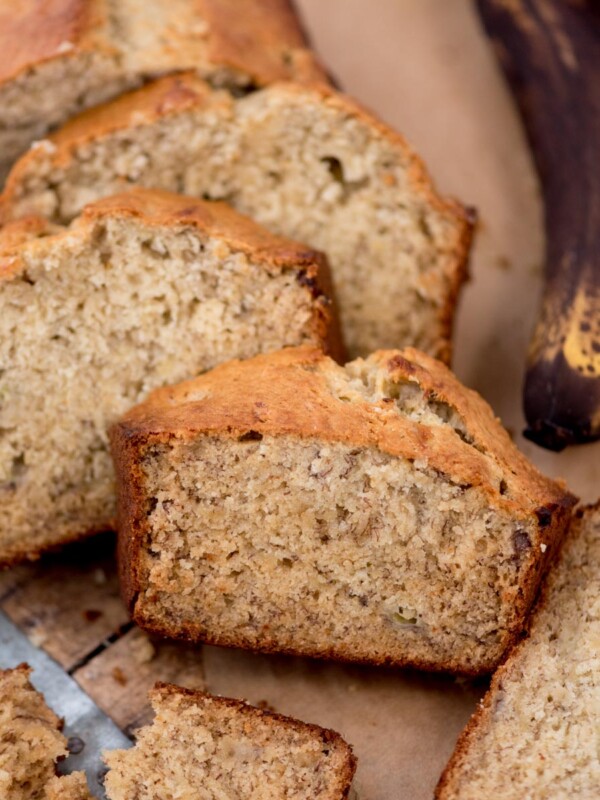
other easy bread recipes you might like
If you make this recipe and love it, we would love a 5 ⭐️⭐️⭐️⭐️⭐️ rating! It helps us continue to provide free recipes.
Easy Yeast Rolls Recipe
Ingredients
- 1½ cups warm water
- 1 tablespoon yeast
- 2 tablespoons sugar
- 2 tablespoons butter softened
- 1 teaspoon salt
- 3 3/4 cup all purpose flour
- 3 tablespoons butter melted
- coarse kosher salt for topping
Instructions
- Add the yeast and sugar to warm water and allow the yeast to bloom. This will take about 5 minutes. You’ll know it’s blooming when you see little puffs of expanded yeast float to the top and it gets nice and foamy.
- Add the softened butter, salt, and 3 cups of flour to the bowl. Turn the mixer on medium speed and mix the ingredients until they are combined. Add in the remaining flour a little at a time just until the dough is only slightly sticky.
- Knead the dough for 2 minutes on low speed until the dough is smooth.
- Cover the bowl with plastic wrap or a tea towel. Let it rise in a warm place for 20 minutes.
- Preheat the oven to 400ºF while the dough rises. Spray a 9×13 baking dish with nonstick spray.
- Remove the cover on the bowl and punch down the dough. Divide the dough into 20 equal pieces.
- Roll each piece of dough into a smooth ball and place them in the pan. You want to stretch the top of the ball and pinch the bottom together so that there is a smooth top.
- Brush them with melted butter and let them rise an additional 15 minutes.
- Place them in the oven, uncovered for 13 minutes. Turn on the broiler and broil them for 1 minute to get the golden brown tops.
- Remove the rolls from the oven and brush them with butter. Sprinkle the tops with coarse salt and enjoy!
Video
Notes
Nutrition
Nutrition information is automatically calculated, so should only be used as an approximation.