
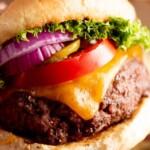
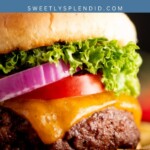


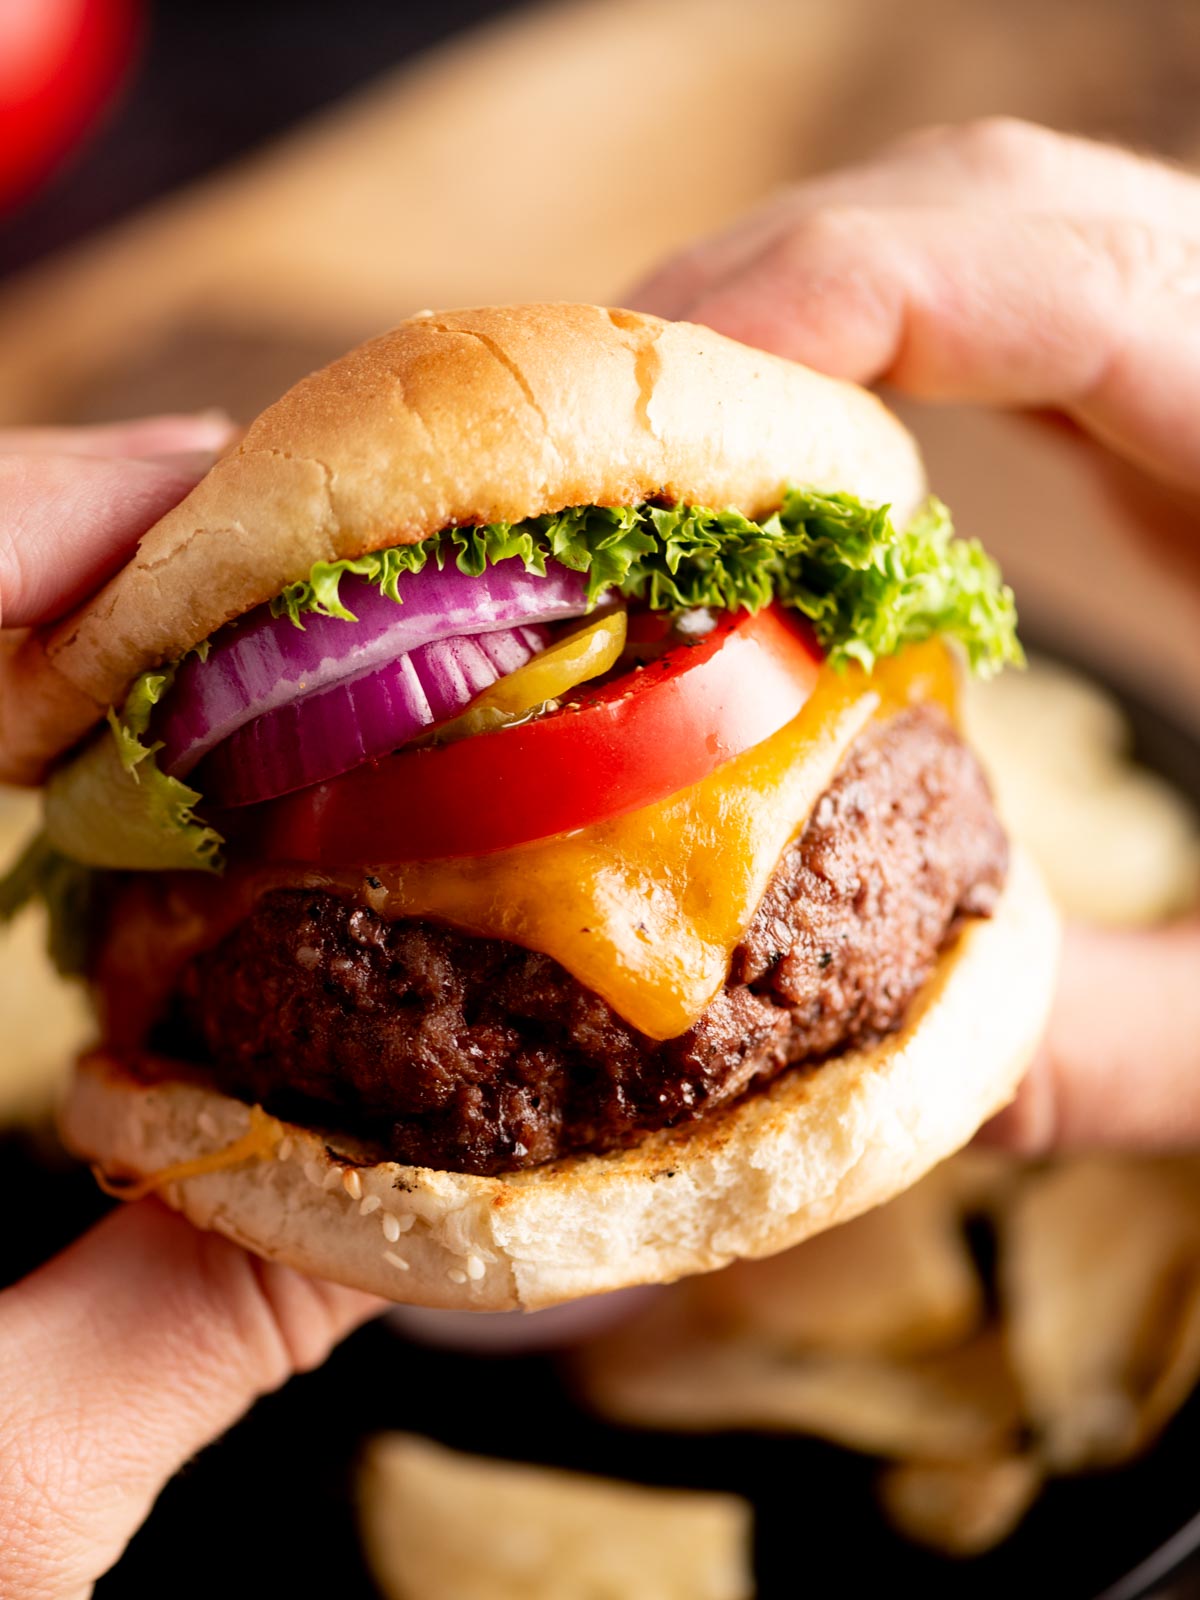
These are the grilled burgers you make when the backyard’s full and you want every single one to come off the grill juicy. There are no dry patties or puffed up domes fighting your bun here. These have a deep savory meat that stays flat on top to hold the cheese and toppings exactly where you put them. This is the recipe you’ll come back to every single time.
Burgers on the grill are basically a Texas summer love language, and I’ve made enough of them over the years to know exactly where they go wrong. You’re usually looking at dry in the middle, bulged up like a softball, or so loaded with seasoning you can’t taste the beef. This recipe is my answer to all three.
You just need a few simple things here: good 80/20 chuck, a splash of Worcestershire, and a few pantry seasonings folded in gently with a shallow thumbprint center. There’s no egg, no breadcrumbs, and no binder. Just a few simple things that actually make a burger juicy and none of the stuff that doesn’t.
Why You’ll Love These Grilled Burgers
- Juicy every single time – 80/20 chuck and a light hand on the mixing, so they stay tender instead of packed and dense.
- Five pantry ingredients – nothing crazy, no hard to find items, just things you likely already have on hand.
- They cook up flat, no domed – the cheese sits even, toppings stay put, no rocking burger on the bun.
- Scales straight up for a crowd – double or triple it without changing a thing when the whole grill’s going.
- Zero guesswork – exact temps and times below so you’re never cutting one open to check.
Ingredients
- Ground chuck (80/20): That 20% fat bastes the burger form the inside as it grills and keeps the center juicy. Go leaner like 90/10 and you’ll get a tight, dry patty no matter how careful you are.
- Worcestershire sauce: It goes in the meat, not on top, and earns it’s keep. It not only gives flavor, but also a little moisture in the patty. It helps keep it from tasting flat.
- Kosher salt: Coarse flakes scatter more evenly and are harder to overdo than fine table salt.
- Black pepper and garlic powder: Garlic powder over fresh is on purpose here. It spreads evenly through the meat and won’t scortch on the grates the way minced garlic down. Use fresh cracked black pepper if you can.
- Cheese (cheddar, American, or pepper jack): Pick by what flavor you’re going for. American will melt the silkiest, sharp cheddar gives you the strongest cheese flavor, and pepper jack adds a little spice.
- Buns: Skip the soft grocery buns. A juicy burger turns the soft buns to mush. Grab a sturdier bakery style bun so that it holds up and taosts with some structure. Always toast them though! It’s an easy upgrade that a lot of people skip.
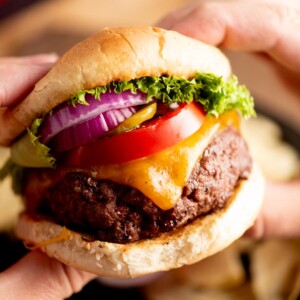
- Toppings: It’s your call here, but built it like you love it!

How to Grill Burgers
Start to finish, this is about fifteen minutes of actual work, and most of that is the grill heating up. The method is simple and it’s mostly a handful of don’ts that make or break it.
- Heat the grill and let it get fully preheated. Bring it to medium-high, 425º-450ºF, lid down, and give it a full 10-15 minutes at that temperature. A properly hot grate is what gives you that crust and keeps the patties from sticking. Burgers placed on a cool grill will stick and tear.
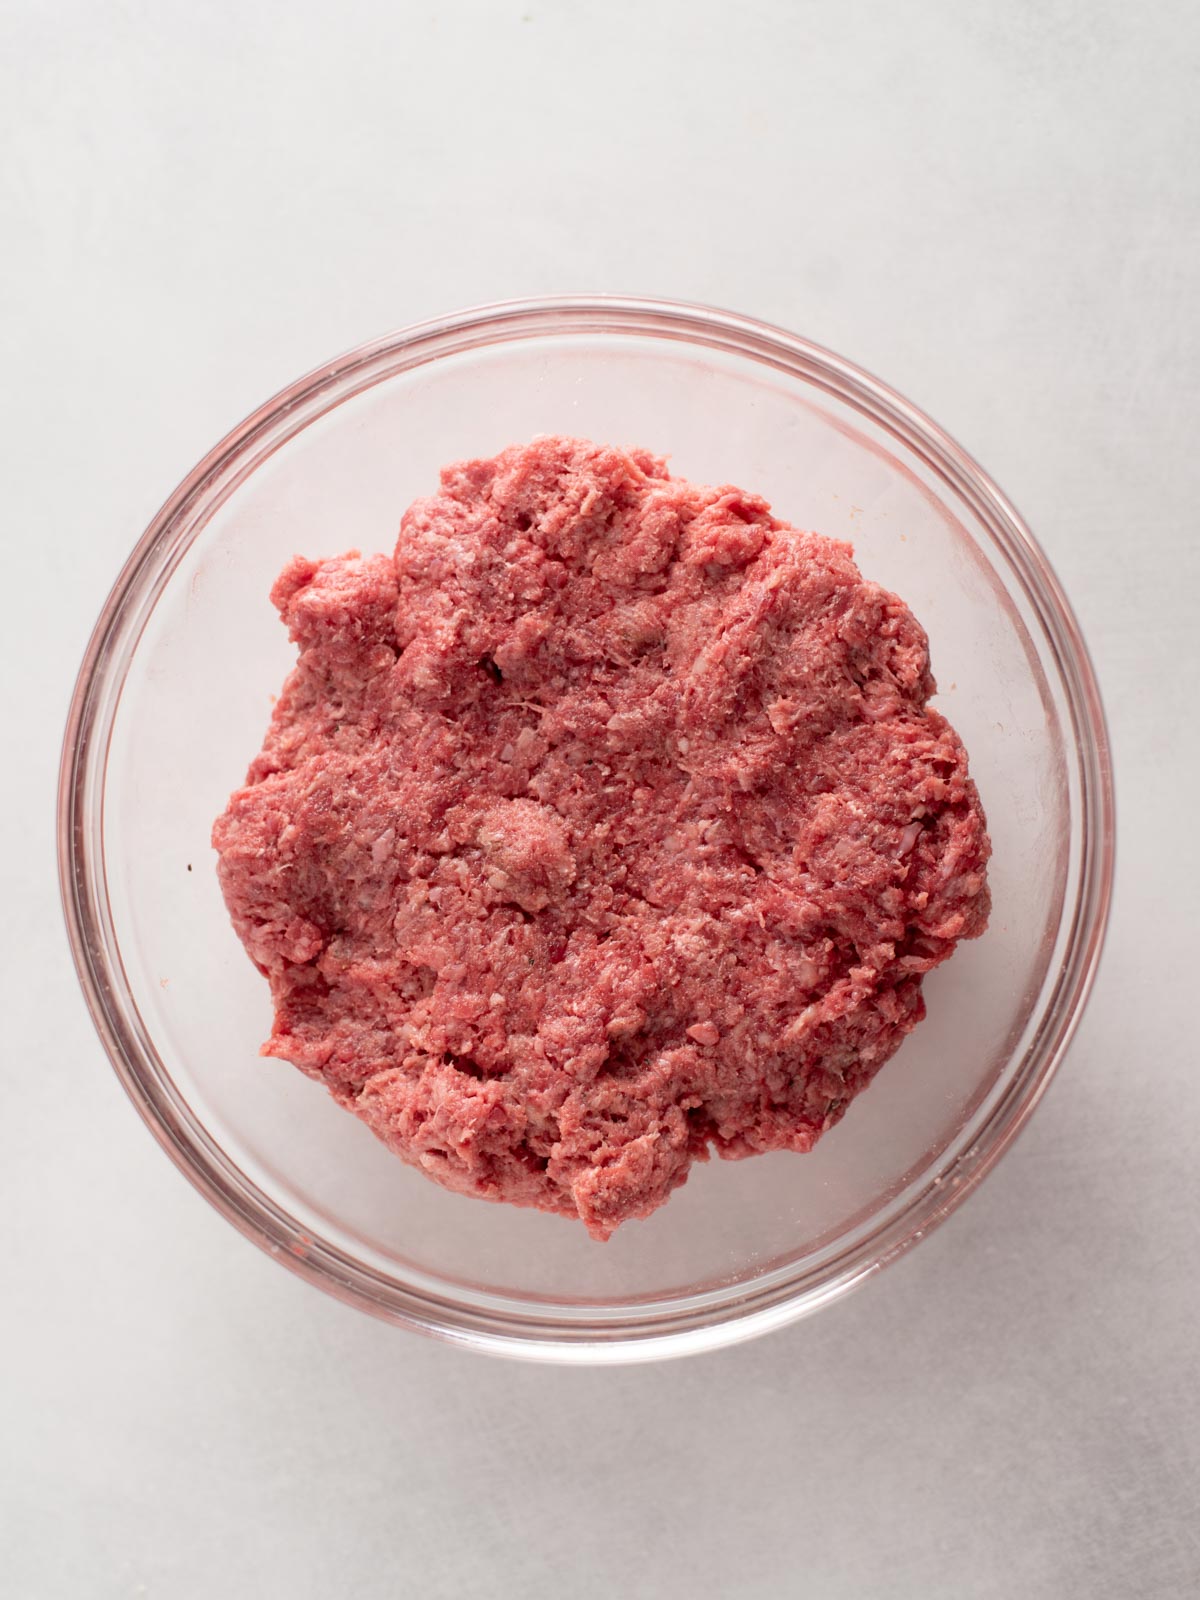
- Add the ground chuck, Worcestershire sauce, salt, pepper, and garlic powder to a mixing bowl.
- Mix with your hands or a fork just until the seasoning disappears into the meat. Overworking it is the number on reason burgers turn out dense and rubbery, so you’ll want to stop when it still looks a little shaggy.
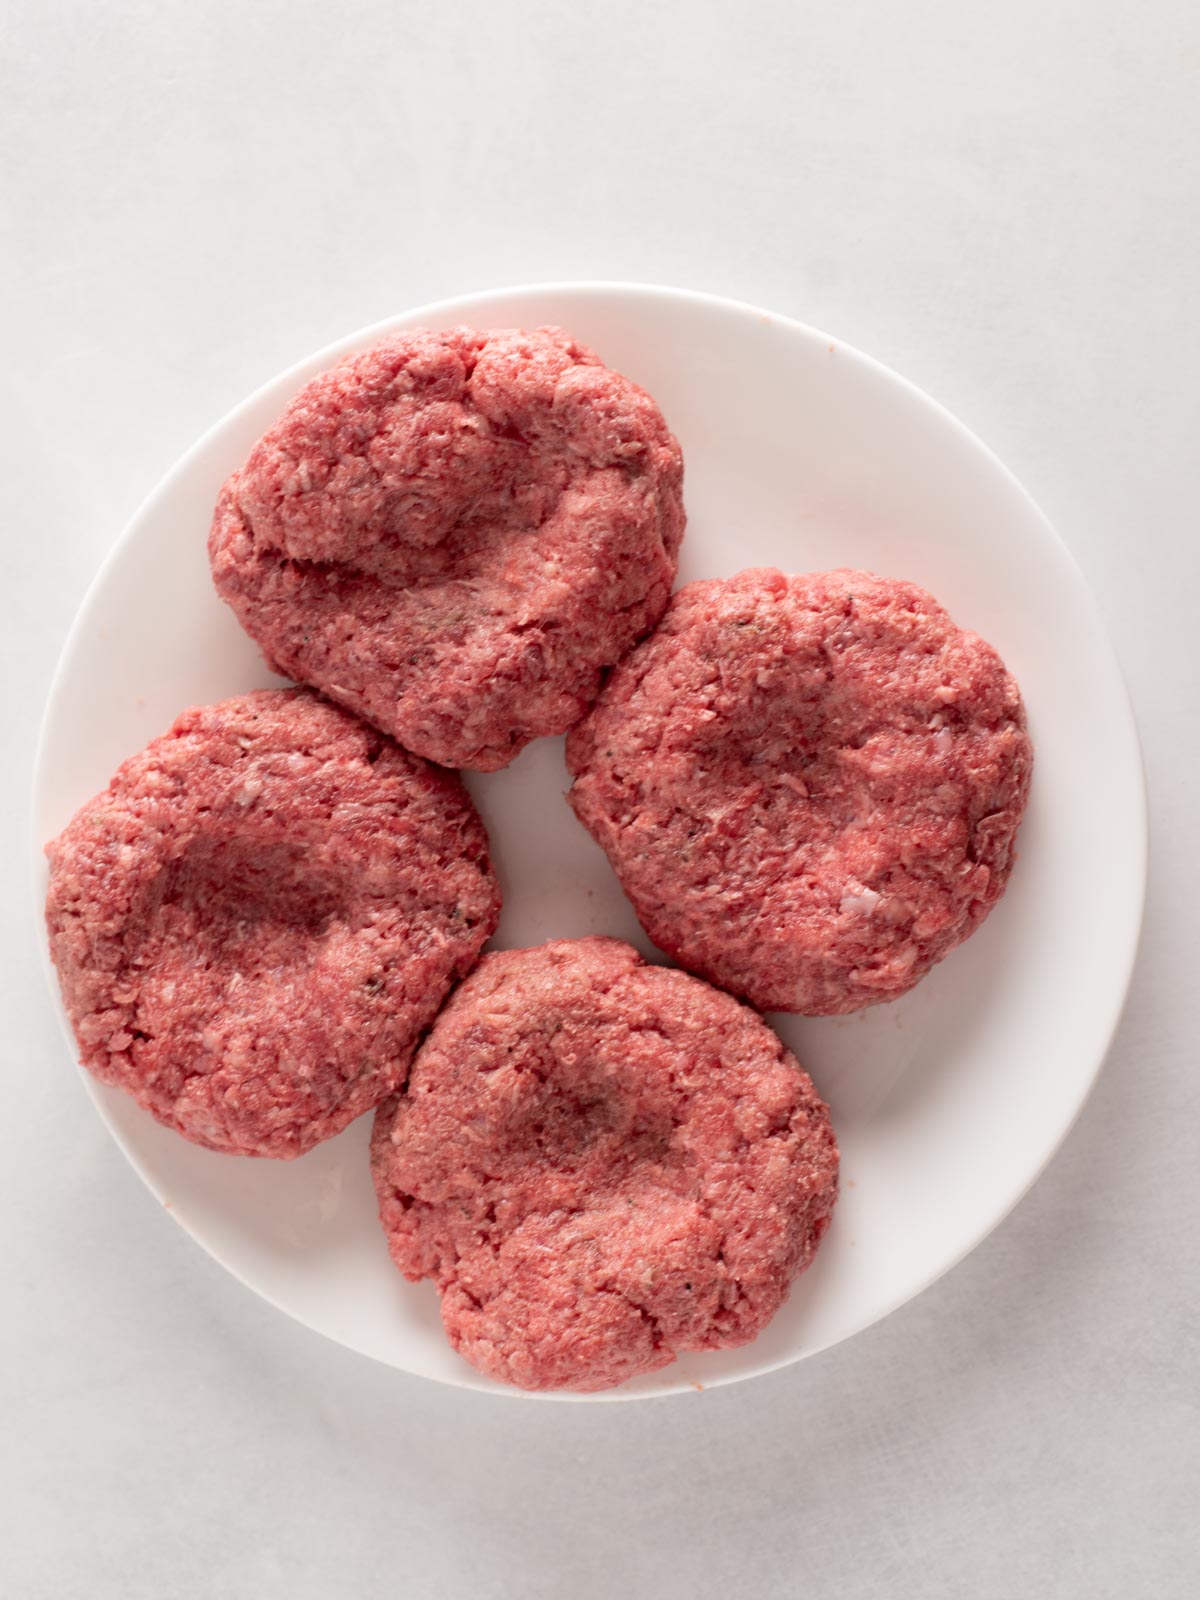
- Divide the meat into four and form them into patties. Each patty should be about 1/2 to 3/4 inch thick. You want them a touch wider than your buns because they will shrink as they cook. Then press a shallow well into the center of each with your fingers. This helps prevent them from getting a dome and will keep them flat on top.
- Lay the patties down on the grill and resist the urger to fiddle with them. Don’t press them with the spatula and don’t flip them back and forth. Let them cook 4-5 minutes a side for medium with the lid down, only flipping once. They’ll release cleanly from the grate when they’re ready to turn.
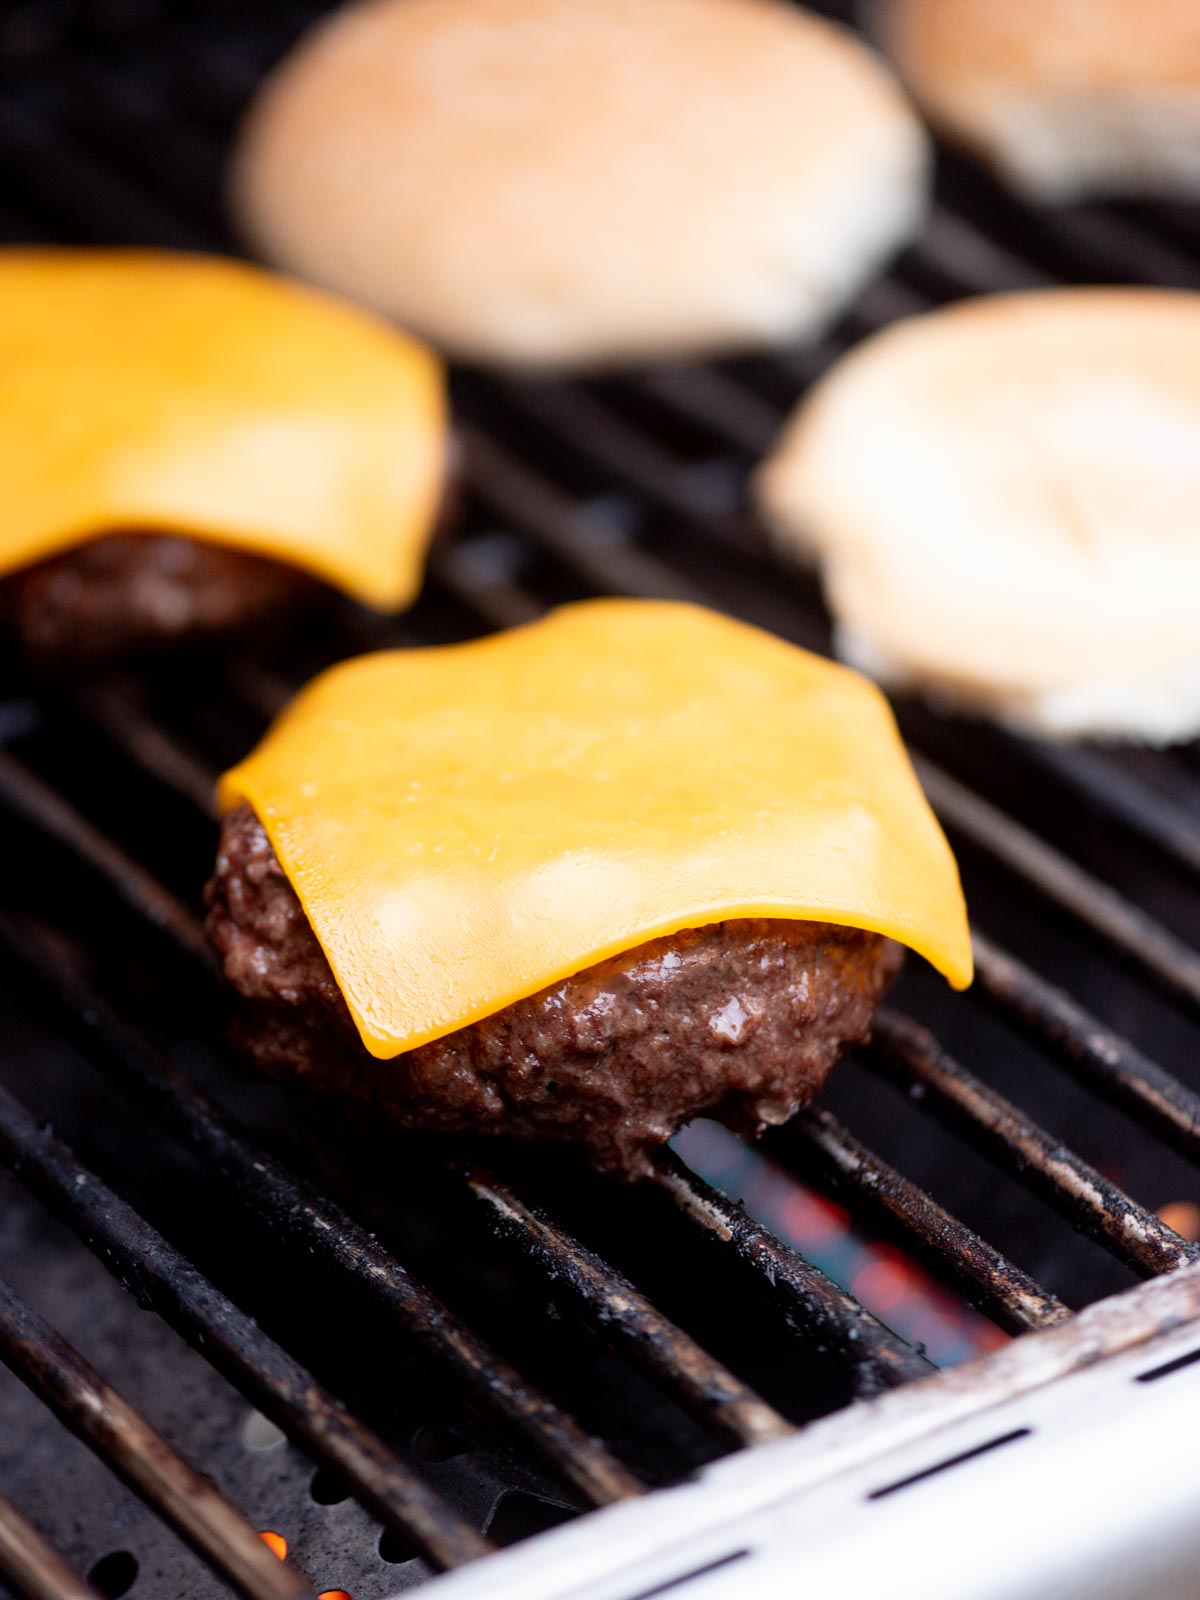
- Once they’re just about done (with about 1 minute left), lay a slice of cheese on each patty, close the lid, and let the trapped heat melt it.
- Remove them from the grill and let them sit for about 5 minutes to rest.
- Add the buns to the grill, cut side down, for about thirty seconds while the burgers rest to get them nice and toasted.
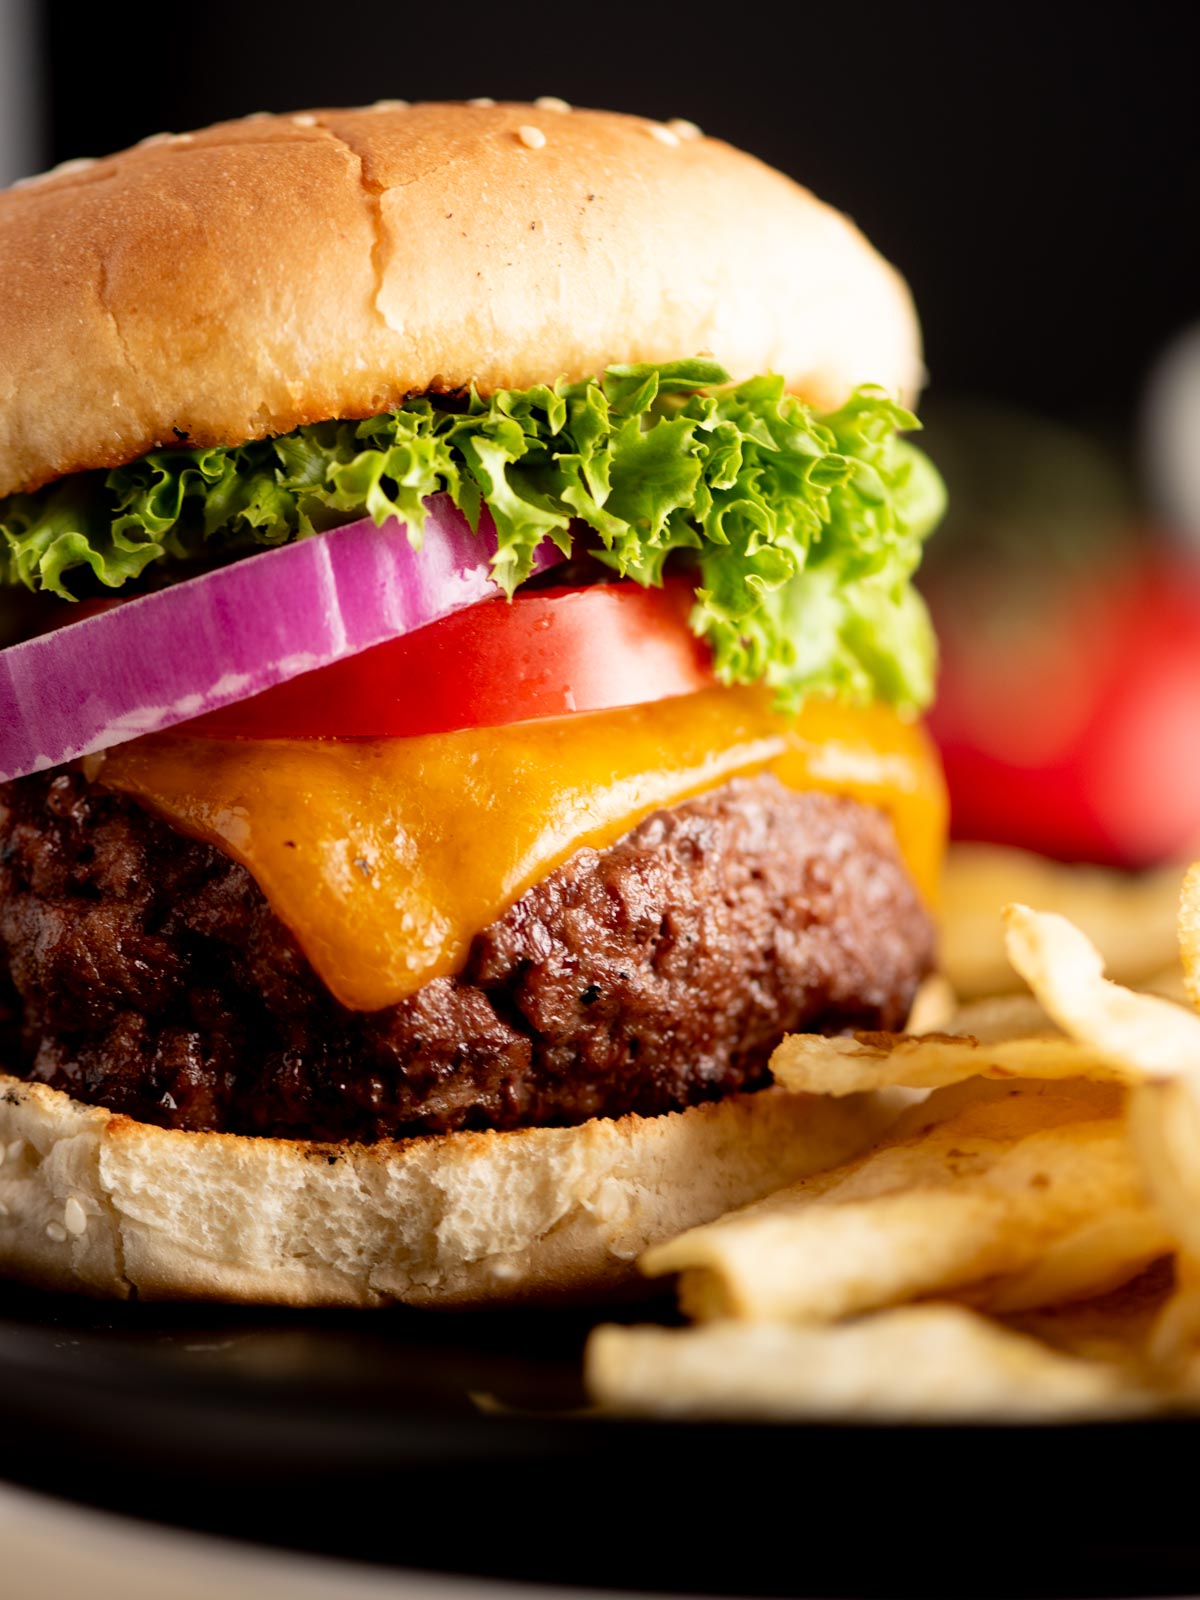
- Build your burgers and enjoy!
What Temperature to Grill Burgers
Grill burgers over medium high heat, between 425ºF and 450ºF. That’s hot enough to sear a real crust without scorching the outside before the middle catches up.
Remember that there are two temperatures at play here. The grill temperature is the heat your grate sits at (425ºF-450ºF), and it stays the same no matter how you like your burger cooked. The internal temperature is how done the burger is in the center, and that’s the number that changes. The USDA recommends ground beef reach 160ºF internally. Cooking to anything less done is a personal call you’re making with the meat you trust. The full time-and-doneness breakdown is in the next section.
No grill thermometer? Hold your hand about five inches above the grate. At medium high, you’ll be able to keep it there for only about 4 to 5 seconds before you have to pull away.
How Long to Grill Burgers
Grill burgers about 4 to 5 minutes per side over medium high heat for a medium burger, roughly 8 to 10 minutes total. But patty thickness and your preferred doneness shift that, so the reliable gauge isn’t the clock, it’s the internal temperature.
| Doneness | Internal Temp | Time Per Side* |
|---|---|---|
| Medium Rare | 130º-135ºF | ~3 minutes |
| Medium | 140º-145ºF | ~4-5 minutes |
| Medium Well | 150º-155ºF | ~5-6 minutes |
| Well Done | 160ºF + | ~6 minutes |
*Based on ½ to ¾ inch patties over medium-high heat (425–450°F). Times are a starting point. Pull your burgers by temperature, not the timer.
A few things that keep this honest:
- Check the temp from the side. Slide an instant-read thermometer into the center through the side of the patty, not the top, so you’re not opening a channel for juice to run out.
- Pull them a few degrees early. Burgers keep cooking off the heat. One pulled at 140°F coasts up to 145°F as it rests. And resting them 3 to 5 minutes lets the juices settle back in instead of running out the moment you bite.
- 160°F is the safe number. That’s the USDA recommendation for ground beef. Anything less done is a call you’re making with meat you trust, but if you’re cooking for kids, anyone pregnant, or older family, take it to 160°F.
What Makes a Juicy Burger
A juicy hamburger comes down to three things, in this order: enough fat in the meat, a gentle hand when you mix and shape it, and pulling it off the grill before it overcooks. Get those right and the rest is just seasoning.
Start with the fat, because nothing else can rescue a lean burger. That 80/20 chuck has just enough fat to baste the meat from the inside as it cooks. It melts, carries flavor, and keeps the center moist. If you end up reaching for 90/10, you trade away the very thing that makes a burger juicy. You’ll get a patty that’s tight and dry no matter how perfectly you grill it.
Then there’s how you handle the meat. Ground beef has a loose, open texture, and that’s a feature. It’s what holds the juice. The more you knead, squeeze, and pack it, the more you compress it into something dense and springy, closer to a meatball than a burger. So you fold the seasoning in just until it disappears and shape with a light touch. Never press down with the spatula on the grill, because every push squeezes out the juice you were trying to keep.
Last is heat. A burger left on too long dries out, plain and simple, so you cook to temperature and pull it a few degrees early. The dimple keeps the patty cooking evenly instead of bulging, so the edges aren’t overdone by the time the center catches up. No dry gray ring around a perfect middle. A splash of Worcestershire in the meat adds a little moisture and a lot of savory flavor, and a few minutes of rest lets the juices settle back through instead of spilling out when you bite into it.
What to Serve with Grilled Burgers
A great burger doesn’t need much beside it, but the right spread turns it into a real cookout. I build the plate around contrast… one fresh and bright to cut the richness, one crisp or starchy to round it out:
- Bean Salad — make-ahead, travels well, and that bright, tangy bite is exactly what a rich burger wants next to it. My go-to.
- Roasted Salsa with Tortilla Chips — for a Tex-Mex spread; burgers and a little chile heat are a better match than people expect.
- Mexican Street Corn Casserole — sweet, charred, and a little creamy against the savory beef.
- Potato Salad, Macaroni Salad, or Baked Beans — the classic cookout heavy hitters. One or two is plenty.
- Grilled corn or a basket of fries — when you want to keep it simple.
Pick one bright, one starchy, and you’ve got a plate.
Storage & Make Ahead
I’ll be real honest with you here: a grilled burger is at its best the minute it comes off the grill, and no amount of storing changes that. But the patties are genuinely make-ahead friendly, and leftovers keep fine if you handle them right.
Make ahead: Mix and shape the patties up to a day in advance, stack them between squares of parchment so they don’t stick, and keep them covered in the fridge. Chilled patties actually hold their shape better on the grill, so this is a head start that helps you, not just a time-saver. To go longer, freeze the raw shaped patties with parchment between each and grill from frozen or thawed.
Leftovers: Store cooked patties on their own, not built into a bun with toppings, which just turns everything soggy. In an airtight container in the fridge, they’ll keep 3 to 4 days. Reheat gently in a low oven or a covered skillet until hot all the way through (165°F). The microwave works in a pinch but dries them out fast. They won’t be quite as juicy as fresh, but they’ll still be good.
Freezing cooked burgers: It works, but the texture slips a little grainy. If you do it, wrap each patty well and use within 2 to 3 months. Given the choice, I’d freeze raw patties over cooked every time.
Frequently Asked Questions
Closed for most of the cook. A closed lid traps heat and cooks the burger evenly from both sides at once instead of only searing the bottom. It’s also what melts your cheese in that last minute. Crack it open only if dripping fat is causing flare ups.
Three things. Shape the patties so they’re cohesive (gentle, but not loose crumbs). Make sure the grate is hot so the burger releases instead of tearing. And don’t flip too early. Burgers fall apart when you turn them before a crust has set to hold them together. Let them release on their own and you won’t lose one to the grate.
Once is all you need. A single flip lets each side sit long enough to build a real crust, which is where both the flavor and the structure come from. If you flip it back and forth, neither side gets the uninterrupted heat it needs.
Both options make a great burger. It comes down to what you want. Charcoal runs hotter and adds that smoky flavor you can’t fake. Gas fires up faster and holds a steady temperature, so it’s more forgiving. This recipe works on either. Get your grate to 425º-450ºF and the method’s identical.
More Burger Recipes You’ll Love
Pin this now to find it later
Pin ItGrilled Burgers
Ingredients
- 2 lbs 80/20 ground chuck
- 2 Tbsp Worcestershire sauce
- 2 tsp kosher salt
- 1 tsp black pepper
- 1 tsp garlic powder
- 4 slices cheddar American, or pepper jack cheese (2 per burger), optional
- 4 bakery-style burger buns
- Toppings of choice
Instructions
- Preheat the grill to medium-high, 425–450°F.
- In a large bowl, combine the ground chuck, Worcestershire, salt, pepper, and garlic powder. Fold gently just until combined — do not overmix.
- Divide into 4 patties, ½ to ¾ inch thick. Press a shallow dimple into the center of each.
- Grill 4–5 minutes per side for medium (140–145°F internal), or to your desired doneness.
- Add cheese in the last minute and close the lid to melt.
- Toast the buns on the grill, then serve immediately with toppings.
Video
Notes
- Doneness: The USDA recommends ground beef reach 160°F. Cook to your preferred doneness using the temperature chart above.
- Make-ahead: Shape patties up to a day ahead and refrigerate, or freeze with parchment between each.
Nutrition
Nutrition information is automatically calculated, so should only be used as an approximation.