

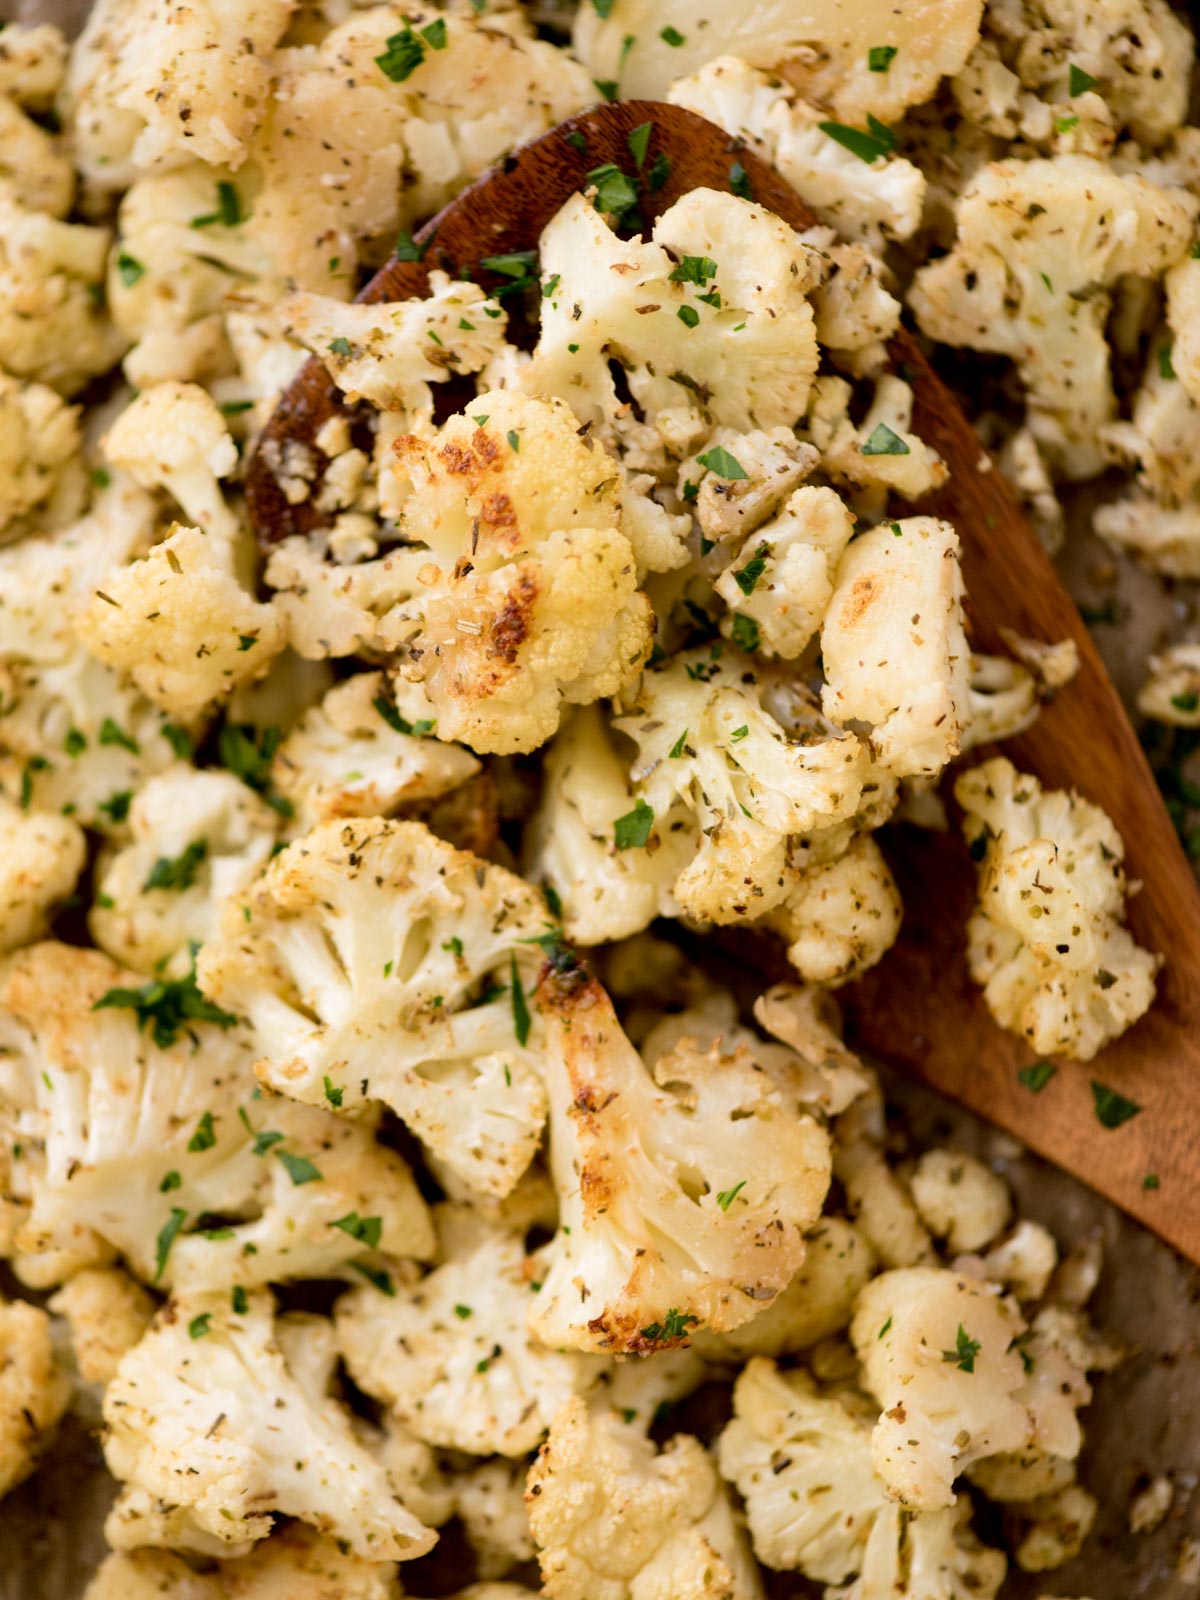
This roasted cauliflower actually gets it right. Crisp edges, even cooking, and seasoning that sticks. No more sad, bland, mushy bites. With one simple cutting trick and a handful of pantry staples, you’ll have a veggie side your whole family will actually want seconds of.
I’ve roasted cauliflower a million different ways, and most of them fell flat—literally. They’d either steam instead of roast, turn out uneven, or end up with seasonings that barely stuck. It was frustrating, especially because roasted cauliflower should be easy.
After a lot of testing (and more bland batches than I care to admit), I found the fix—and it’s surprisingly simple. Instead of breaking the cauliflower into florets like everyone says to do, I slice it into steaks first, then cut those into bite-sized pieces. It gives you flat edges that actually brown in the oven. Combine that with a butter-and-oil base and seasonings that actually stick, and you’ve got roasted cauliflower that’s golden, seasoned, and just the right amount of crisp.
Why You’ll Love This Oven Roasted Cauliflower Recipe
- Easy to make – Just slice, spice, and get it in the oven. Couldn’t be simpler.
- Quick – The perfect side dish when you’re looking for fast and easy but delicious. You can have a full meal ready in under 30 minutes.
- Picky eater friendly – Seriously! Who ever thought you’d be saying that about cauliflower? The olive oil, salt, and pepper combo is good, but this one takes it up a notch.
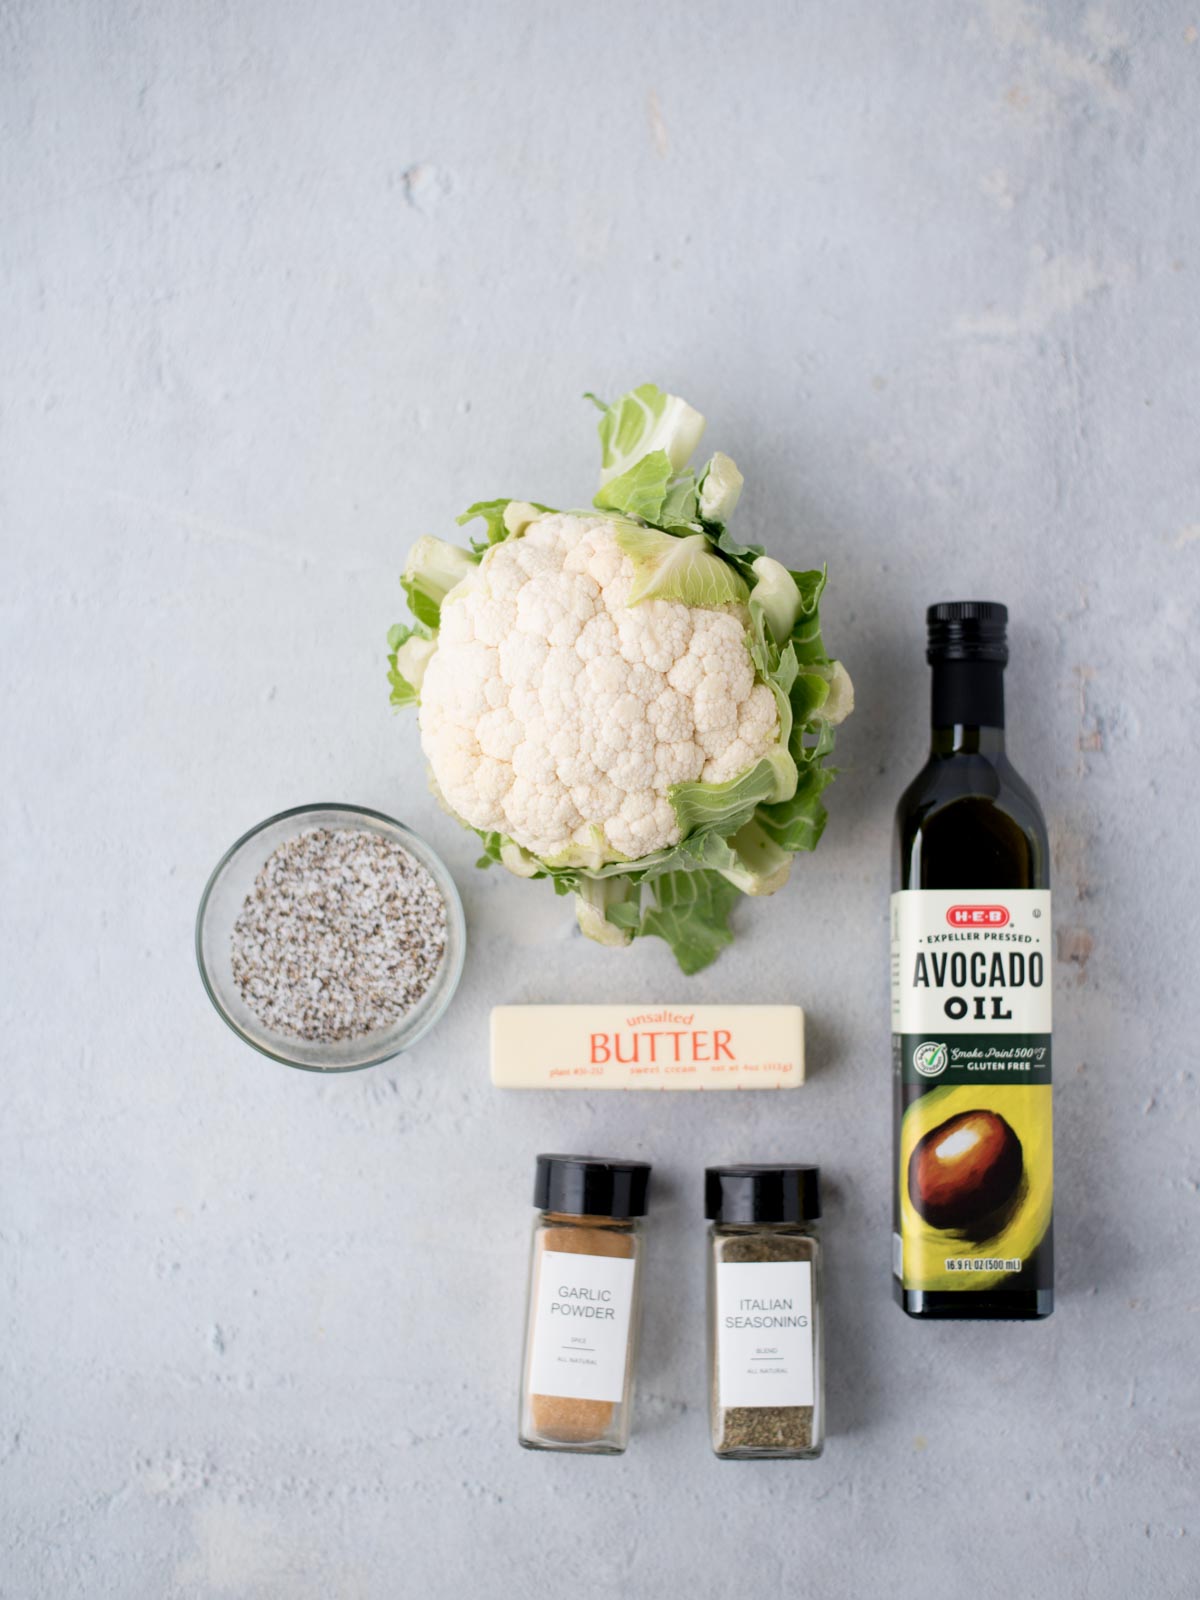
Ingredients for the Best Roasted Cauliflower
- Cauliflower – You’ll need one medium head. Instead of breaking it into florets, I slice it into ½-inch steaks and then into bite-sized pieces. This gives you more flat surfaces that can brown and crisp in the oven, instead of just steaming like rounded florets often do.
- Avocado oil – It has a high smoke point, which means it helps the cauliflower roast at a high temp without burning.
- Butter (melted) – Butter adds richness and helps the edges brown even more. I like using both oil and butter together. They each bring something different and make the texture so much better than using just one.
- Garlic powder – Adds that savory garlic flavor without the risk of burning fresh garlic in a hot oven. It coats the cauliflower evenly so you get a little in every bite.
- Italian seasoning – A quick way to add layers of flavor with herbs like oregano, basil, and thyme. It complements the garlic and butter without overpowering the cauliflower.
- Kosher salt – Don’t skip it. Salt brings out the flavor in every ingredient and helps balance the richness from the butter. You can adjust to taste after roasting.
- Black pepper – Just enough to give it a subtle kick and balance the savory flavors.
Substitutions & Alterations
Avocado oil – You can use olive oil in place of avocado oil.
Oil and Butter – You can also use all oil in place of the oil and butter combination. You can also use dairy-free butter to make this a plant-based side option.
Italian seasoning – You can make your own using a blend of dried basil and oregano.
How to Oven Roast Cauliflower
- Preheat the oven to 425˚F.
- Melt your butter on the stovetop or in the microwave.
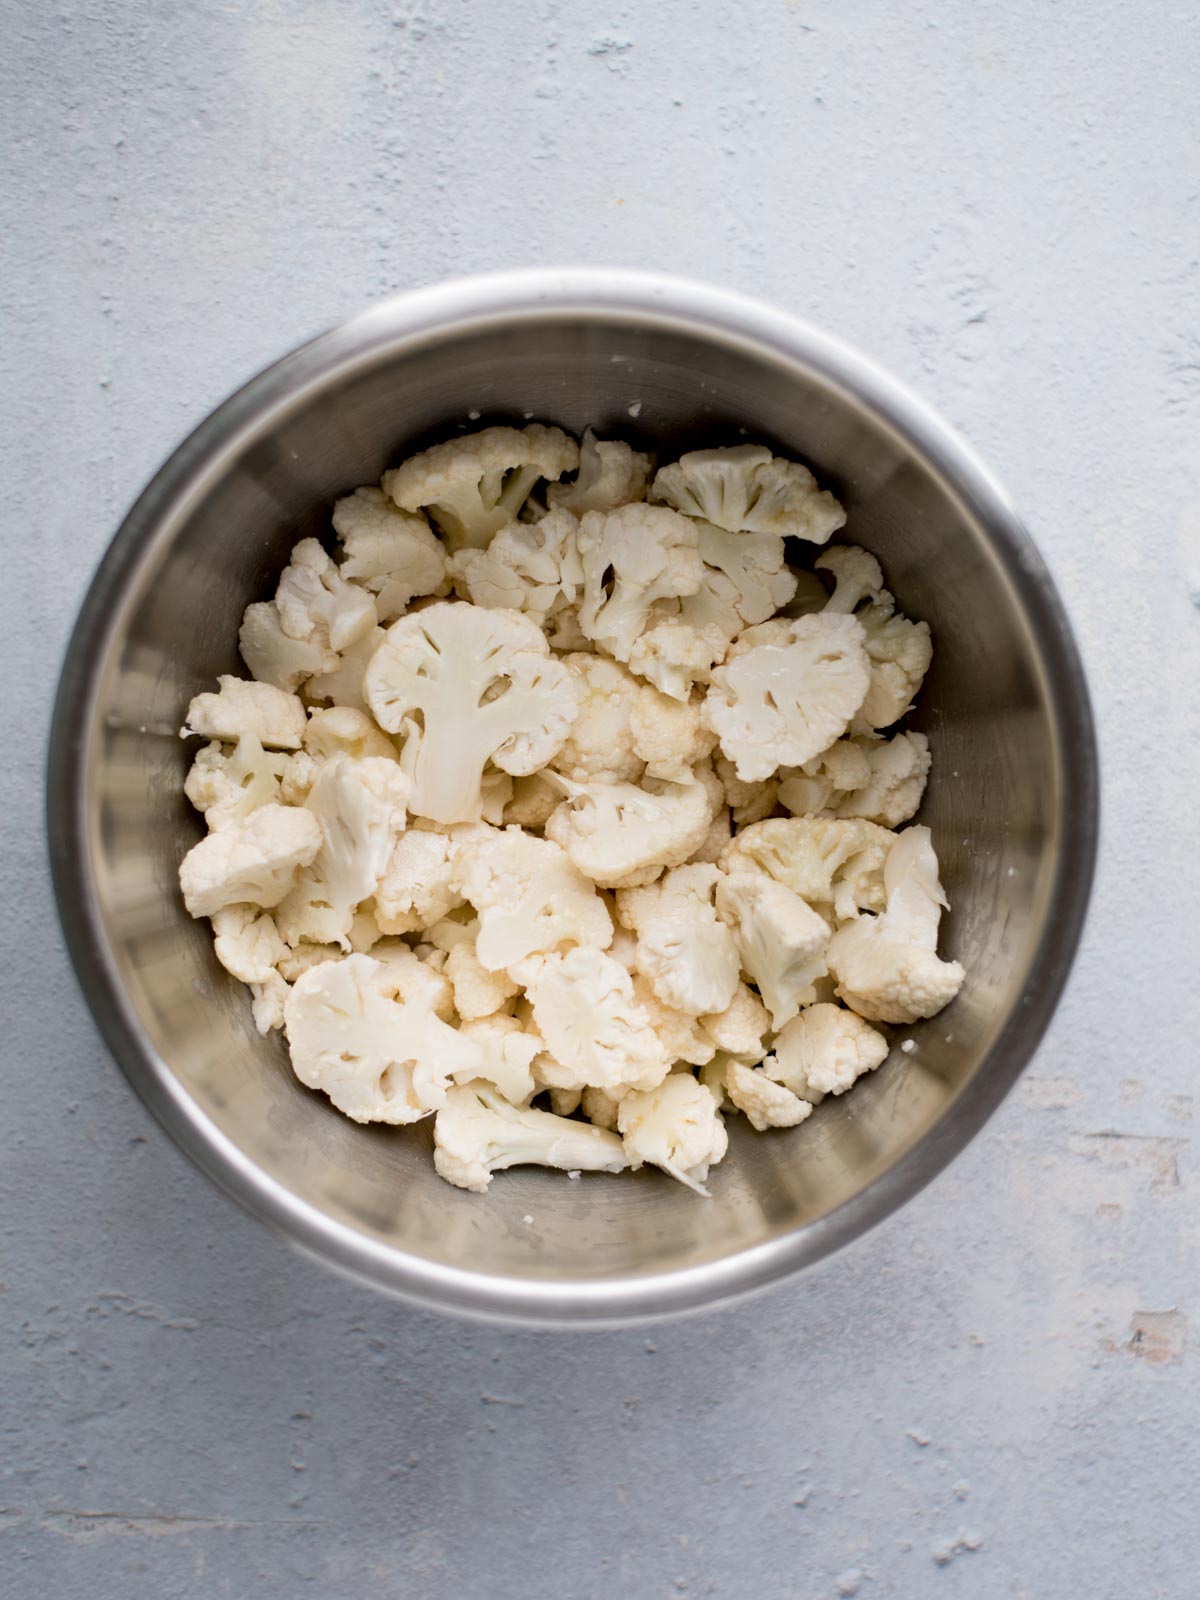
- Slice the head of cauliflower into 1/2″ “steaks” and then slice the steaks into bite-size pieces.
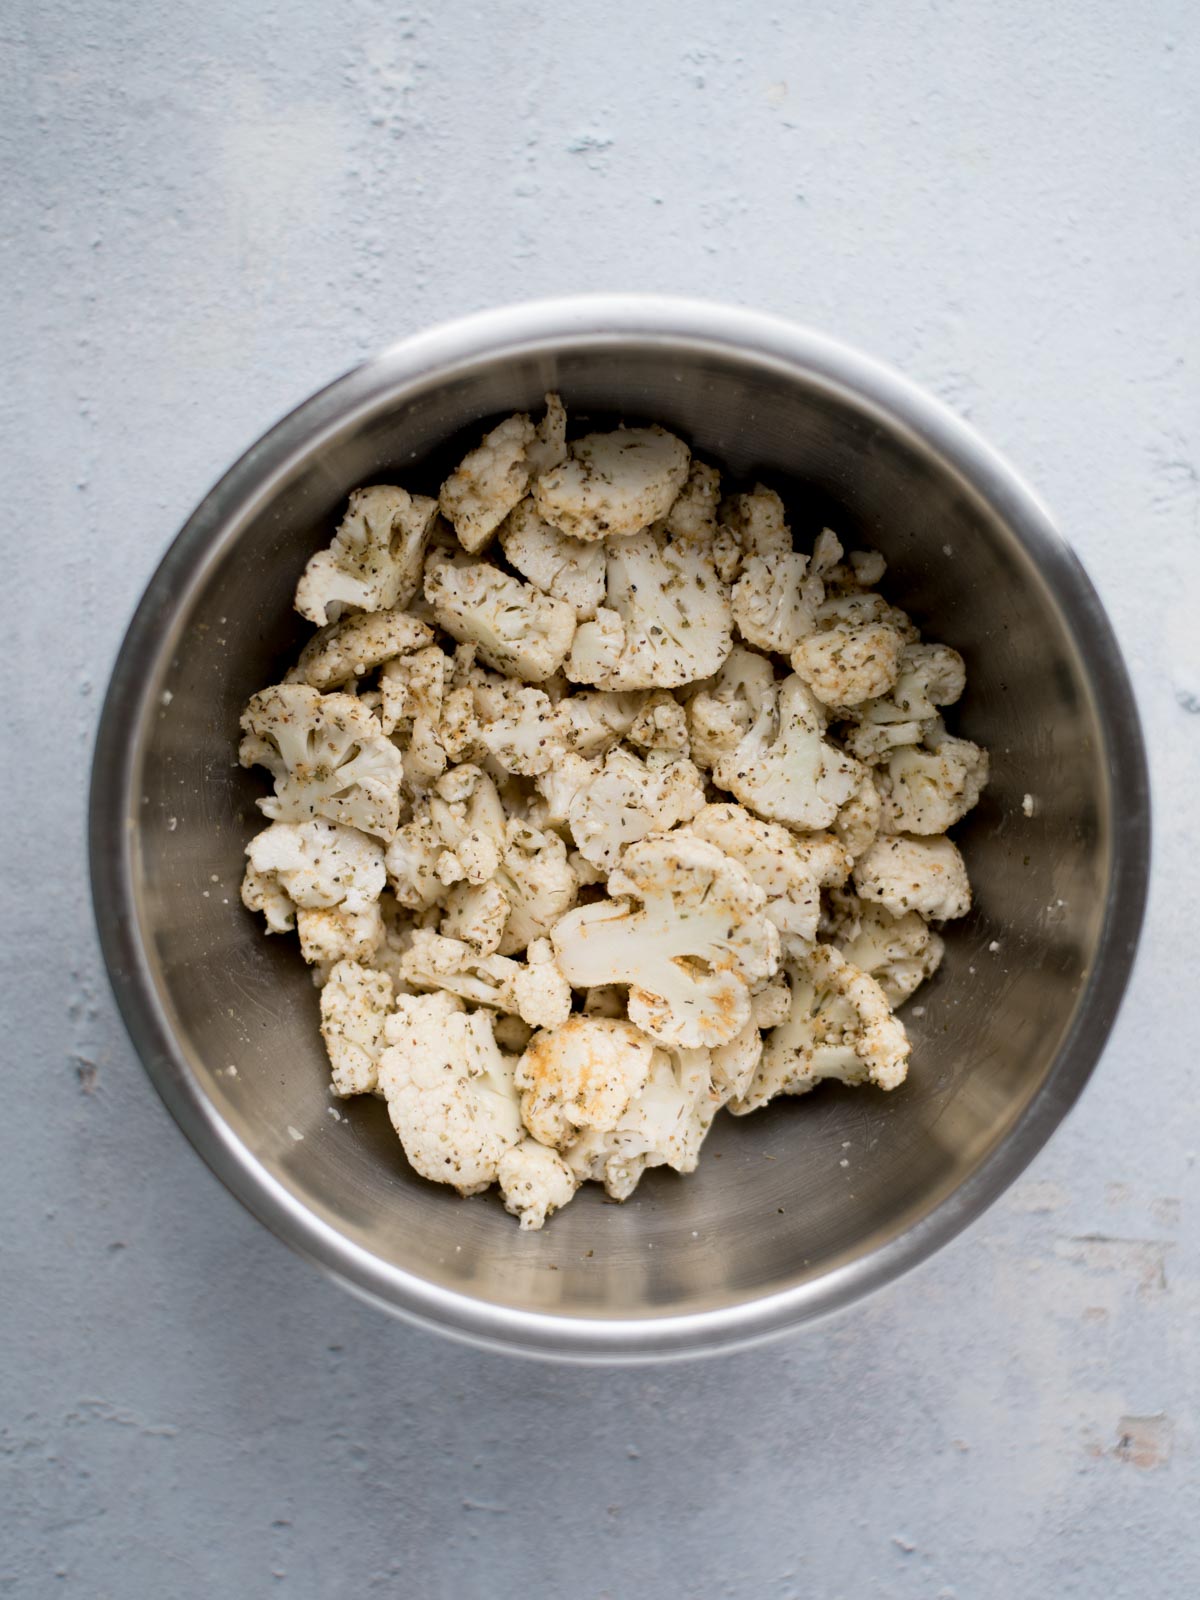
- Add the cauliflower pieces, avocado oil, and melted butter to a large mixing bowl.
- Toss until the cauliflower is coated completely.
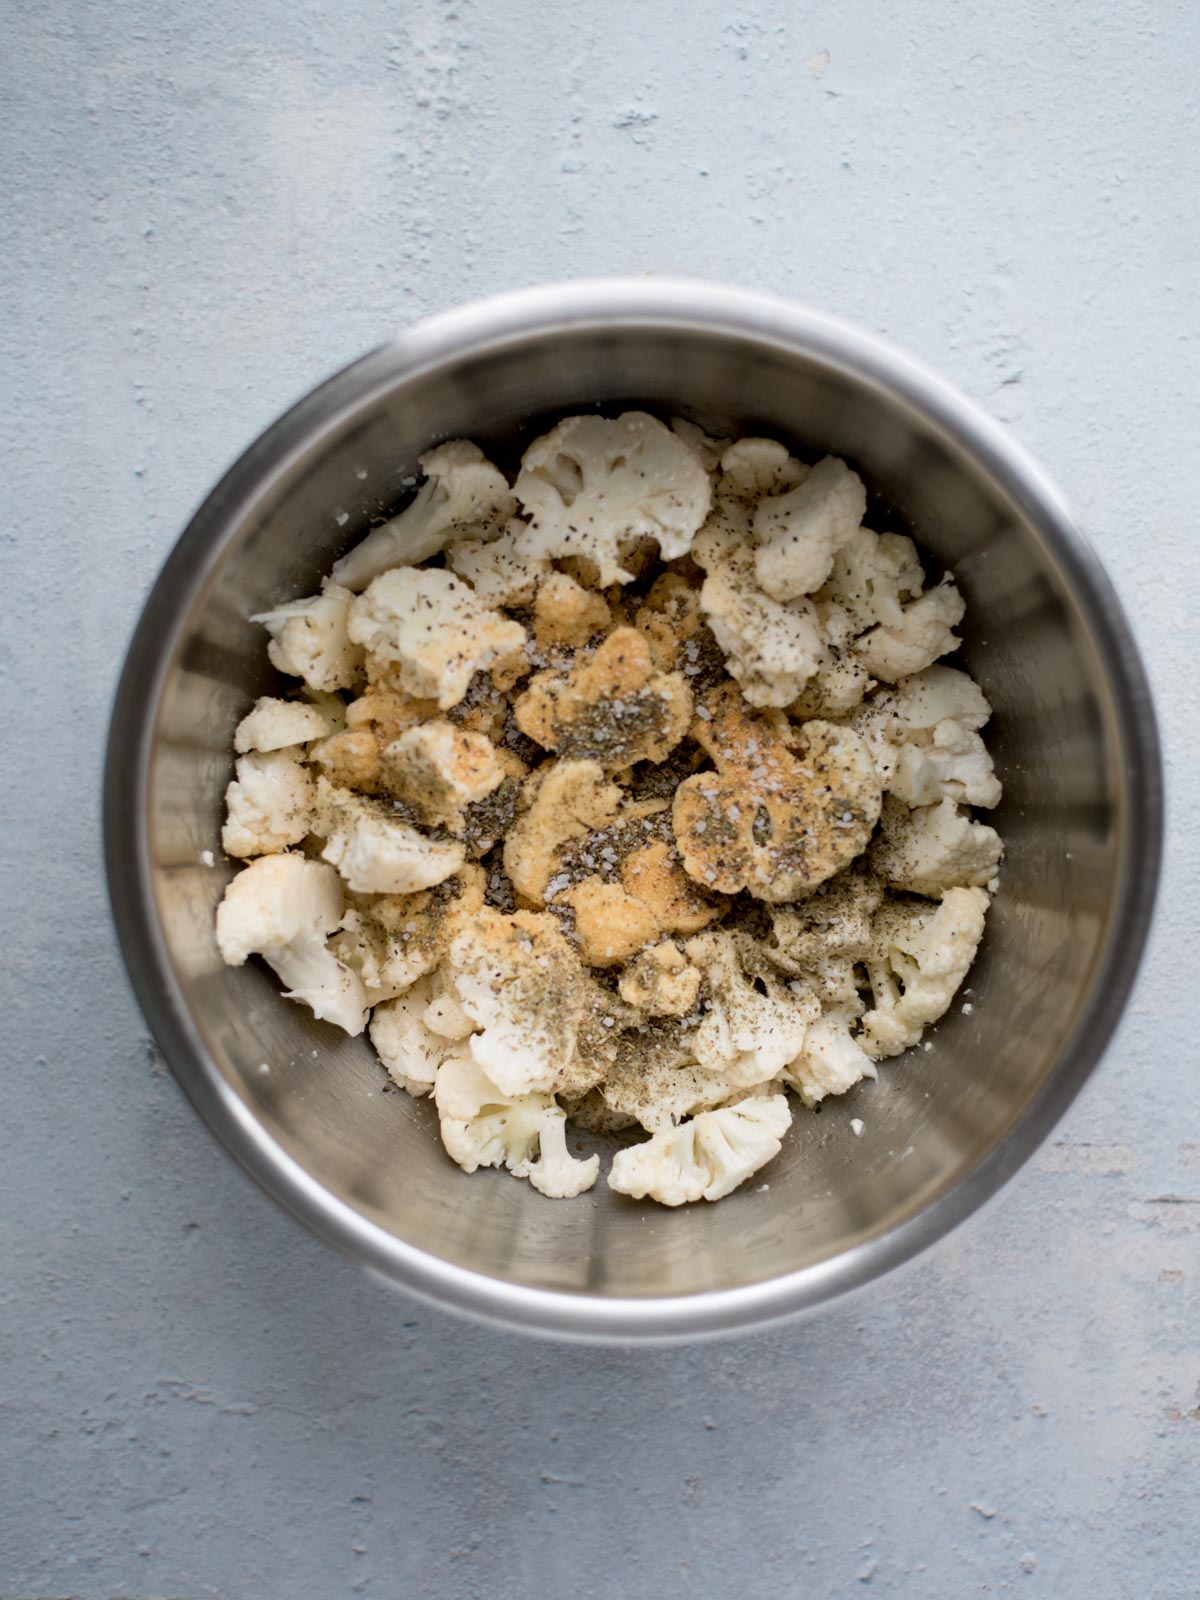
- Add the seasonings and toss again to coat all of the cauliflower pieces.
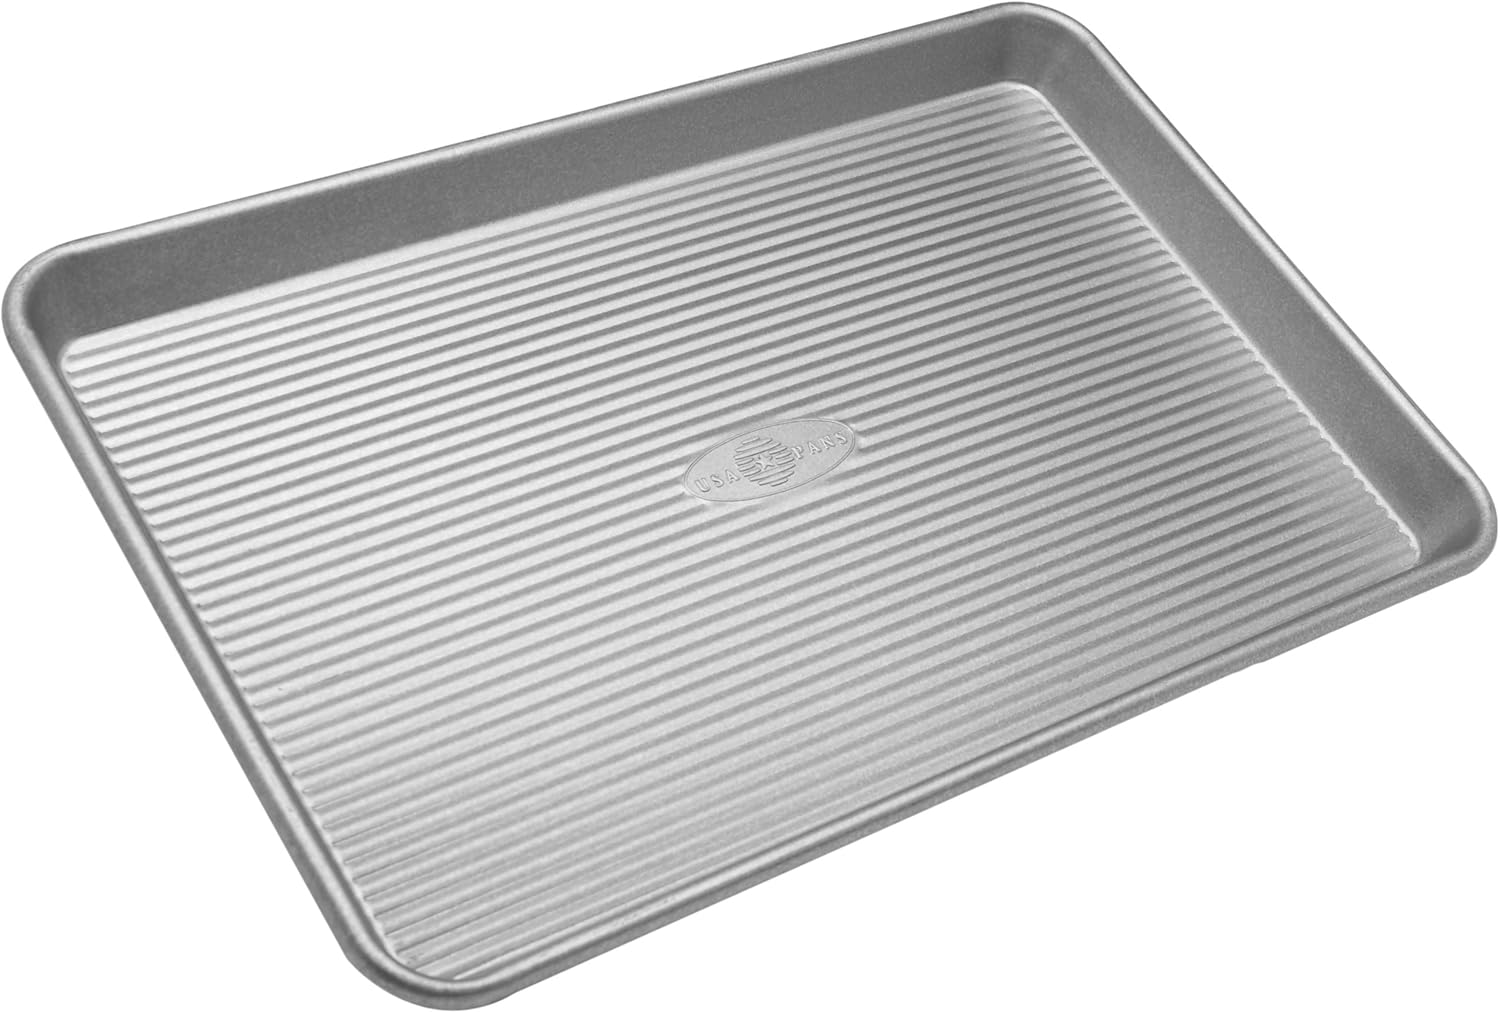
- Line a rimmed baking sheet with parchment paper. Spread the seasoned cauliflower on the baking tray in a single layer. Don’t overcrowd the pan.
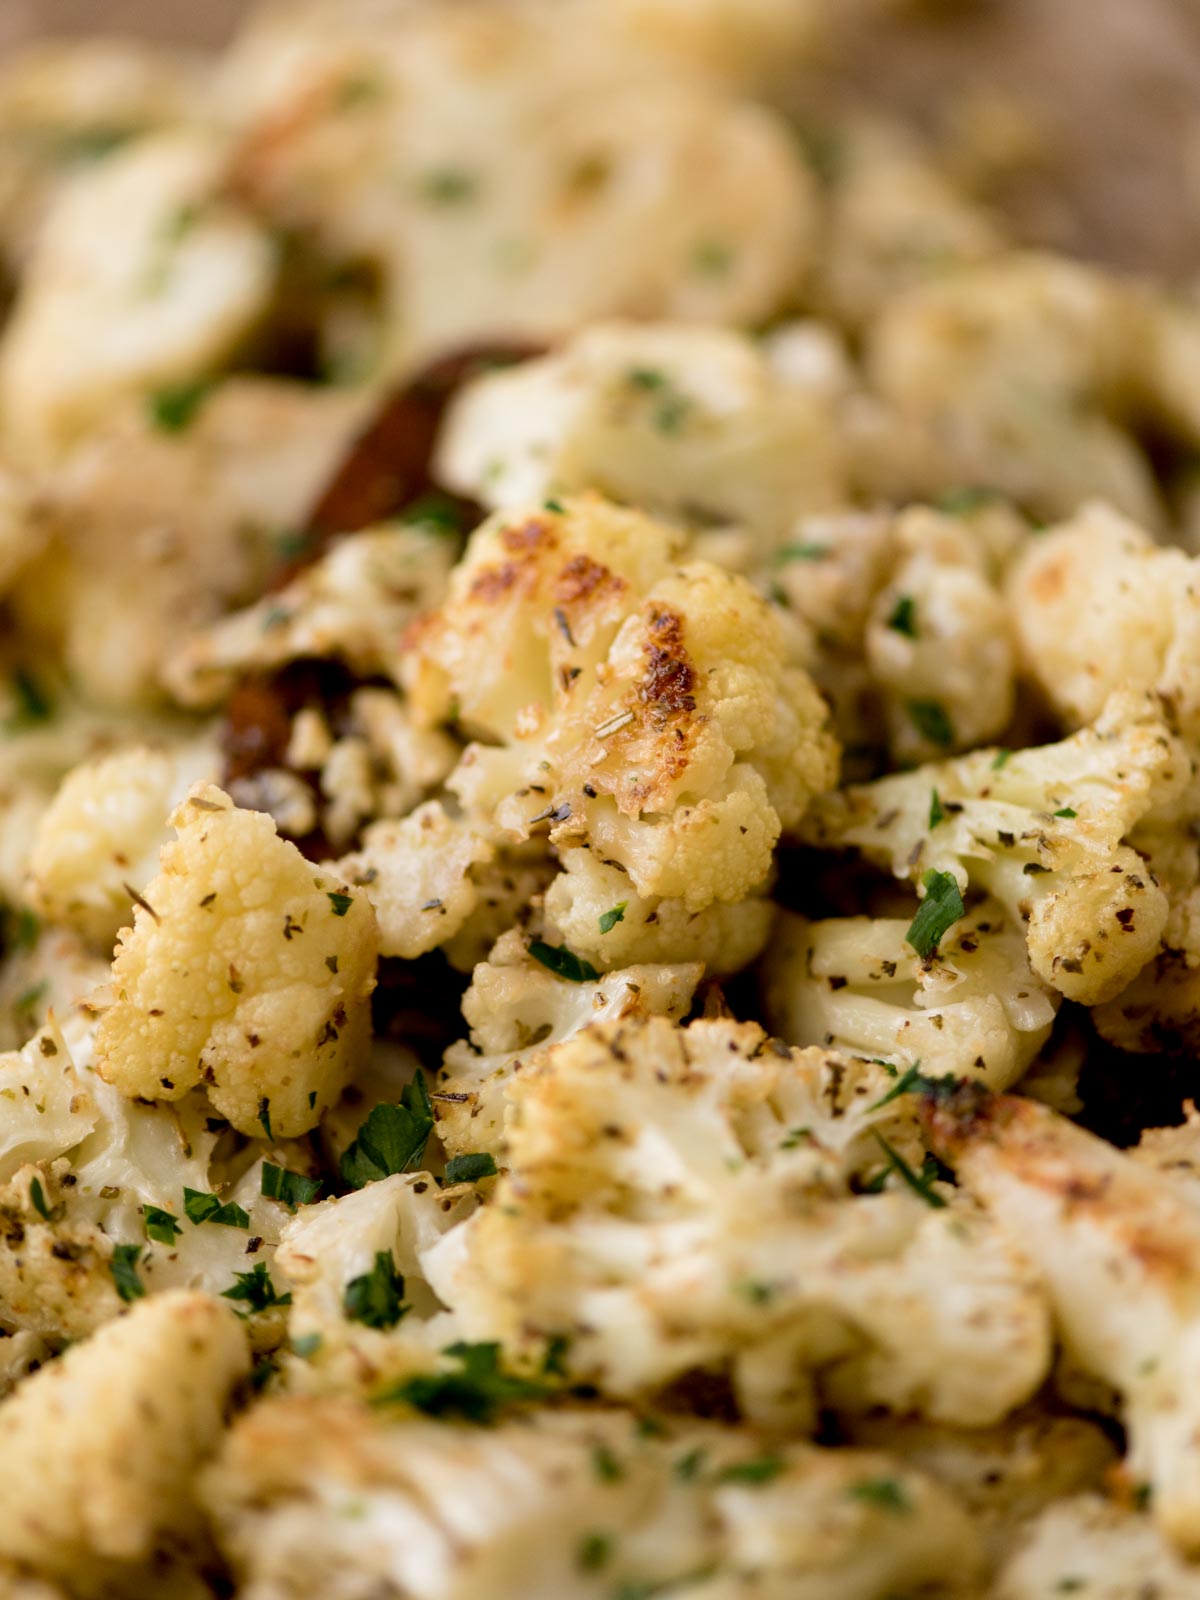
- Bake for 15 minutes or until the cauliflower is at your desired softness and golden brown.

Tips & Tricks
Pat the cauliflower dry with paper towels after rinsing to limit moisture and to ensure the oil coats the florets well.
I recommend slicing the cauliflower into 1/2″ steaks first because it’ll give you flat sides to the cauliflower that can crisp up in the oven better than just the rounded florets.
If you only have garlic salt in your pantry, consider omitting the extra salt.
To ensure the crispiest cauliflower, make sure the oven is preheated thoroughly and that you don’t overcrowd the pan.
Try to be sure all the cauliflower is coated in oil before adding the seasonings. This will help the seasonings stick to all parts of the cauliflower.
You’ll want to bake the cauliflower until your desired tenderness. Some prefer it to have a little bit of crunch left, while others prefer it completely soft throughout.
kitchen tools to make this oven roasted cauliflower recipe
 Buy Now →
  Buy Now →
  Buy Now →
  Buy Now →
  Buy Now →
 What to Serve with Roasted Cauliflower
Serve this crispy and delicious cauliflower as a tasty side with any of these great entree options.
I also love sprinkling it with parmesan cheese. The finely grated kind gets all in the crevices and gives it that perfect salty flavor.
How to Store Leftovers
Let any leftovers cool completely, then store them in an airtight container or zip-top bag. They’ll keep in the fridge for up to 4 days.
To freeze:
Let the roasted cauliflower cool completely (this helps prevent sogginess). Transfer it to a freezer-safe or vacuum-sealed bag. It’ll keep in the freezer for up to 4 months.
How to Reheat Leftover Roasted Cauliflower
You’ve got a few good options here. Just choose based on how much time you have and how crisp you want it.
Microwave: This works in a pinch. Heat on high for 1–2 minutes until hot, but keep in mind it won’t be as crisp as the other methods.
Oven: Preheat to 425°F and spread the cauliflower out on a baking sheet. Bake for 7–10 minutes until warmed through and crisp. A sheet pan really helps bring back that roasted texture.
Air fryer: Reheat at 400°F for 5–7 minutes. It’s quick and brings the crispiness right back.
What to Do with Leftover Roasted Cauliflower
Leftover roasted cauliflower is easy to repurpose, and honestly? Sometimes, I like it even better the next day.
- Toss it into a grain bowl with quinoa, roasted chickpeas, and a drizzle of tahini or lemon vinaigrette.
- Add it to pasta or mac and cheese for a little veggie boost and some crispy bites.
- Mix it into scrambled eggs or a frittata for an easy breakfast-for-dinner situation.
- Warm it up and use it in wraps or pita pockets with hummus and greens.
- Use it in tacos. I love it with black beans, a little shredded cheese, and cilantro lime sauce.
- Blend it into soup for a creamy texture and subtle roasted flavor.
FAQs
Crank it up! A hot oven is key for crispy edges, so I always go with 425ºF. Just be sure your oven is fully preheated before you pop it in. That part makes a big difference.
You can, but it won’t get quite as crisp. I’ve tested both, and fresh cauliflower definitely wins when it comes to texture and browning.
Yep! Just let it cool completely first so you don’t trap steam. Then stash it in a freezer-safe or vacuum sealed bag. It’ll keep for about 4 months. Reheat it in the oven to bring back some of that crisp.
Yes, always give it a rinse, just like any produce. I also like to pat it dry really well so it roasts instead of steams.
Usually, it’s because the pan is too crowded. If the pieces are too close together, they’ll steam instead of roast. Spread them out in a single layer so each piece gets plenty of heat and airflow.
More Roasted Vegetable Recipes
- Garlic Parmesan Roasted Broccoli and Cauliflower
- Honey-Roasted Veggies
- Easy Oven-Baked Broccoli
- Brown Sugar Roasted Carrots
If you make this recipe and love it, we would love a 5 ⭐️⭐️⭐️⭐️⭐️ rating! It helps us continue to provide free recipes.
Roasted Cauliflower Recipe

Ingredients
- 1 medium head of cauliflower
- 2 Tbsp avocado oil
- 2 Tbsp butter melted
- 1 tsp garlic powder
- 1 tsp Italian seasoning
- ½ tsp kosher salt or more to taste
- 1/4 tsp ground black pepper or more to taste
Instructions
- Preheat the oven to 425˚F.
- Slice the cauliflower into 1/2″ steaks, and then slice the steaks into bite-size pieces.
- Add the cauliflower, avocado oil, and melted butter to a mixing bowl.
- Toss until the cauliflower is coated completely.
- Add the seasonings and toss to coat all of the cauliflower pieces.
- Add the cauliflower to a parchment-lined baking sheet. Spread it out in a single layer.
- Bake for 15 minutes or until the cauliflower is at your desired softness.
Video
Notes
- Try to be sure all of the cauliflower is coated in oil before adding the seasonings. This will help the seasonings to stick to all parts of the cauliflower.
- I recommend slicing the cauliflower into 1/2″ steaks first because it’ll give you flat sides to the cauliflower that can crisp up in the oven better than just the rounded florets.
- You’ll want to bake the cauliflower until your desired softness. Some prefer it to have a little bit of crunch left, while others prefer it completely soft.
Nutrition
Nutrition information is automatically calculated, so should only be used as an approximation.


Healthy recipes are a favorite!
This taste so good! Will make this again for my mom.
Great recipe! It was easy to make and super tasty. Definitely making again!!!
This was unbelievably delicious! Making it again!
This recipe is delicious! It took a little coaxing to get my kids to try it, but once they did they ate all the rest without complaint. I will be making this every week!