

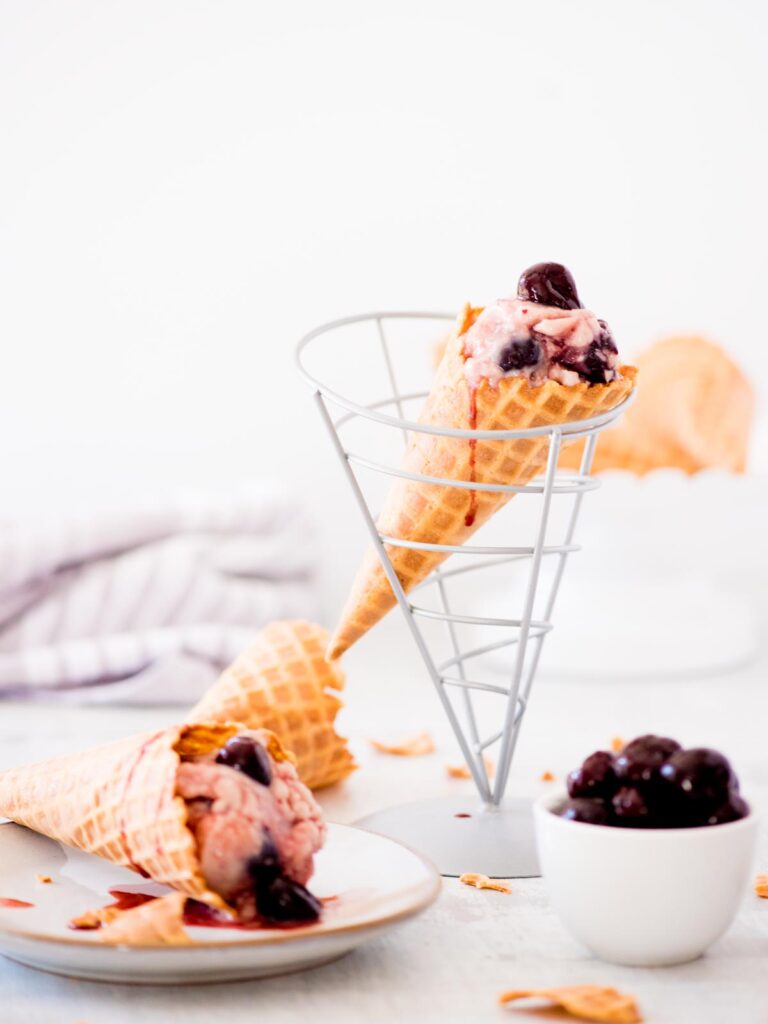
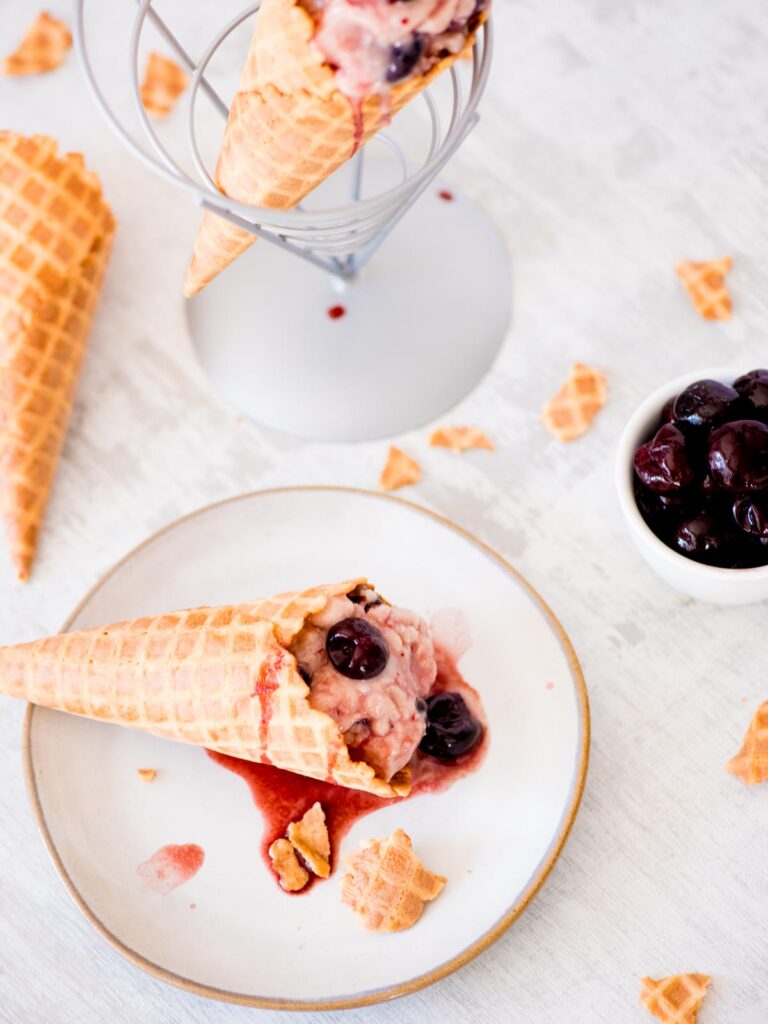
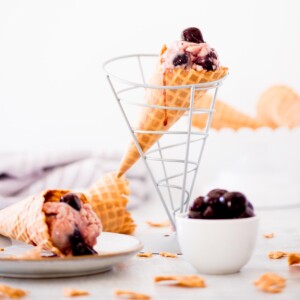
This homemade black cherry ice cream is packed full of cherry flavor and perfect for a hot summer day. It’s a good alternative to the standard vanilla ice cream since it’s packed with dark sweet cherries in creamy ice cream. Homemade ice cream in the summertime is an absolute favorite!
This Black Cherry Ice Cream is the solution to hot days
Homemade ice cream can feel intimidating, but this ice cream recipe is incredibly easy.
This silky, creamy, ice cream comes together with just a combination of a few simple ingredients.
Instead of a standard vanilla ice cream, this one is packed full of dark cherries. The cherries are mixed in and swirled throughout the entire batch.
This recipe is perfect for making at home on hot summer days or serving with your favorite cake or cupcakes. With only 6 ingredients and an ice cream maker, you can be eating this in no time at all.
Why you’ll love Homemade Cherry Ice Cream
This ice cream is essentially a cherry chocolate chip ice cream, and it’s so good. You’re going to want to try it because…
- You can make it with fresh or frozen cherries. I love fresh but it’s not always an option!
- It’s so easy to make. All you need to do is combine the ingredients and let your ice cream maker do its magic!
- The whole family will love this recipe.
Churn vs. No-Churn Cherries Ice Cream
No-churn ice cream is delicious and easy, but using an ice cream maker makes a big difference.
Also known as American-style or Philadelphia-style ice cream, most no-churn ice creams utilize sweetened condensed milk instead of eggs and granulated sugar.
As a result, the texture of ice cream-maker churned ice cream is super smooth and silky thanks to the addition of the egg custard.
This recipe also uses vanilla pudding mix which helps it have a thicker texture that I know you are going to love! Instead of using corn starch or gum thickener (xanthan gum, cellulose gum, tara gum, carob bean gum, etc), the vanilla adds a sweet vanilla flavor while also giving the ice cream a creamy, thick texture.
You can use any ice cream maker to make this recipe. This one (affiliate link) is what I use.
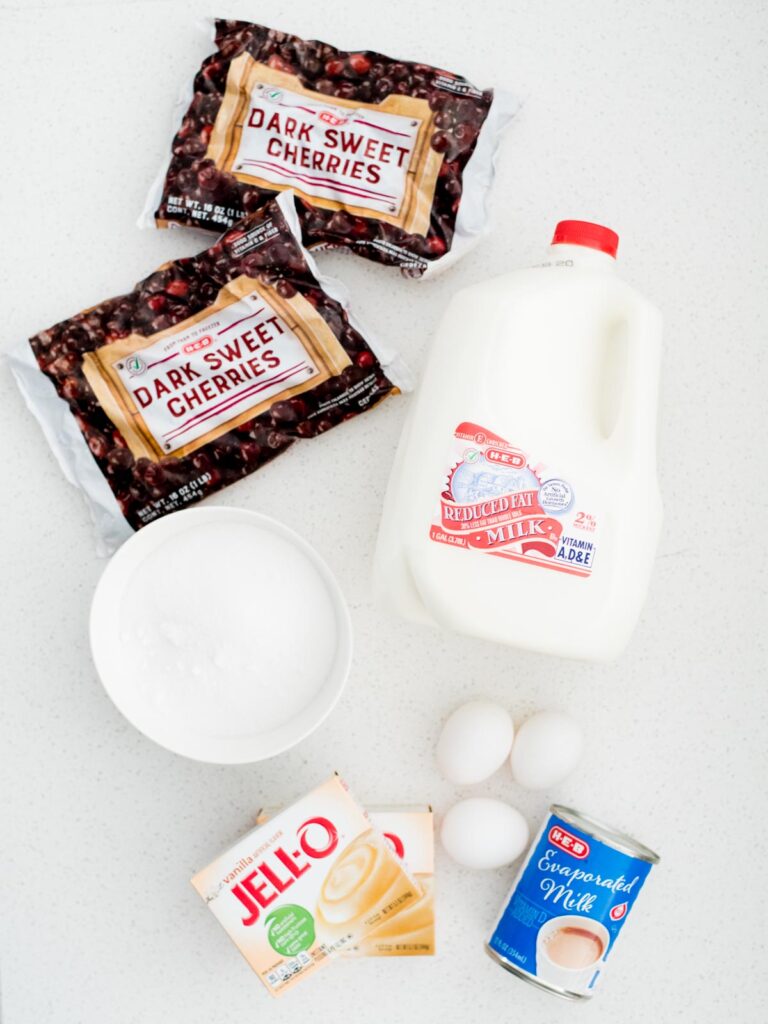
Cherry Ice Cream Recipe Ingredients
Here’s what you’ll need to pick up at the grocery store to make this recipe:
- frozen sweet black cherries – I tend to use frozen dark cherries for convenience, but you can use any variety of cherries in this recipe, even fresh ones. As long as the cherries are pitted, you can use them. I use this cherry pitter (affiliate link).
- milk – You can use whole milk or 2% milk in this recipe. I would stay away from 1%, skim milk, or fat-free milk (nonfat milk) because the fat content in the milk is important when making ice cream. Don’t worry about it — you’re having ice cream, after all! You could also add a little heavy cream for an even creamier consistency.
- sugar – Granulated, white sugar, or cane sugar should do the trick.
- vanilla pudding mix – Vanilla pudding mix is my favorite for this recipe, but I bet French vanilla pudding mix would taste even better! If you’re a chocolate lover, chocolate pudding mix will make this cherry chocolate ice cream even more chocolatey!
- eggs – You will need two eggs for this recipe. Make sure you test the eggs for freshness if you’ve had yours for a while.
- evaporated milk – Evaporated milk is simply milk that has been cooked down to a super creamy liquid. I always keep a few cans in my pantry (for emergency ice cream cravings, especially) but if you don’t have it on hand you can make your own.
How to make Cherry Vanilla Ice Cream
If you’ve never made ice cream before, I can promise you it is a lot easier than it looks! Here’s what to do:
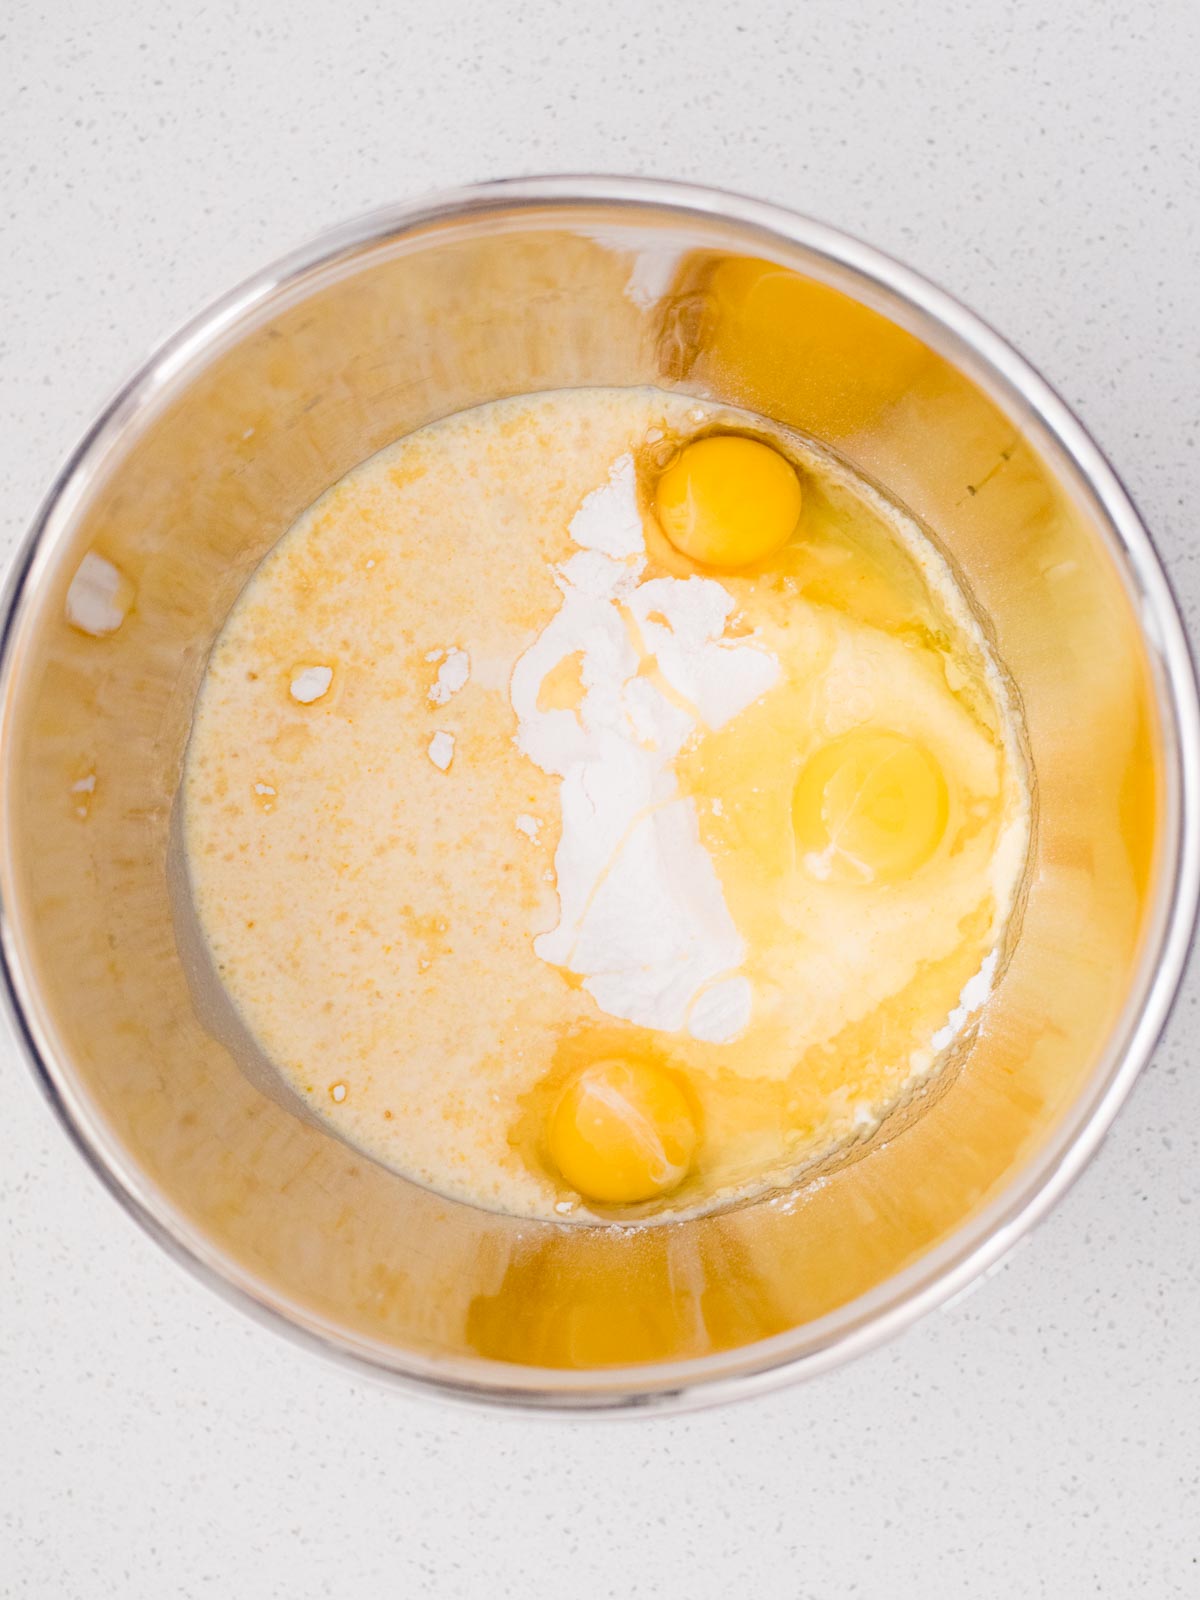
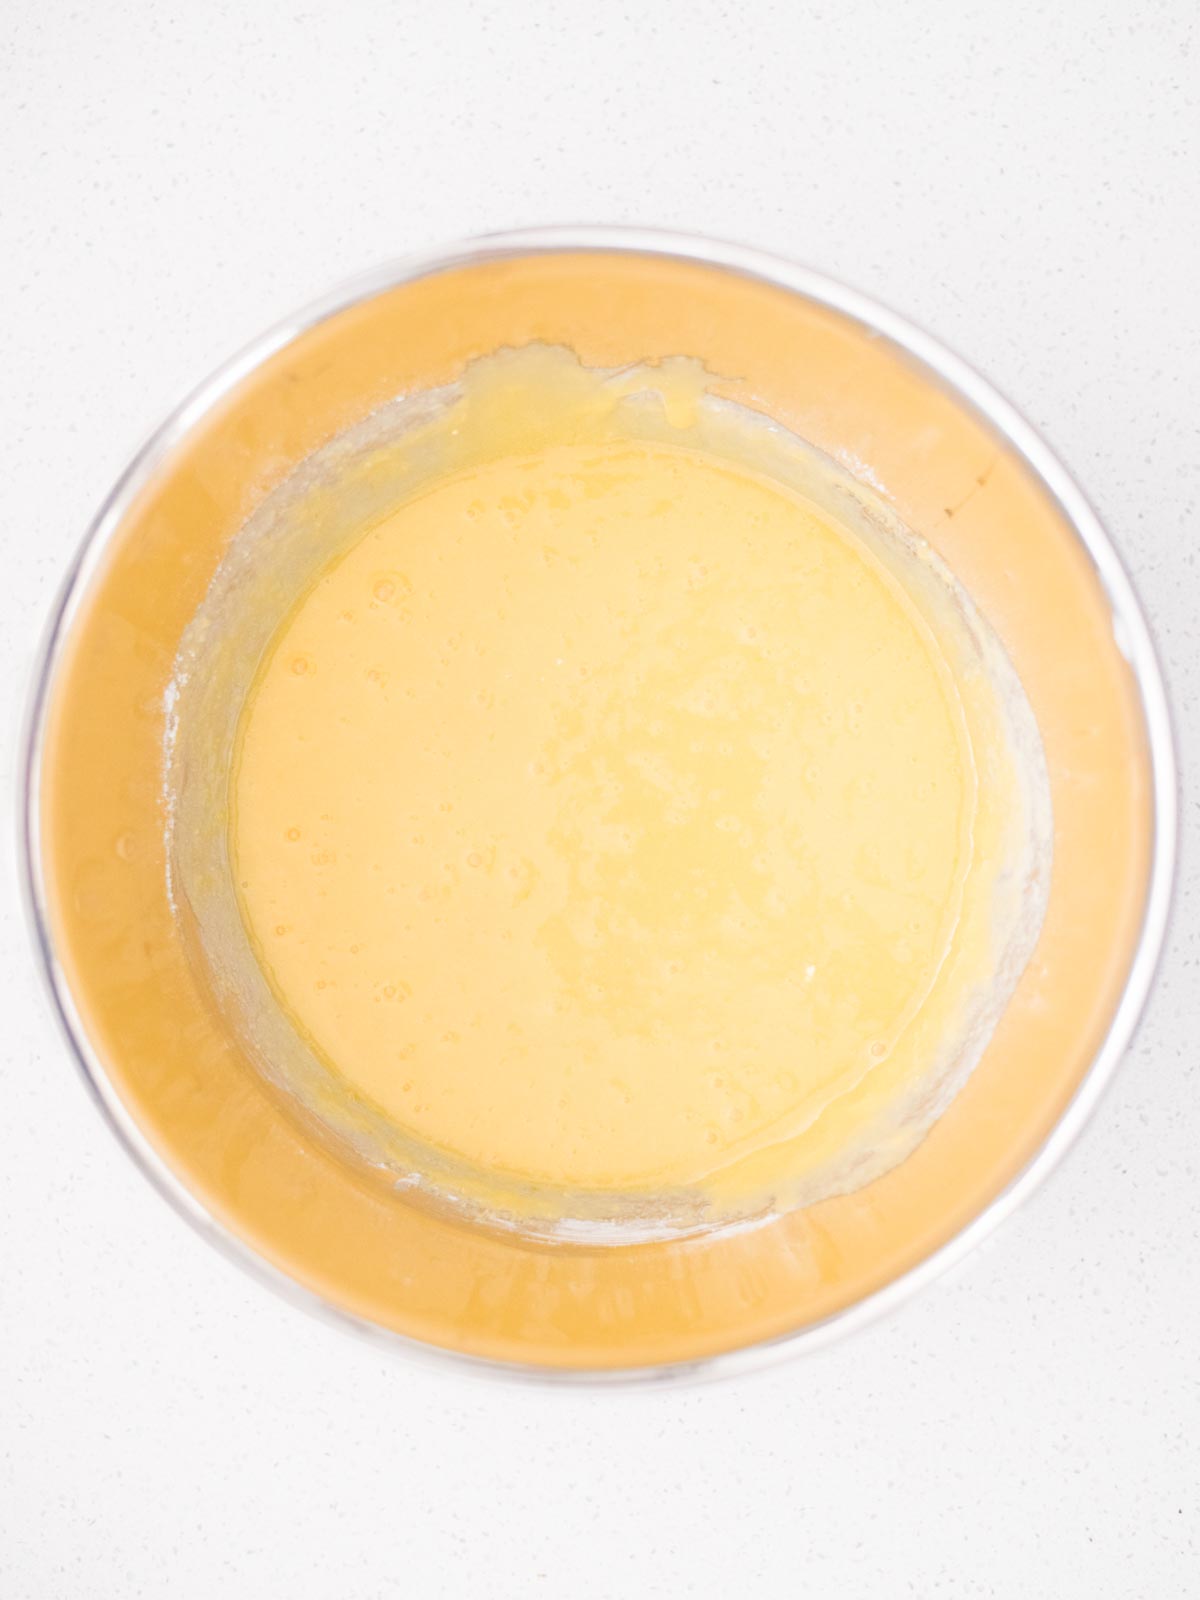
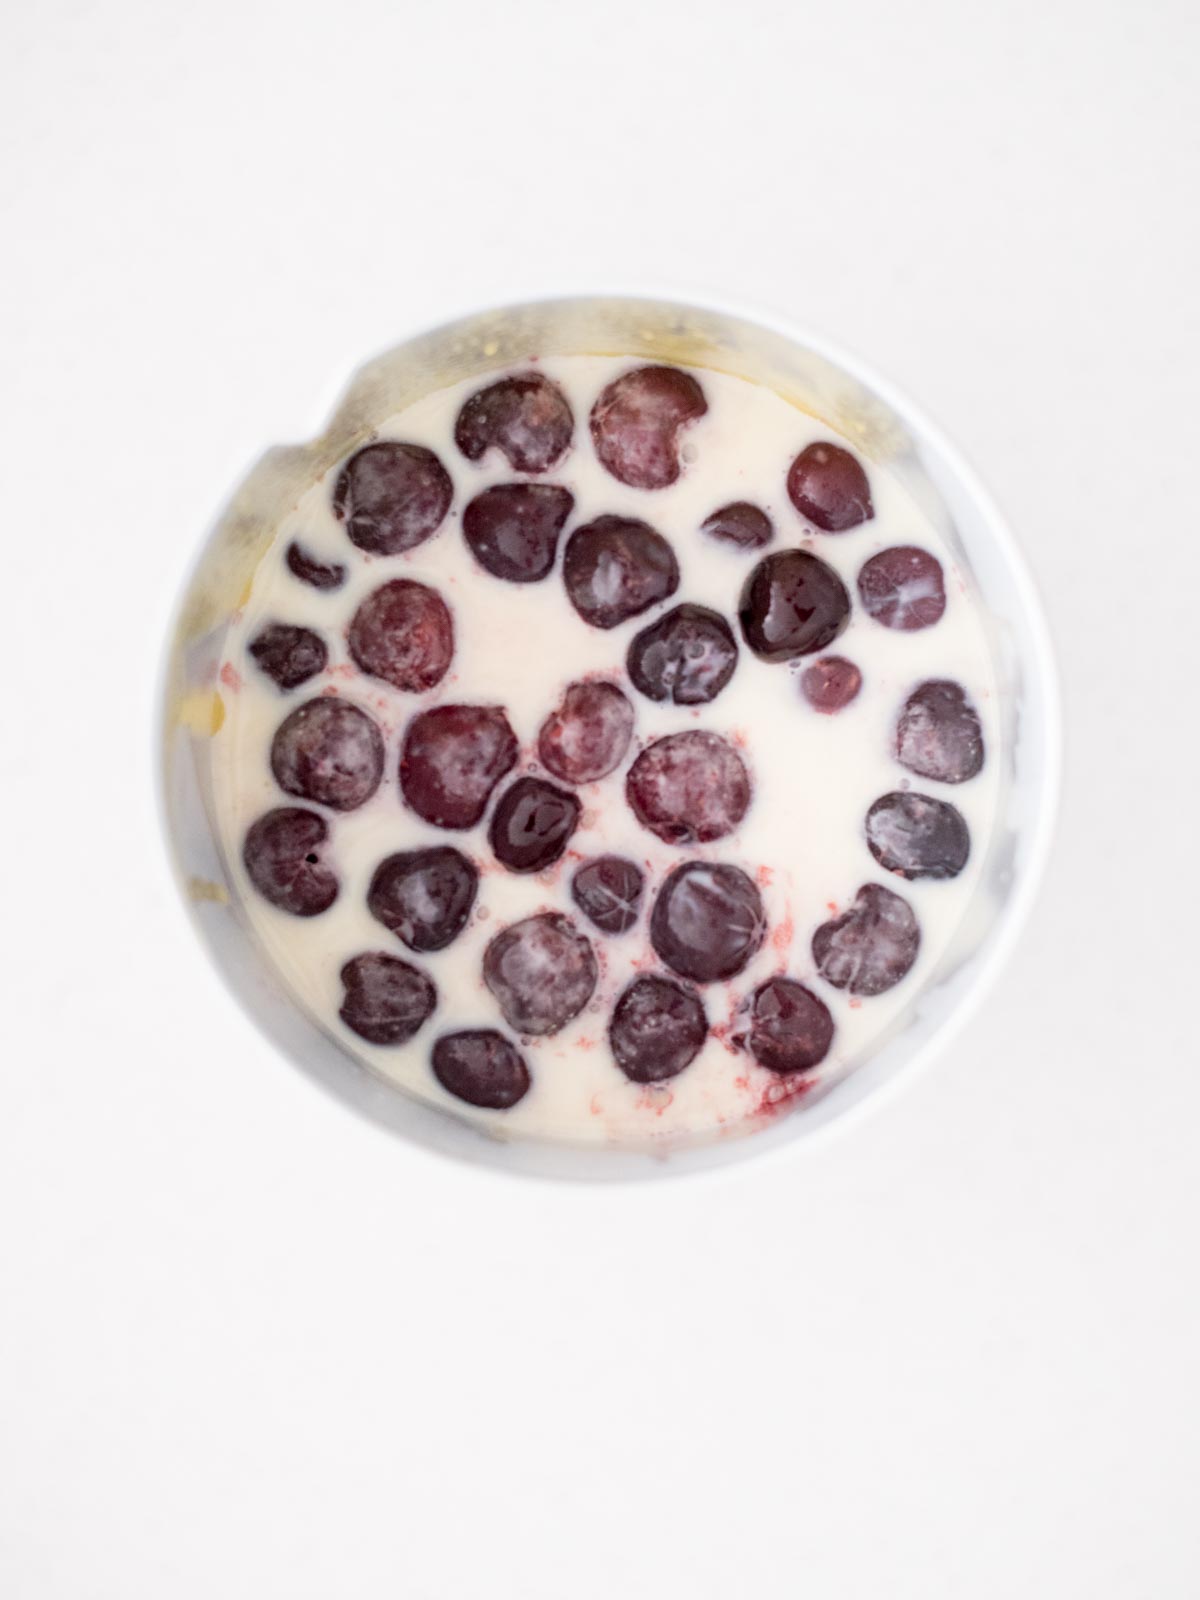
- In a large mixing bowl, combine the milk, sugar, pudding mix, eggs, and evaporated milk.
- Whisk together until fully combined.
- Pour the mix into the ice cream machine and then add in the frozen cherries. Be sure to include all the juice in the bag as well. (If using fresh cherries, make sure they are pitted first.)
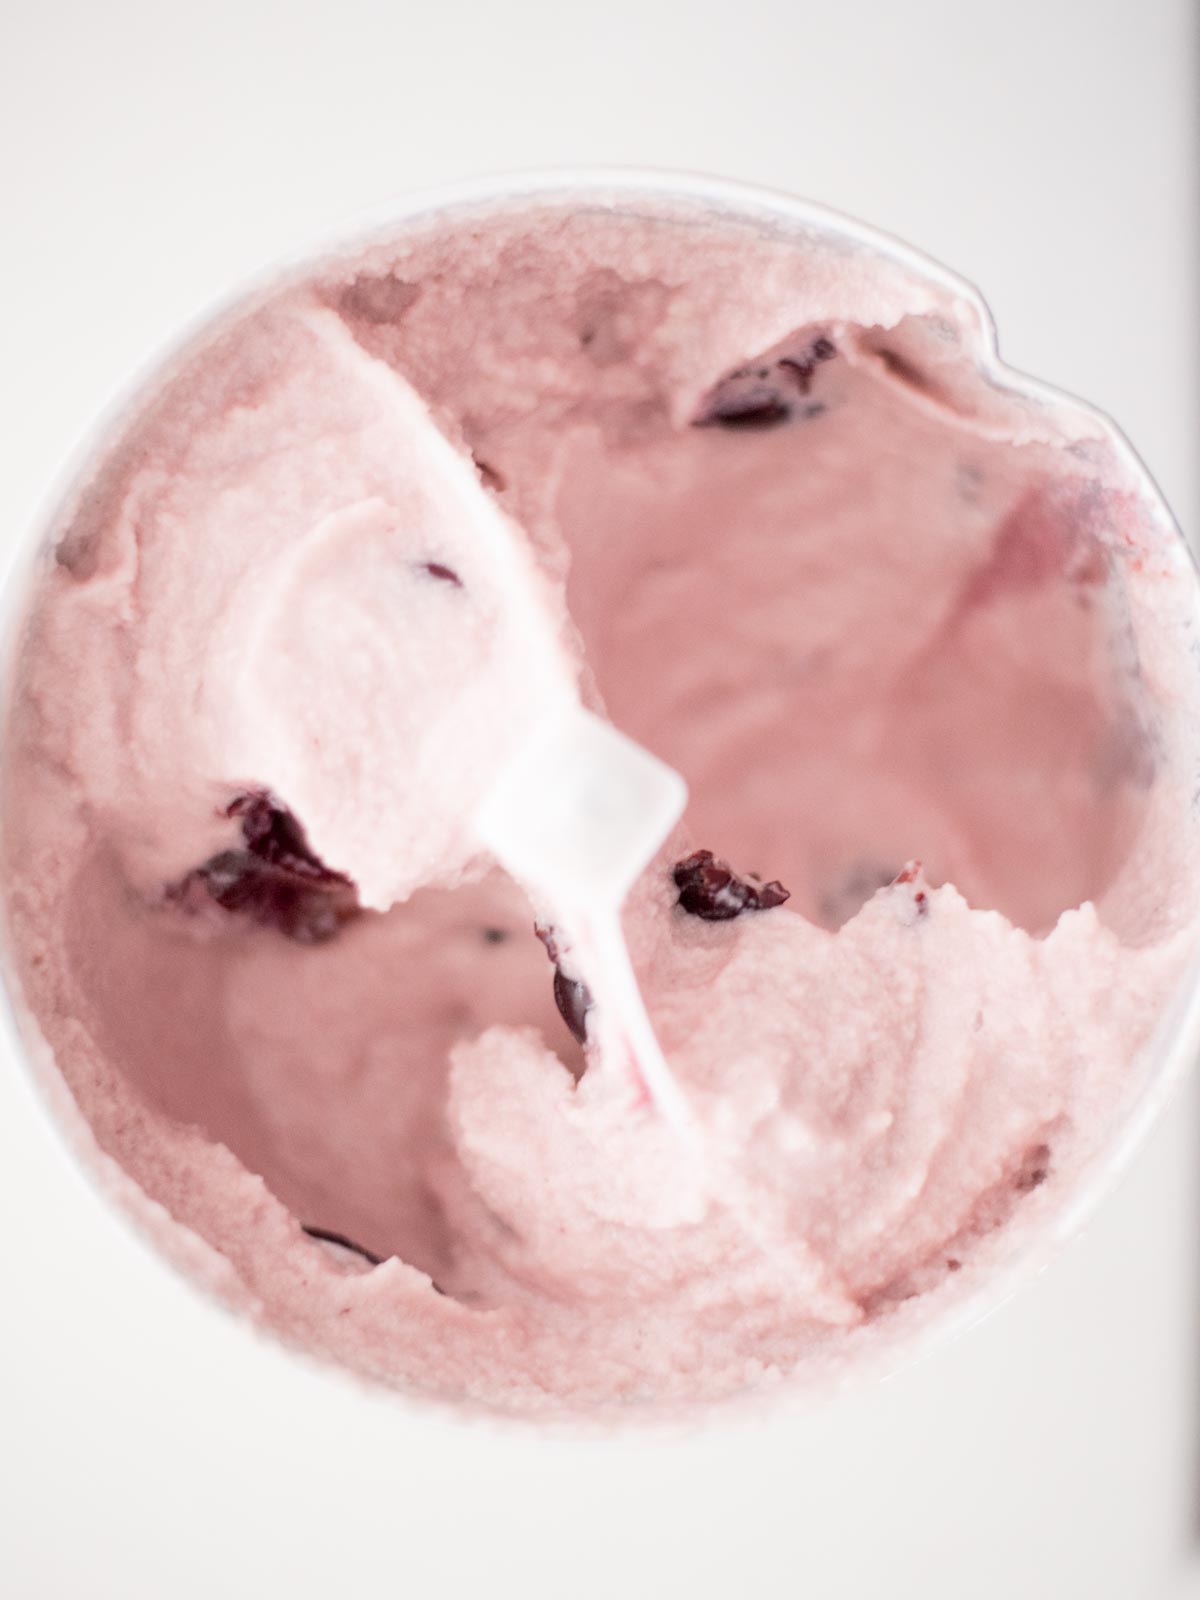
- Add the paddle and lid and allow it to churn for about 30 minutes or until your ice cream maker is done.
- Serve immediately or store in the freezer in an airtight container.
Fun ice cream accessories for Black Cherry Ice Cream
How cute are these ice cream scoops? They would be perfect for serving up this homemade ice cream at a party.
This ice cream bowl set is great for kids! With fun colors, they’ll love both the bowl and the ice cream.
Cherry Vanilla Ice Cream variations
- If you like, you can stir in chocolate chips or chopped chocolate while the ice cream is churning, or just before it finishes up. If you like the Ben & Jerry’s Cherry Garcia ice cream, you should absolutely never skip the chocolate chips — trust me on this. A black cherry chip ice cream really hits the spot!
- Stir in 1/2 cup of amaretto (almond liqueur) into your ice cream base for some extra flavor. But not too much or your ice cream won’t freeze properly. You could also completely swap the cherries for peaches and make a peach ice cream.
- I also recommend drizzling hot fudge sauce or chocolate syrup over top. And no one will say no to some chocolate sprinkles and a maraschino cherry on top for the perfect ice cream sundae! You could even make it a part of an ice cream sundae bar.
- Another idea is to make oatmeal cookies or sugar cookies for ice cream sandwiches. Better yet, make these oatmeal raisin cookies with dried cherries instead of raisins.
- It’s also divine alongside a cherry dessert, such as a cherry crisp or cobbler. You could also scoop it over a chocolate dessert, such as a brownie sundae or a chocolate mug cake.
Cherry Vanilla Ice Cream Recipe Tips and Tricks
Make sure your ice cream maker bowl is totally frozen. You might have to plan ahead and put it in the freezer the day before you plan to make ice cream. Or you can keep it there all summer as I do — it makes a great bucket for frozen veggies!
When adding your frozen cherries, be sure to use the juice from the frozen cherries. Don’t drain it! You won’t regret the added flavor it brings.
Homemade ice cream can become a little hard to scoop in the freezer. Let it sit out for 10 minutes or so before scooping. It also helps to use a quality ice cream scoop (affiliate link).
For best results, use an airtight container when storing. (I love this container (affiliate link) for homemade ice cream.) Homemade ice cream should be enjoyed within about two weeks, otherwise, crystals will begin to form and it might start to taste grainy.
If you don’t want chunks of cherries, but would like the flavor, you can pulse the cherries in a food processor until smooth before adding. You’d still follow the recipe as written, just adding the cherry mixture at the time you’d add frozen cherries.
To amp up the cherry flavor, you could drizzle in some cherry juice concentrate as well.
Cherry Ice Cream Recipe FAQs
Yes, this is not a no-churn ice cream — you should use an ice cream maker. I love this ice cream maker (affiliate link) because it’s easy to store/makes quality ice cream/etc.
You can add the chocolate chips before, during, or after churning. There are no rules when it comes to chocolate!
Feel free to use chopped chocolate, chocolate chunks, or even white chocolate chips if you prefer.
More ice cream recipes
Cherry Vanilla Ice Cream Recipe
Equipment
Ingredients
- 2 boxes boxed instant vanilla pudding mix
- 1½ cups sugar
- 3 whole eggs
- 12 ounces evaporated milk
- ½ gallon milk
- 32 ounces frozen dark cherries
Instructions
- To a large mixing bowl, add the vanilla, sugar, eggs, evaporated milk and milk. Whisk until smooth.
- Pour the mix into the ice cream maker and then add in the cherries. Be sure to include all the juice in the bag as well.
- Add the paddle and lid and allow it to churn for about 30 minutes or until your ice cream maker is done.
- Serve immediately or store in an airtight container.
Nutrition
Nutrition information is automatically calculated, so should only be used as an approximation.


Raw eggs? That’s considered safe now? Somehow the idea of eating raw eggs even if frozen doesn’t appeal. Can the eggs be cooked first with some of the milk then cooled and added to the other ingredients, and then put in the ice cream machine?
Most homemade ice cream recipes utilize raw eggs. If you have any concerns about the safety of raw eggs, you can substitute them with pasteurized raw eggs. If you feel more comfortable making cooked custard, you can do that as well.
Homemade ice cream is my favorite! The cherry flavor is delicious.
Omg throw black Cherry ice cream was delish! Tart and sweet. Perfect